

How to Plant Peonies: A Farmer-Florist’s Guide to the Queen of the Garden
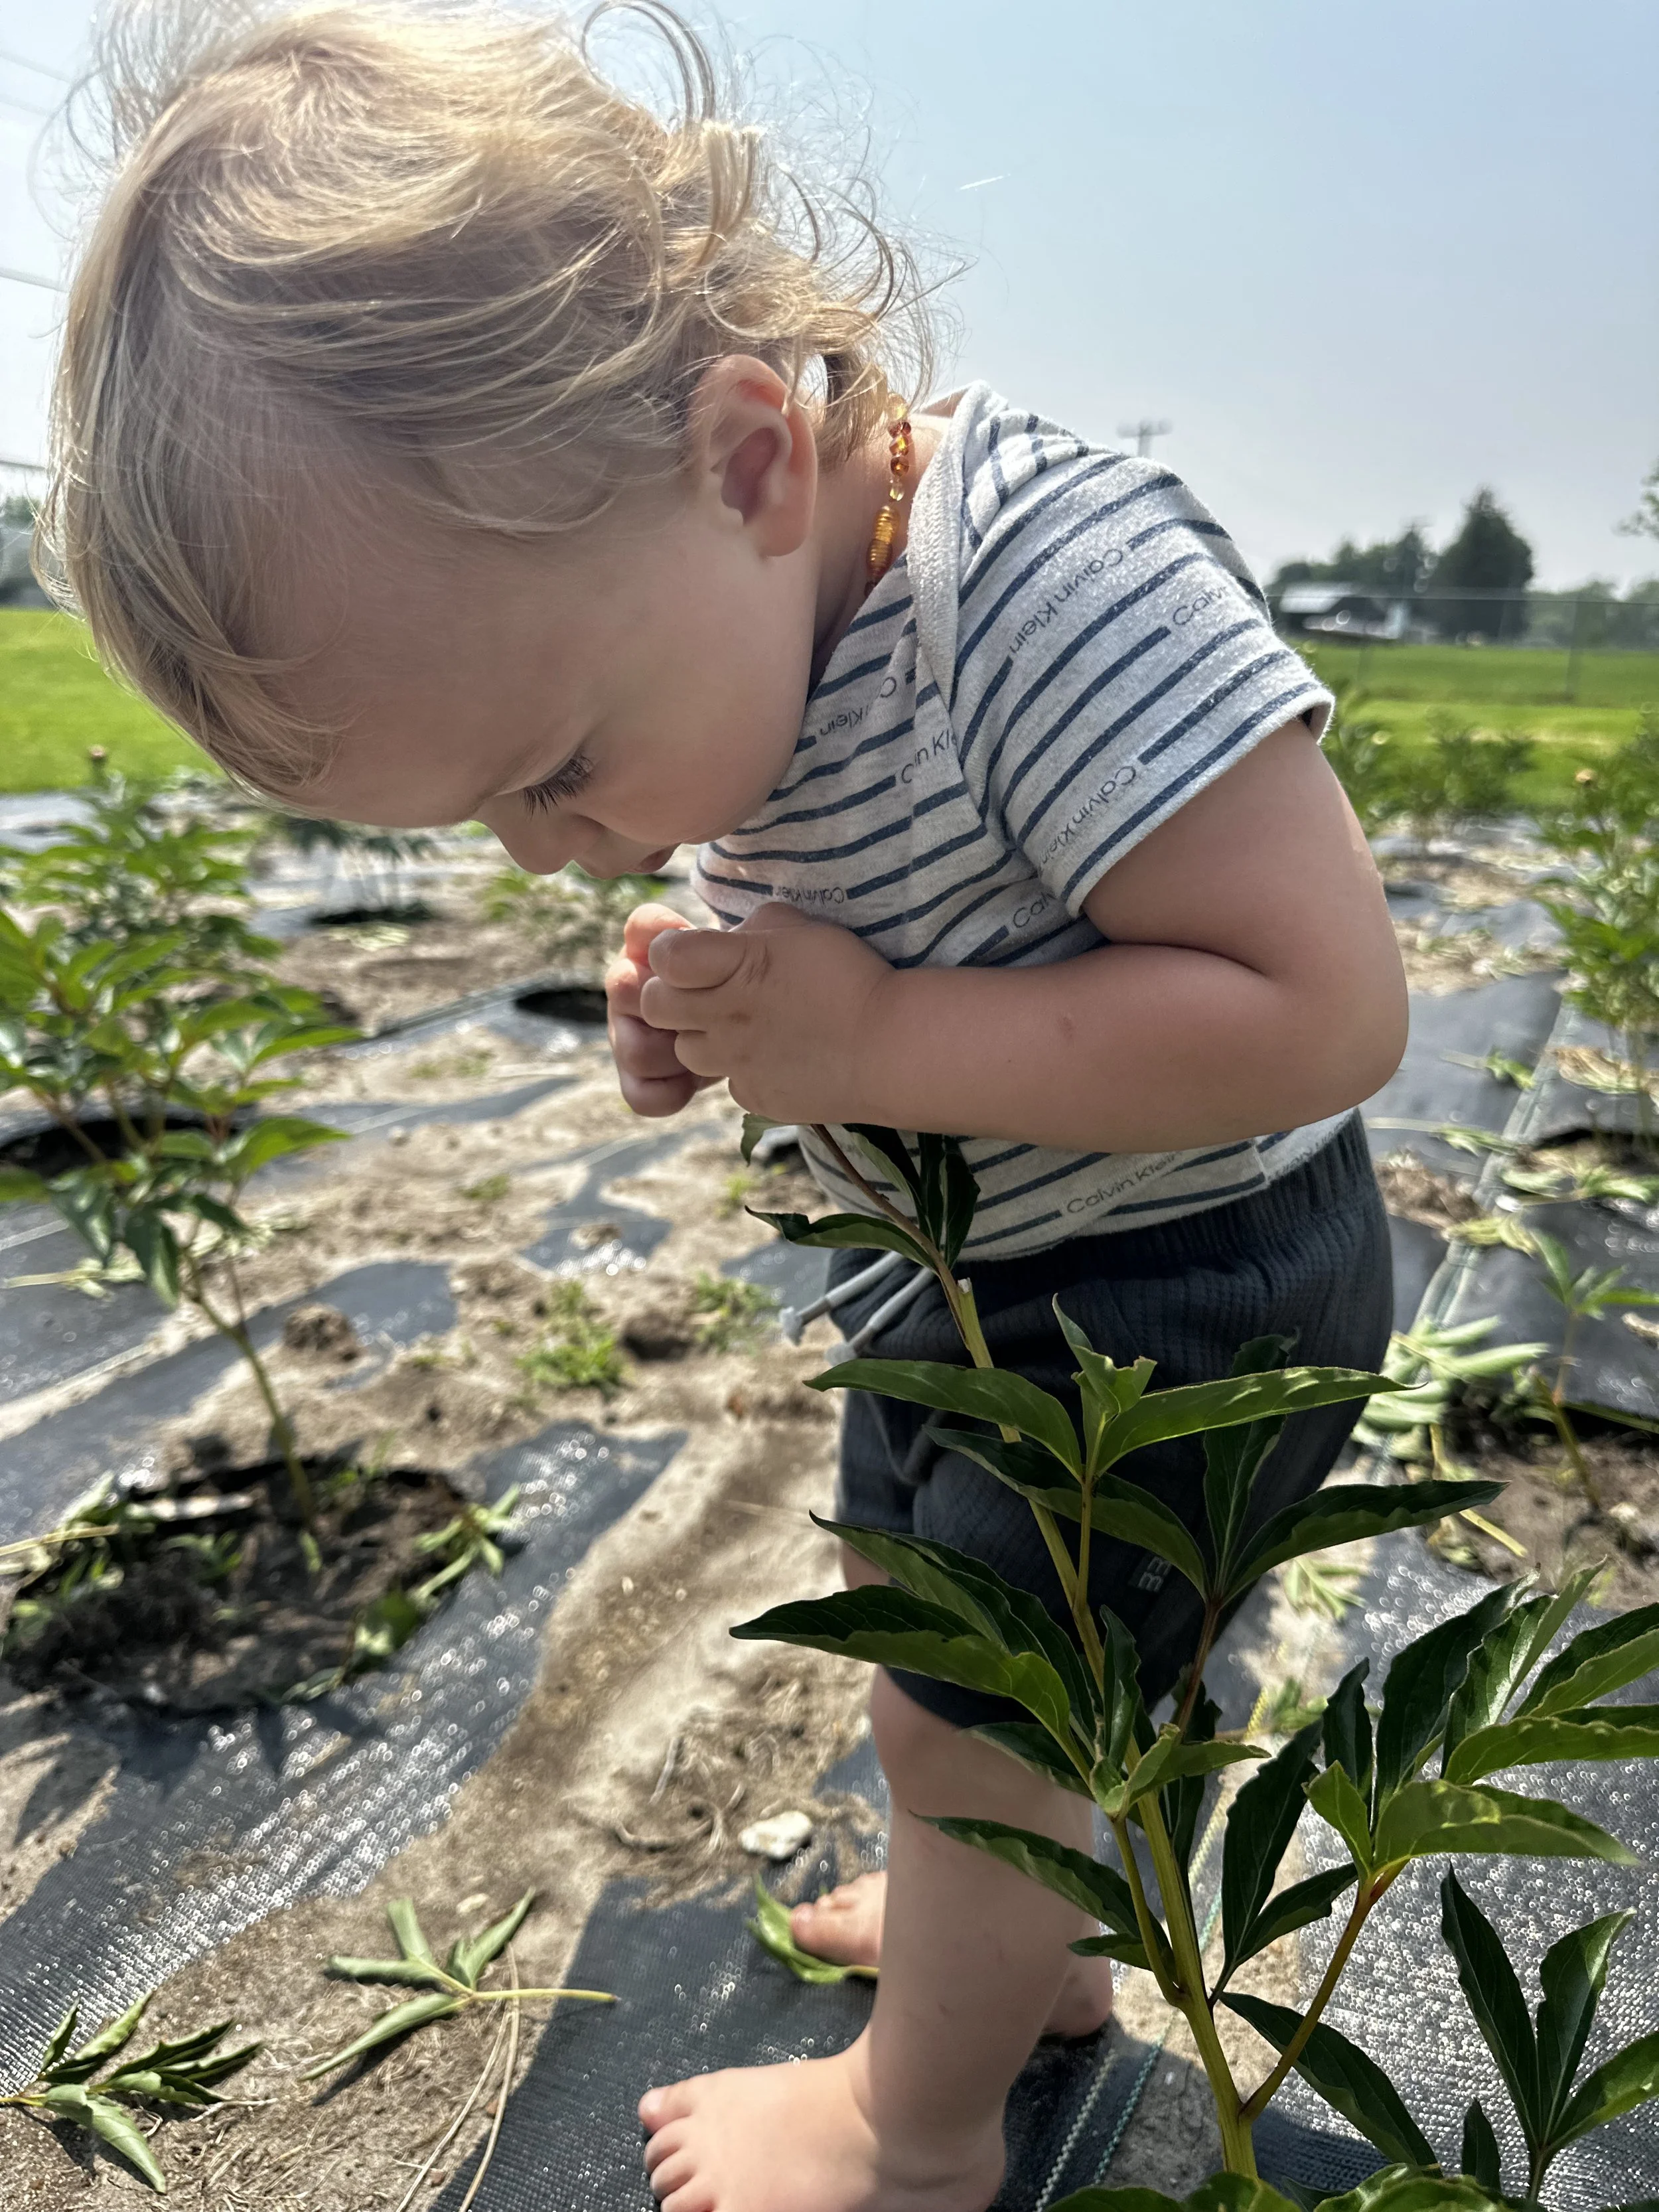
Peonies are timeless, elegant, and worth every ounce of patience. Here’s a full behind-the-scenes look at how we planted over 150 peony roots at Bede’s Blooms—from spacing and fertilizing to lessons learned (like why you really should sweep your landscape fabric).


Planting Peonies: A Love Letter and Grower’s Guide
This post may contain affiliate links. If you click through and make a purchase, I may earn a small commission at no extra cost to you. I only recommend products I use and love here on the farm.
There’s just something about peonies.
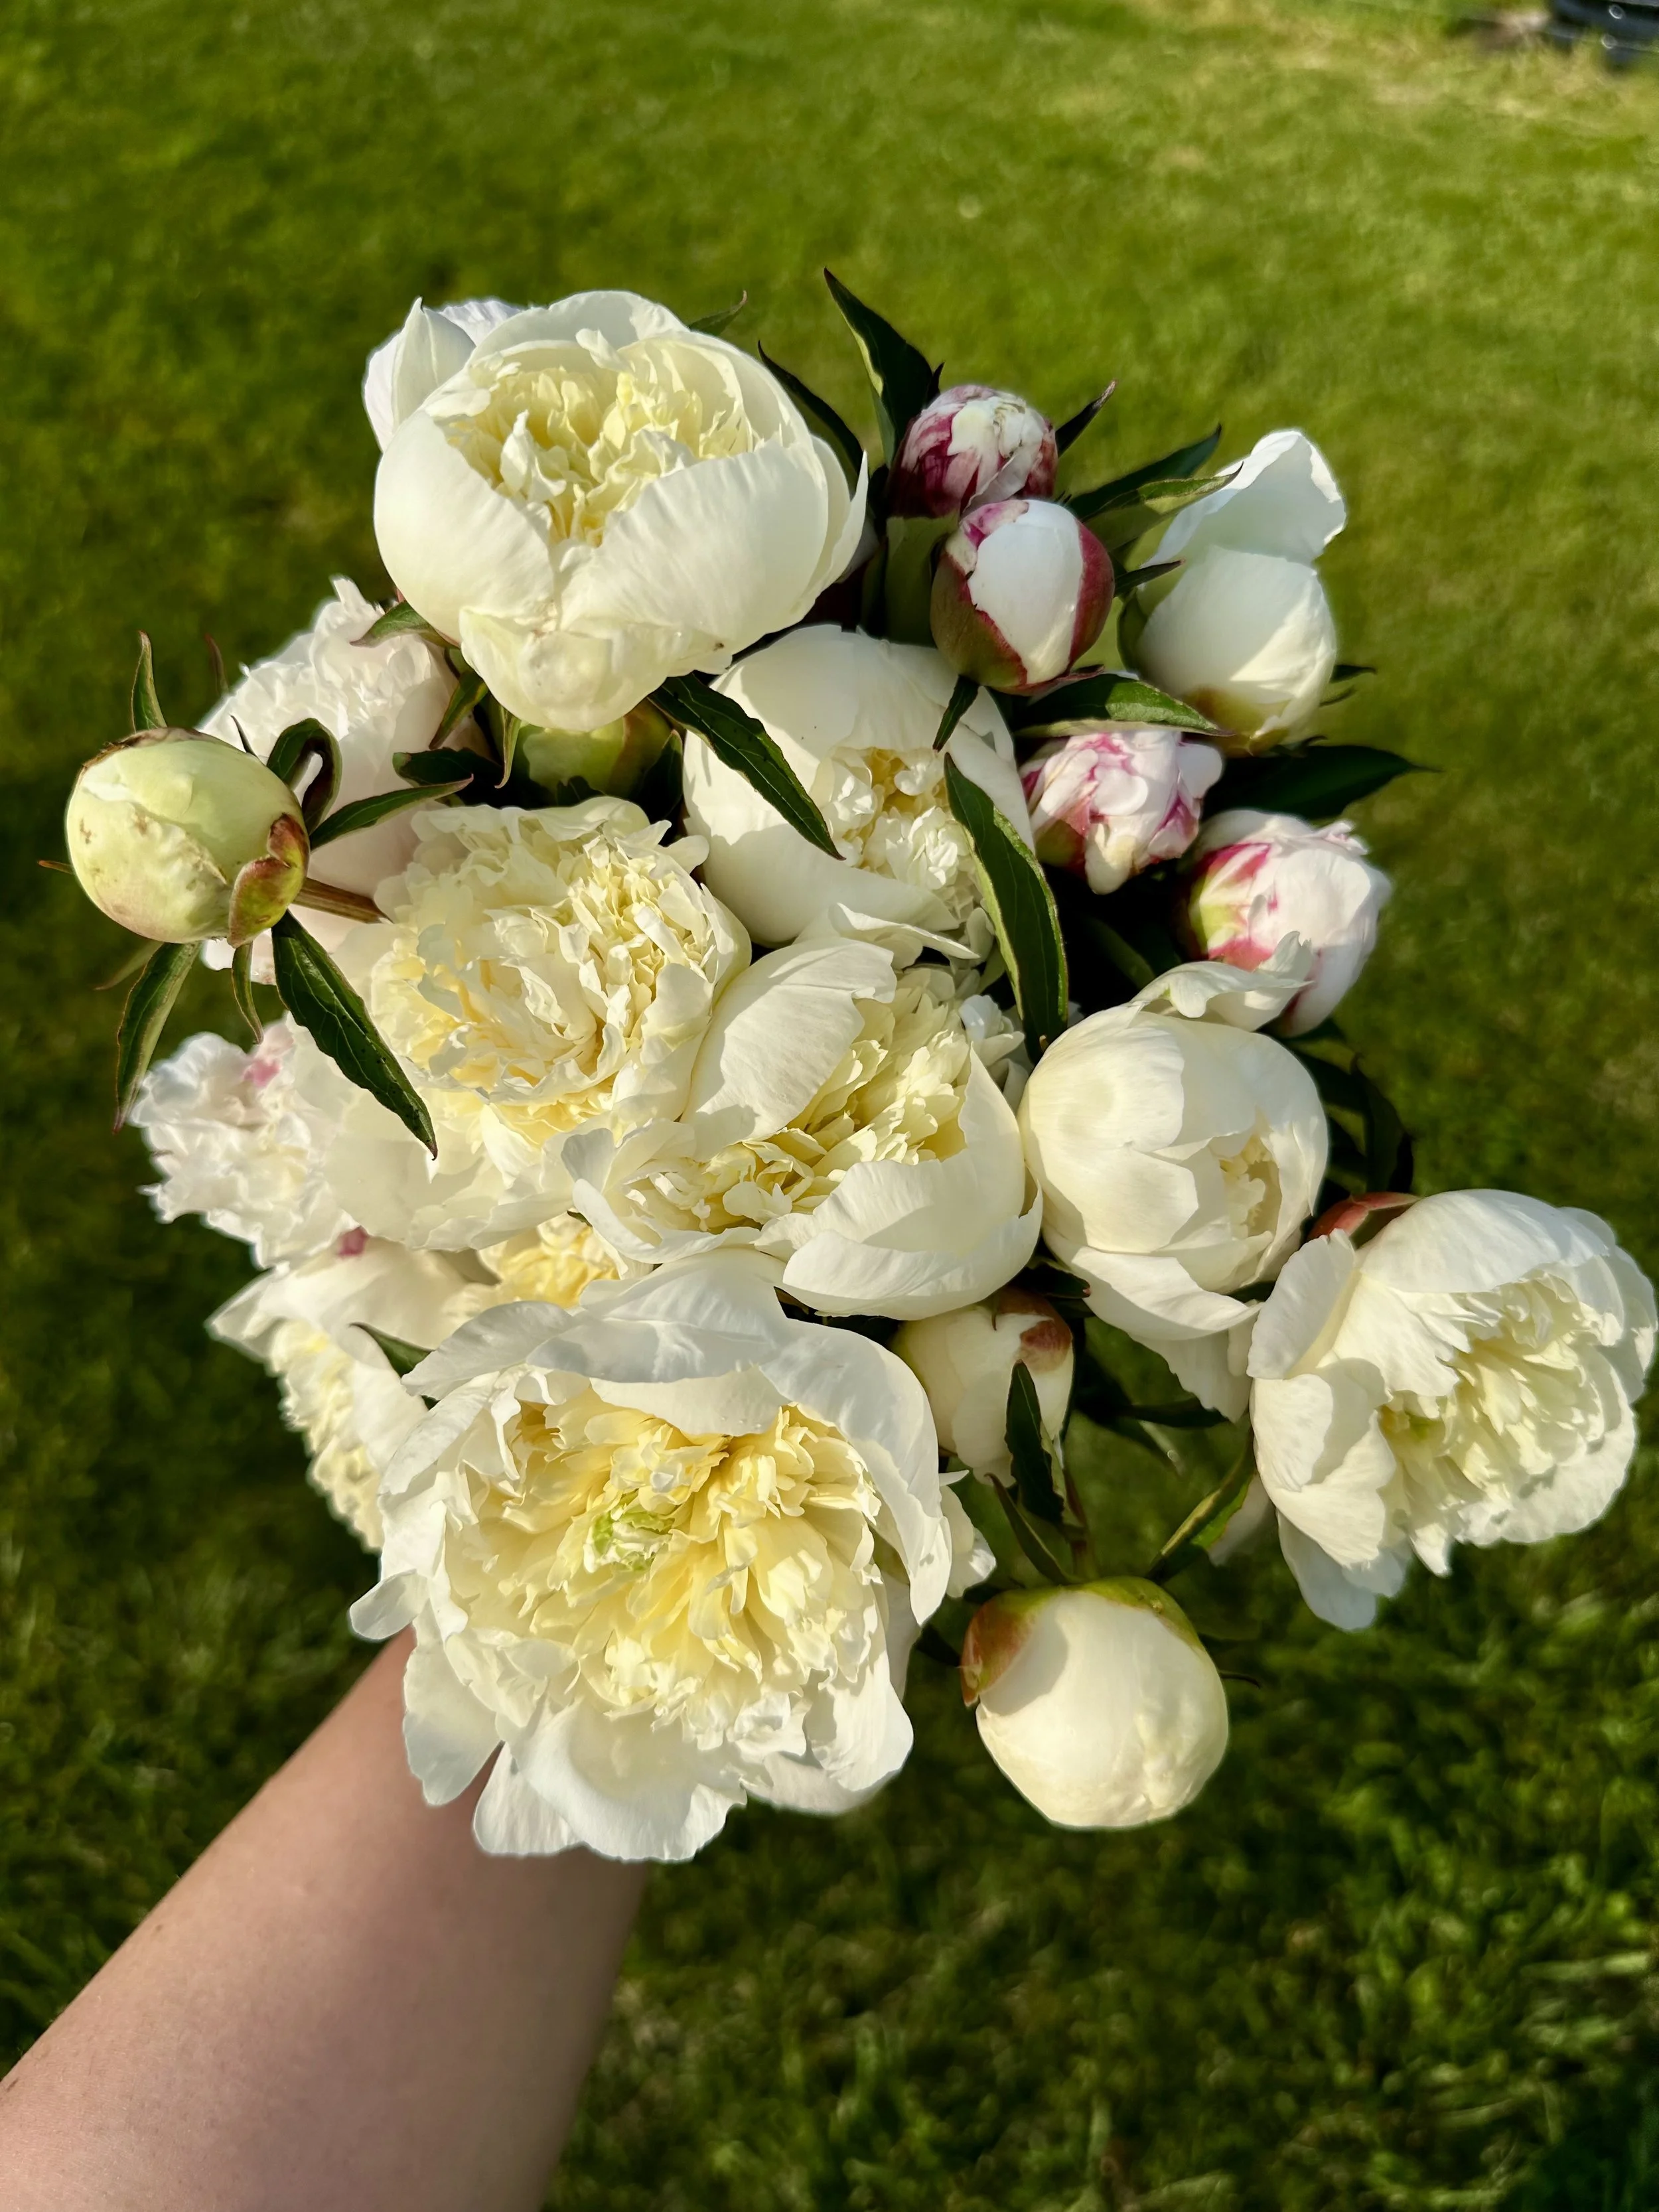
The soft, blush-pink blooms. Their ruffled elegance. The scent—heady and nostalgic, like something out of a dream. For me, peonies aren’t just flowers—they’re a soul-stirring presence in the garden and one of the greatest joys of being a flower farmer. Without a doubt, they are my favorite flower.
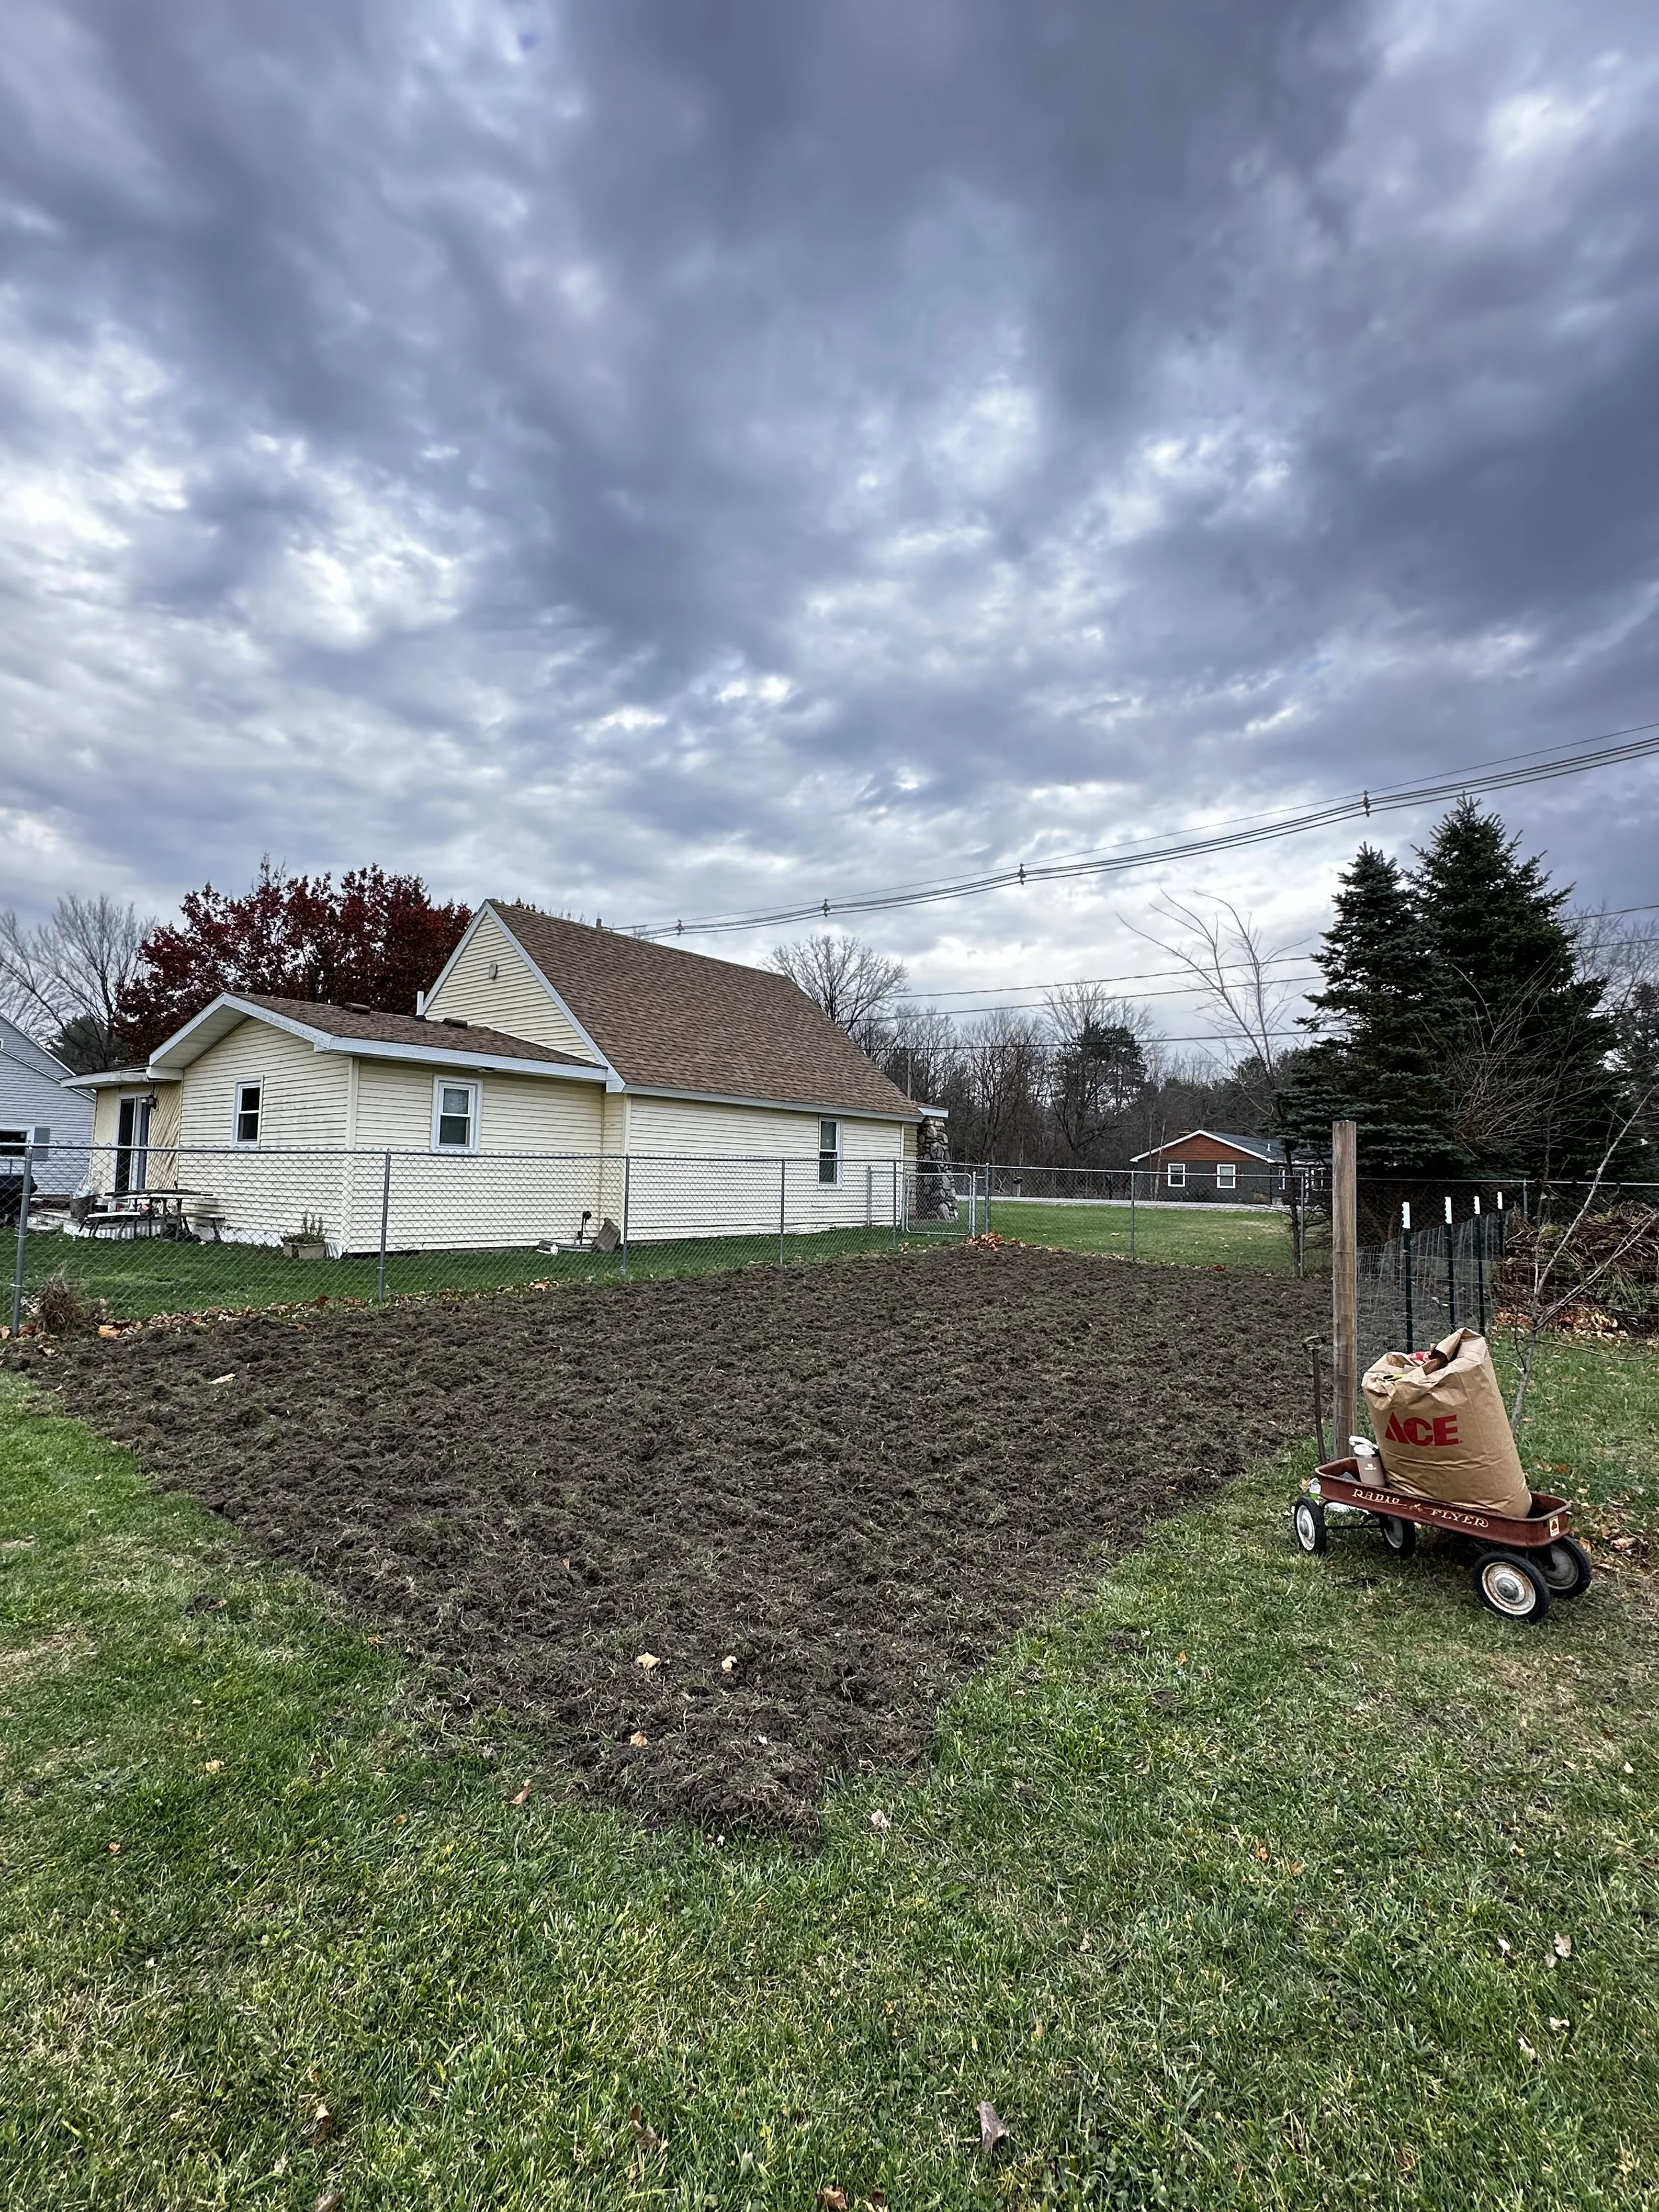
Last fall, I took the leap and planted our largest-ever peony field here at Bede’s Blooms + Co. This blog is part love letter, part how-to, and part behind-the-scenes peek at what it really takes to get peonies established on a flower farm.
If you’ve ever dreamed of growing peonies—or if you’re just starting to fall in love with these romantic blooms—this post is for you. Whether you’re a backyard gardener or a farmer-florist mapping out your first field, I’m sharing everything I learned from planting 150+ peony roots on our Michigan farm: from sourcing and spacing to root size, first-year harvests, and all the tools and tips that made the process smoother.
Why Peonies Deserve a Place in Your Garden (or Your Business)
They’re perennials – plant them once, and they’ll bloom for decades.
They get better with age – larger, fuller blooms year after year.
They command premium prices – stems regularly sell for $3–6 wholesale, and even more at retail or for events.
They bloom during peak wedding season, making them a dream crop for farmer-florists.
That said, they do require patience. Peonies can take 2–3 years to establish, and while the wait is worth it, it’s important to set expectations—especially if you’re hoping for first-year blooms.
A Note on Root Size and First-Year Harvesting
Most growers will tell you not to harvest from peonies in their first year. And generally? That’s good advice.
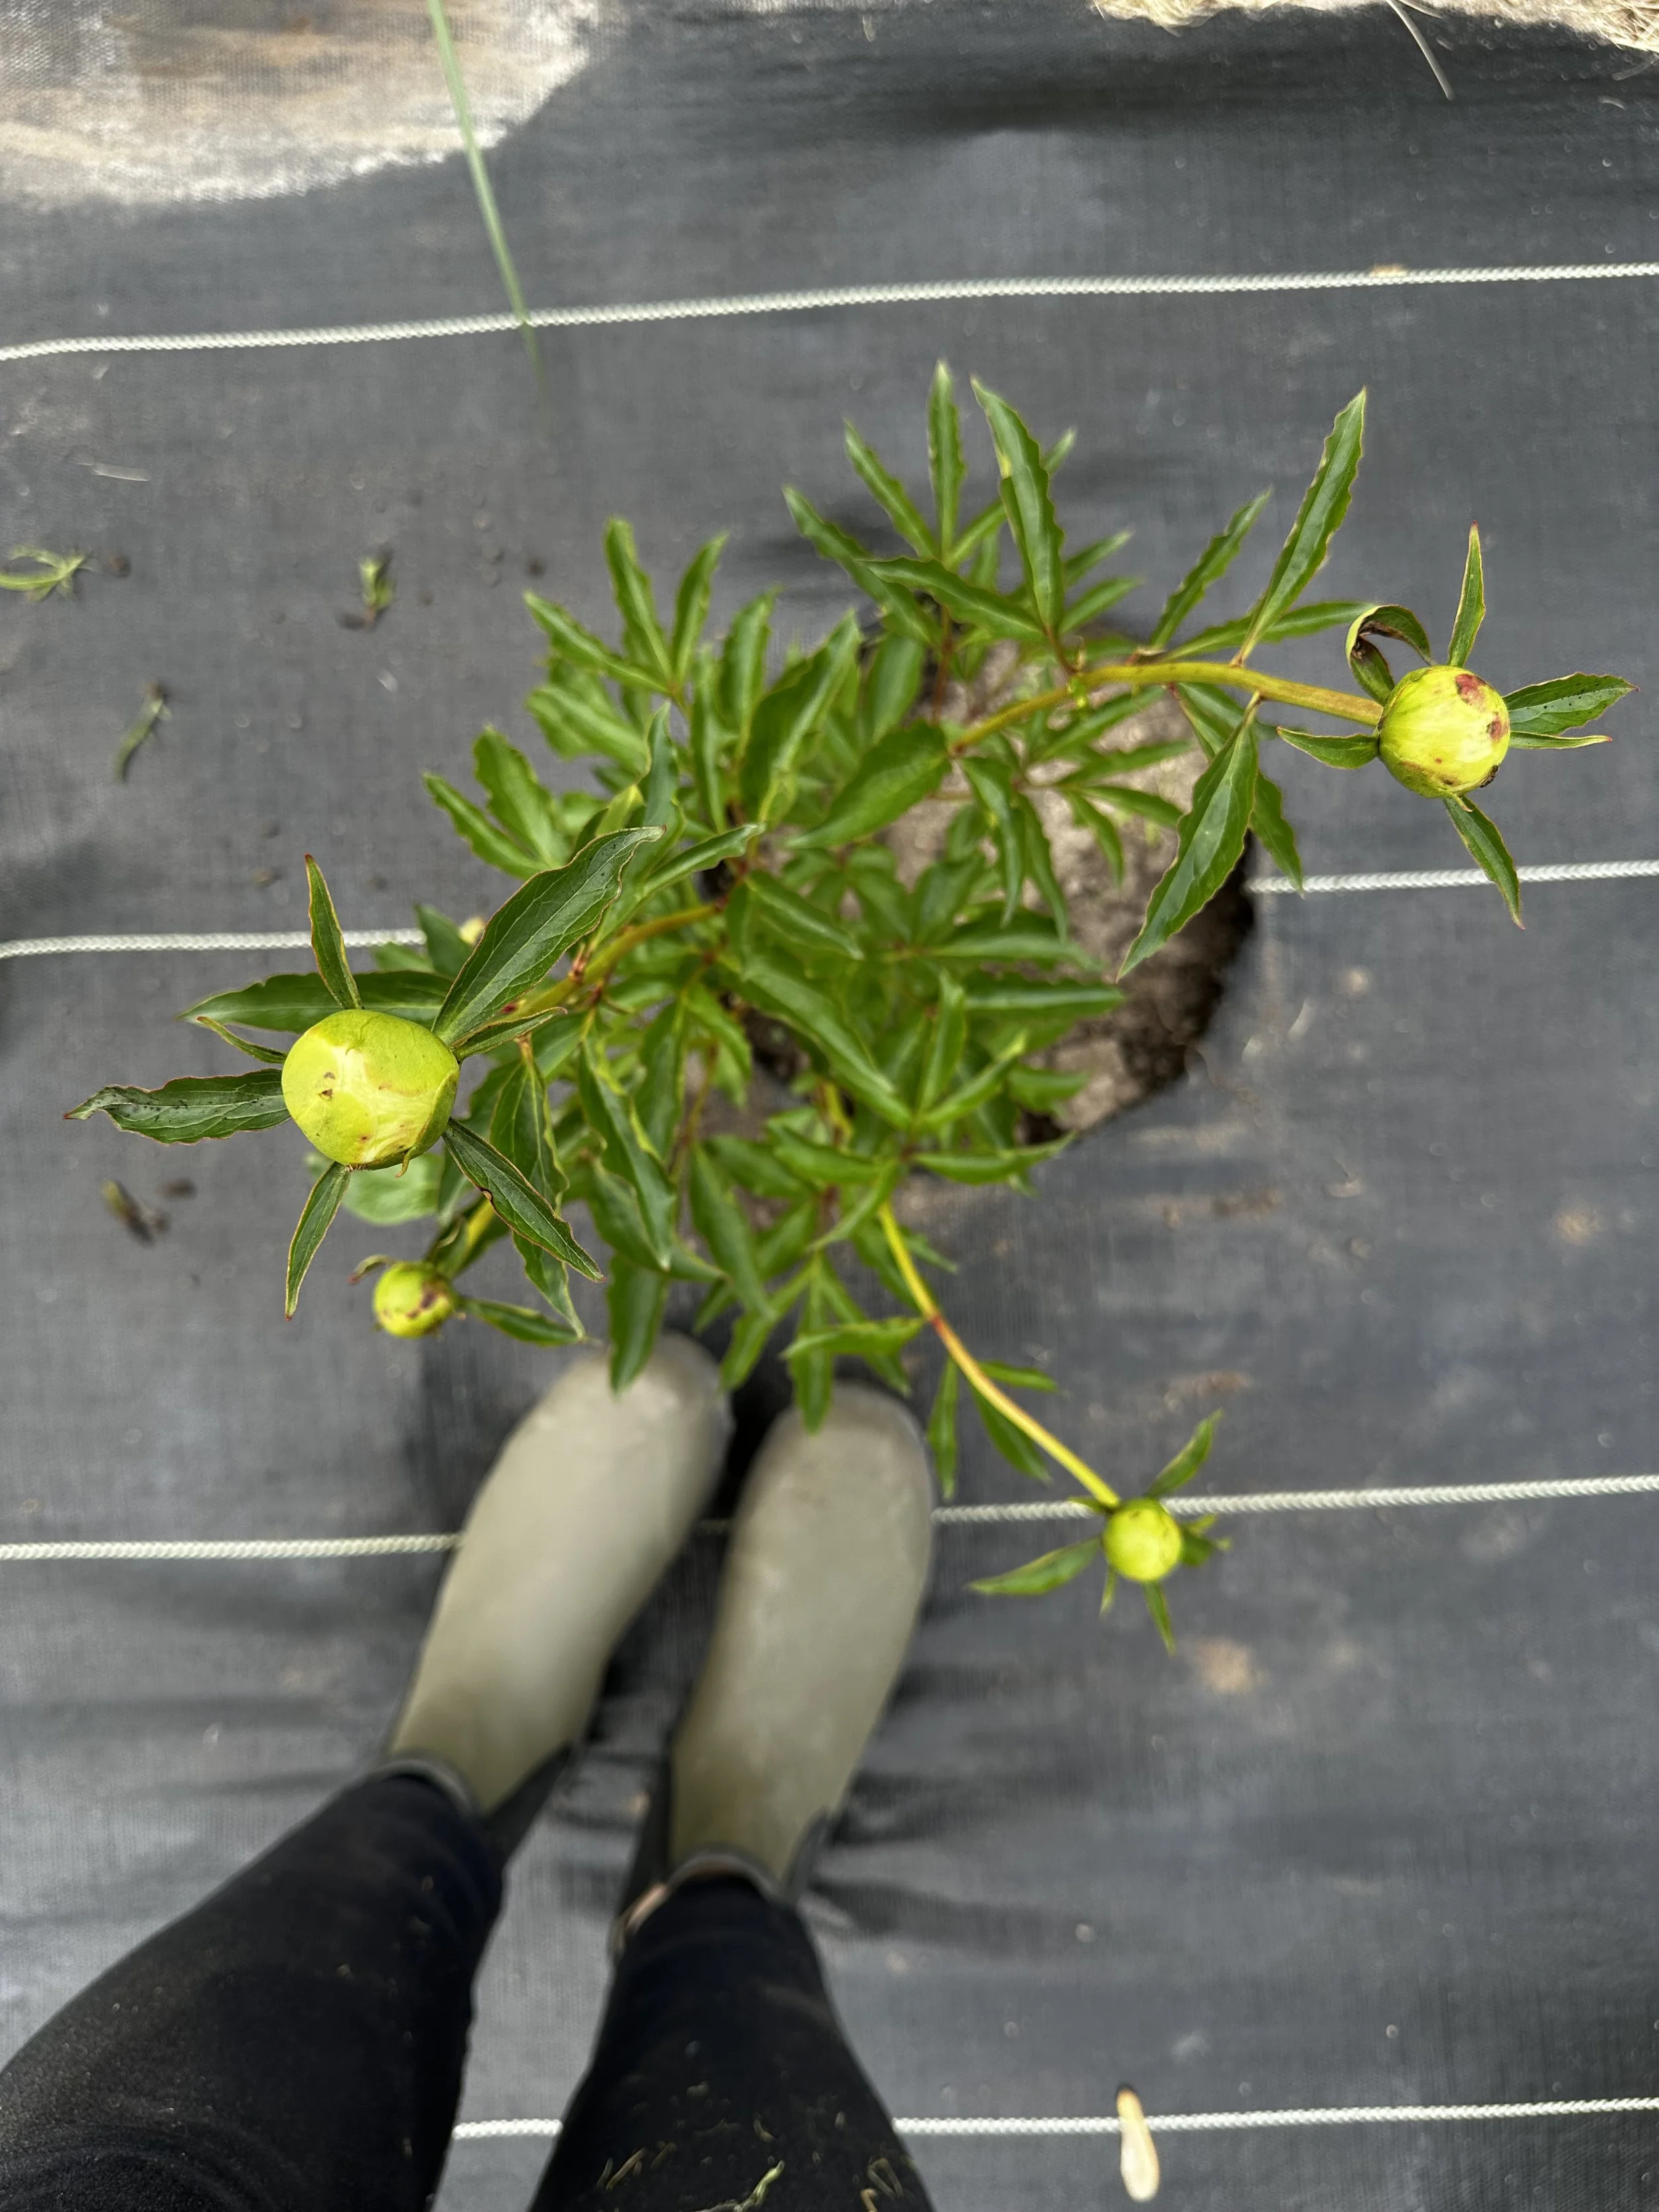
But here’s the nuance: I invested in larger, 6–8 eye roots instead of the standard 2–3 or 3–5 eye divisions. I experimented—harvesting from about half of my 6–8 eye plants in the first year. The result? Beautiful, large blooms. Not quite as robust as my three-year-old plants, but certainly strong enough for arrangements.
In short: root size matters, and not all first-year harvests are created equal. I also know other growers who’ve harvested cautiously from year one with great results.
✨ Farmer tip: If you’re planting peonies for production, consider investing in higher-eye count roots. The upfront cost is greater, but so is the payoff.
Establishing Peonies: The First Year is Everything
Peonies don’t love being rushed, so the first year is all about establishment. Even if you’re not harvesting blooms, what’s happening underground is just as important.
🌱 Key Summer Care Tips (Especially in Michigan):
Water deeply and consistently in July, as this is when the plant shifts energy to root and bud development for the following spring.
Aim for 1–1.5 inches per week at the base (no overhead watering—botrytis loves wet leaves).
Deadhead spent blooms but leave all foliage intact.
Fertilize lightly in early July with a low-nitrogen, balanced fertilizer like 5-10-10 or 10-20-20. Apply directly to the soil around the plant—not on the leaves—to avoid fungal issues. It’s like a nutrient smoothie for next year’s blooms. Avoid fertilizing after mid-July to prevent weak late-season growth.
📅 Stay tuned: I’ll be sharing a full fertilizing schedule, product links, and my compost tea recipe in next week’s blog post!
Disease Control: Beating Botrytis
If you’re seeing:
Blackened buds
Wilting stems
Gray mold or fuzzy mildew...
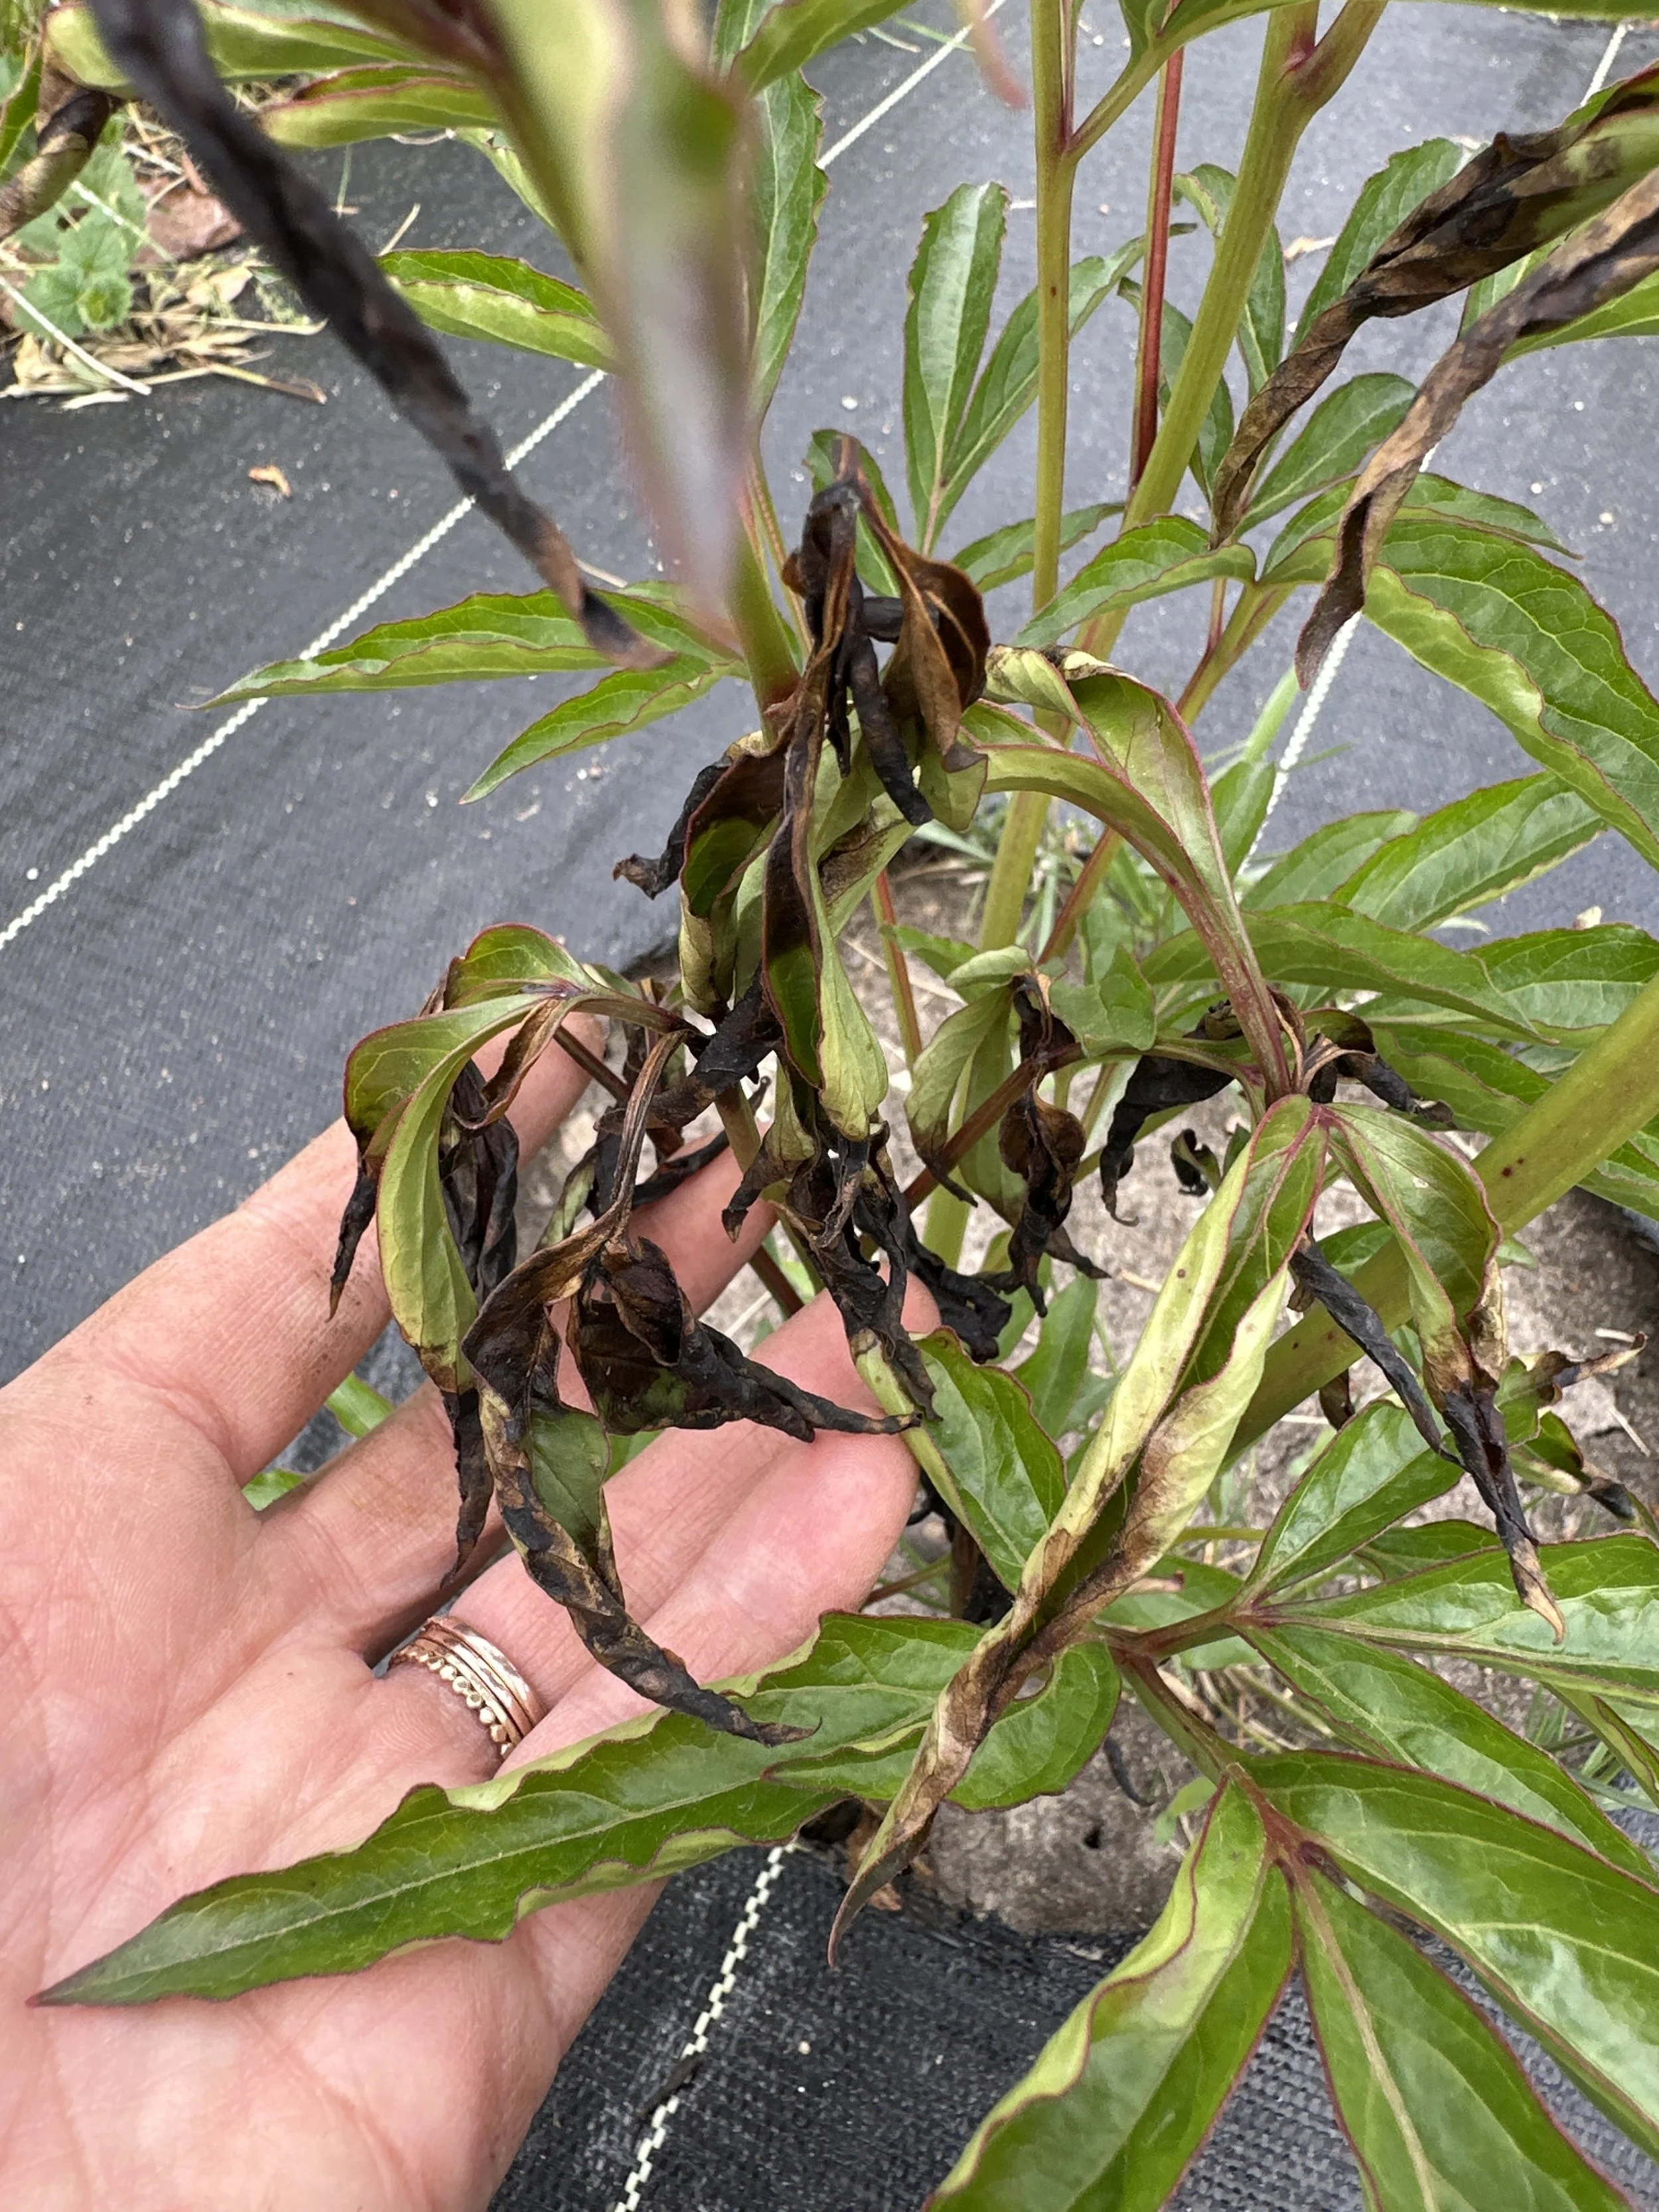


You might be dealing with botrytis blight. Here’s how I manage it:
Clean up: Remove all infected plant parts and dispose—don’t compost.
Sanitize your shears using a solution of bleach or rubbing alcohol.
Treat: Use organic options like:
Serenade or Actinovate - I use this one: Trifecta Crop Control Concentrate
Improve airflow: Thin surrounding plants, avoid overcrowding.
🍂 In fall: Cut foliage to the ground after frost, and discard (do not compost) if there were disease issues. Apply compost (I love using Dairydoo + bone meal) or bulb fertilizer around the base—not on the crown—especially if your soil is lean.
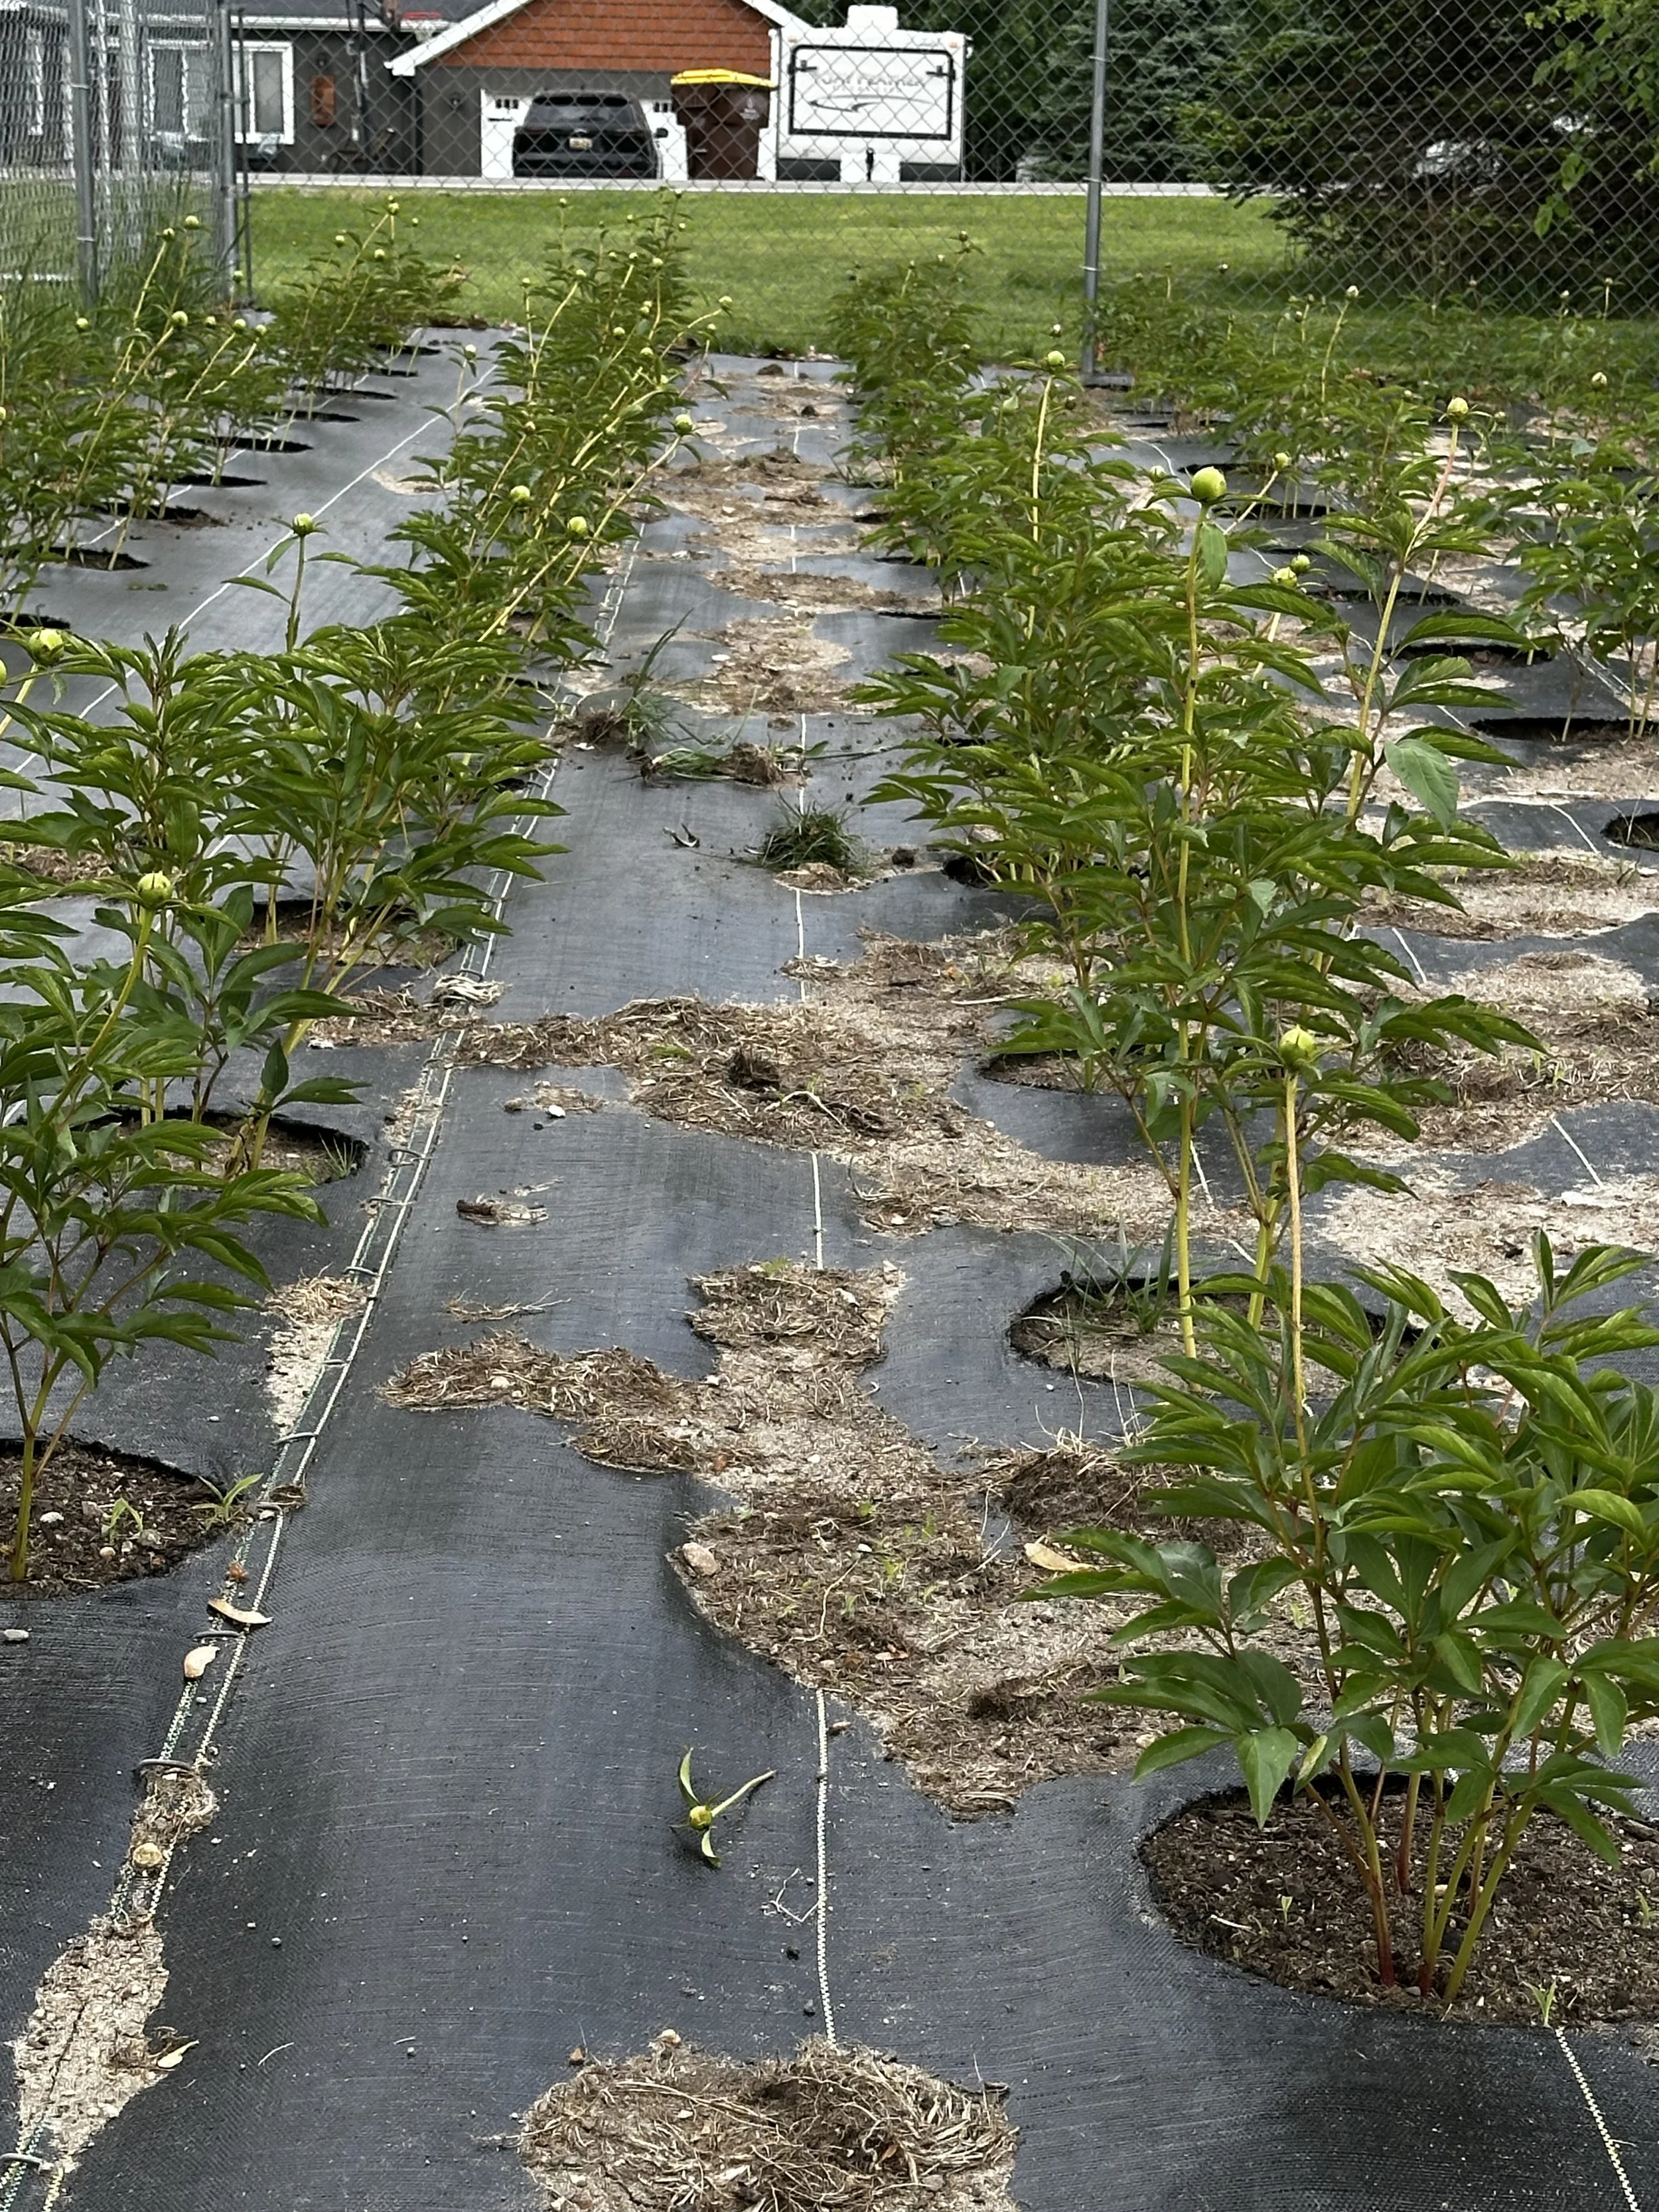
🌸 Step-by-Step: How We Planted Our Peony Field (and What We’d Do Differently)
There’s no one “right” way to plant peonies, but this was our process. We learned a lot in the trenches—some wins, some lessons—and we’re sharing it all here to help your future planting go a little smoother.
Step 1: Measure Your Space First
Before you even order roots, take the time to measure your growing area. Peonies need generous spacing and good airflow, so you’ll want a clear idea of how many plants you can comfortably fit.
🌸 Spacing Guidelines by Peony Type
Herbaceous Peonies (garden peonies):
▸ 36–48 inches apart (center to center)
▸ Allows for mature clump size and good airflow to reduce disease
Intersectional (Itoh) Peonies:
▸ 36–48 inches apart
▸ These hybrids also form large, bushy plants
Tree Peonies:
▸ 48–60 inches apart
▸ These are woody shrubs that require more space and light
🌱 Why Proper Spacing Matters
Air circulation prevents fungal issues like botrytis
Root development and division potential are maximized
Ease of access for weeding, fertilizing, and harvesting
Sunlight reaches all parts of the plant, improving bloom quality
Once you know your dimensions, you can calculate how many roots to order and how much landscape fabric you'll need.
I highly recommend investing in one of these open reel measuring tapes, we have used this for so many projects around our house and in the garden.
Step 2: Source Reputable Peony Roots
We placed our order in early summer for fall delivery. A good rule of thumb? Order a flower when it’s blooming for you. That means now (while your peonies are fresh in memory) is a great time to order for fall planting.
We currently have a couple of different wholesale accounts, but during our first year of purchasing, we ordered through Alaska Perfect Peony. They connected us with the closest peony root wholesaler in our area, and I was incredibly impressed with how the roots arrived—the size and quality exceeded my expectations.
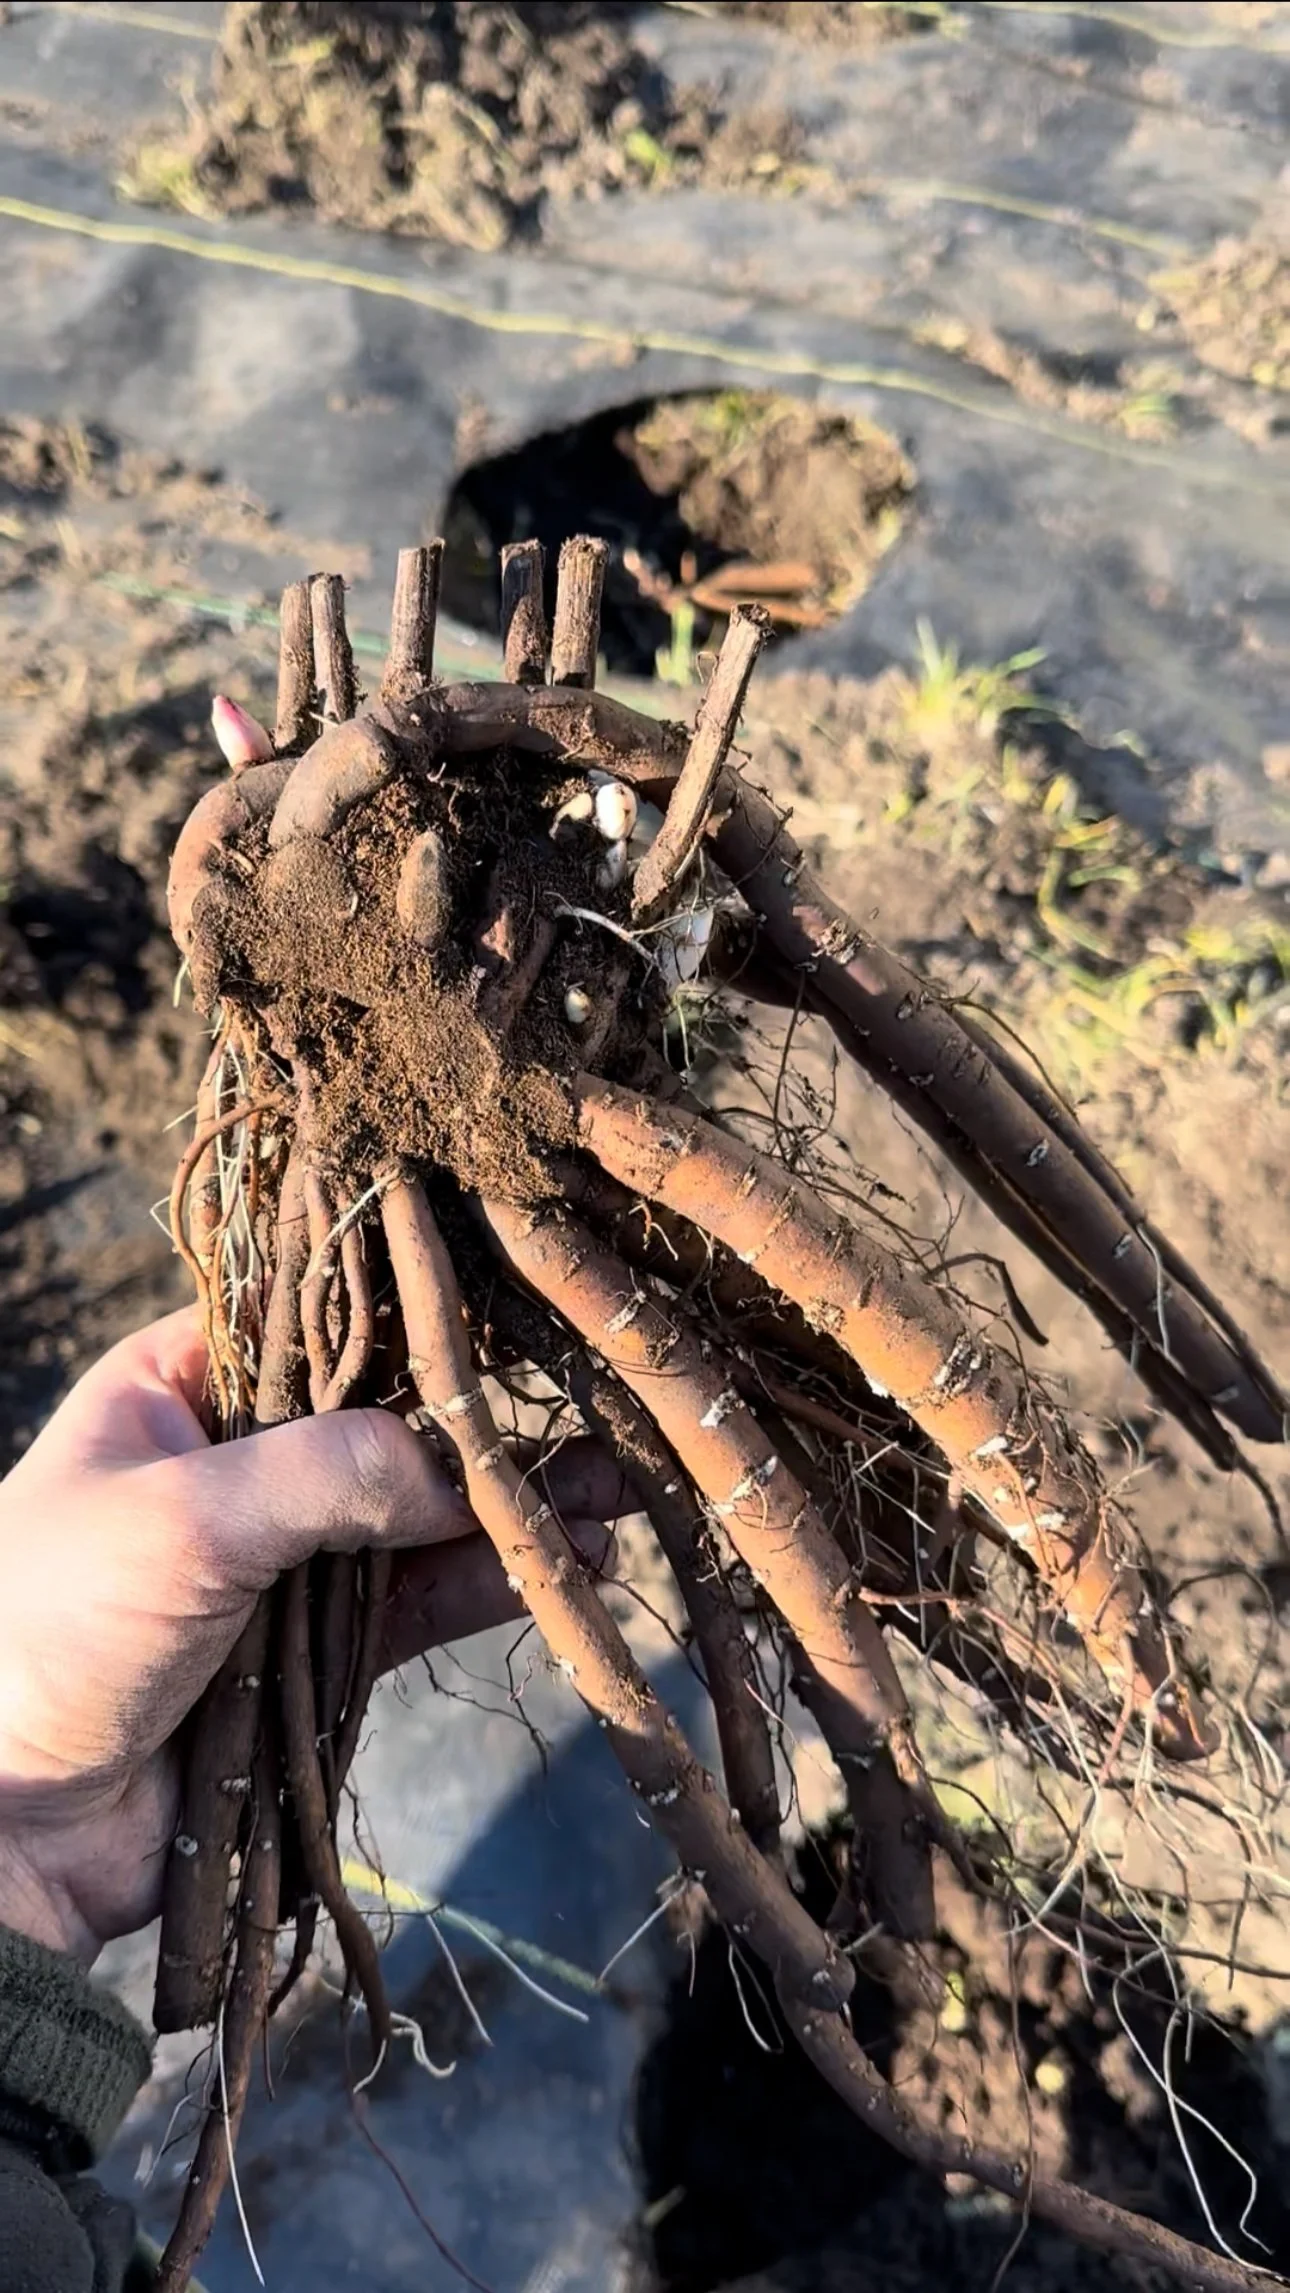
6-8 eyed Duchesse de Nemours peony root
Step 3: Prep the Site
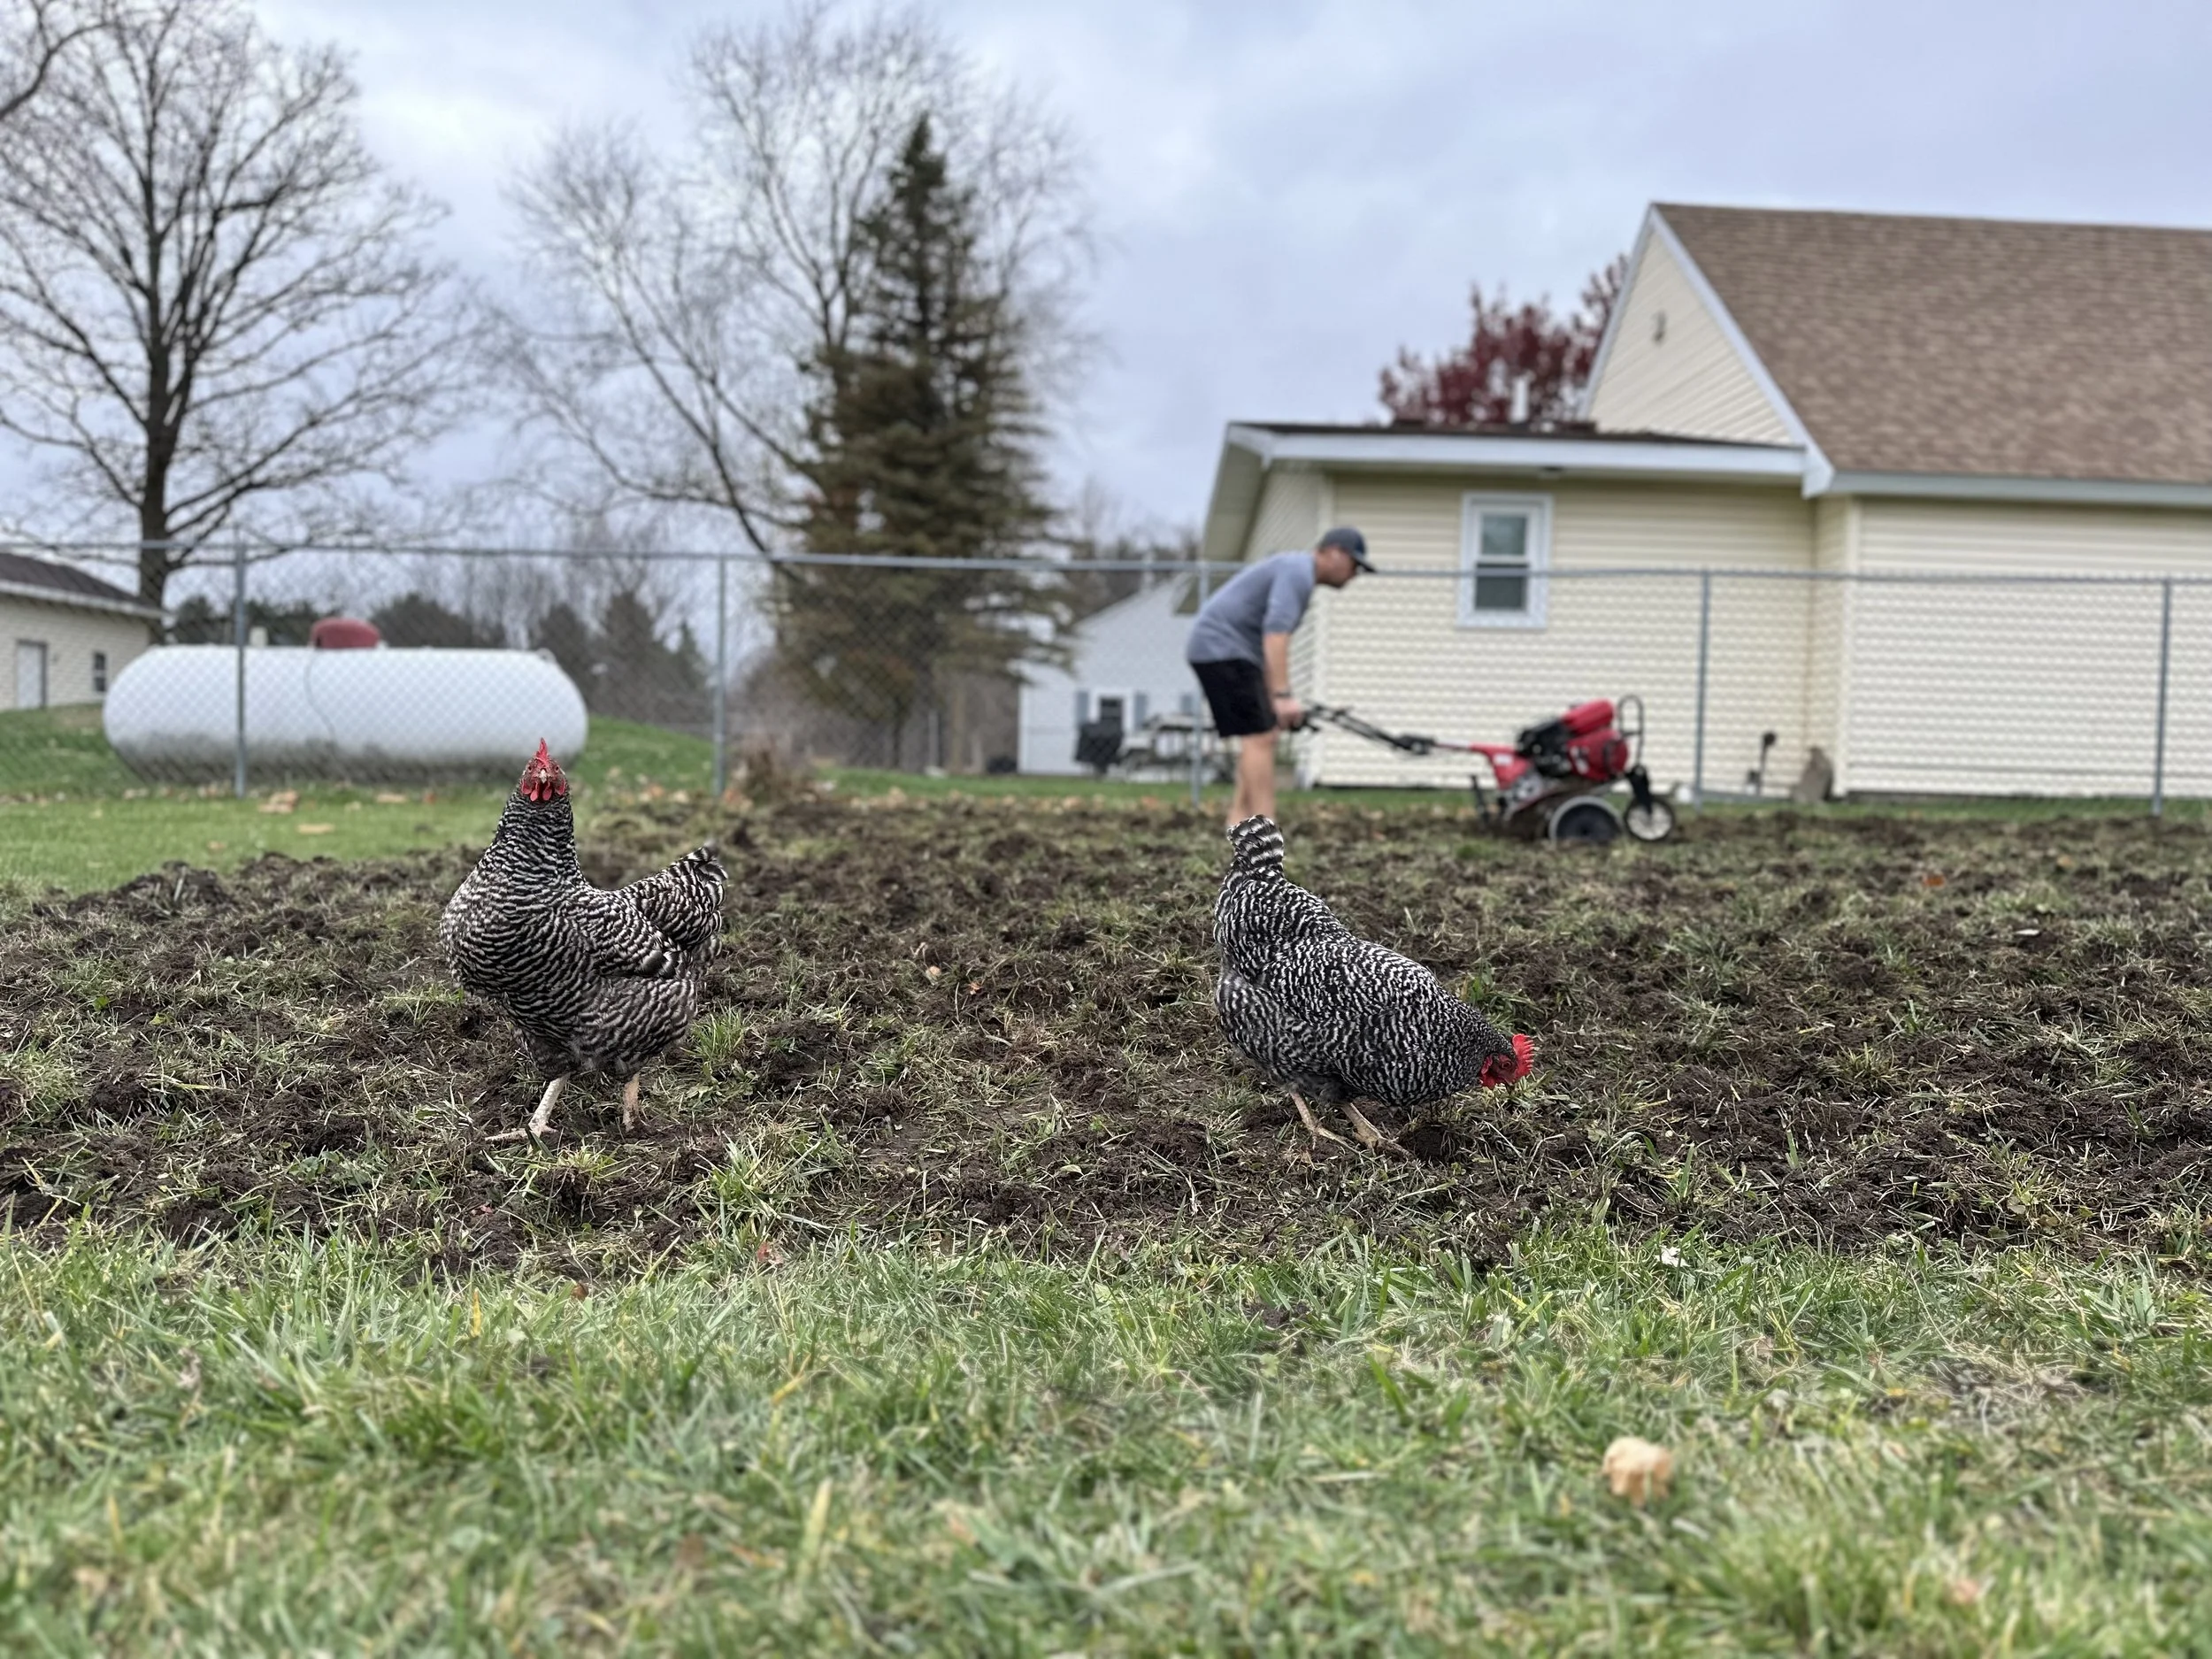
We tilled our entire planting area, but an alternative method is to cover the space with silage tarps for 4–6 weeks beforehand to kill off grass and weeds. Once prepped, we added compost to enrich the soil.


If you’re looking for a no-till option (we usually opt for the same—but we didn’t get a chance to lay our silage tarps in time.) — here is a brief breakdown of what we do:
How to Use Silage Tarps to Prep a Garden Bed:
Clear the Area (Optional): Mow or cut down any tall vegetation.
Lay the Tarp: Spread the silage tarp black side up over the area.
Secure It: Weigh down the edges with sandbags, bricks, or soil to prevent wind from lifting it.
Leave in Place: Keep the tarp on for 4–6 weeks (longer if possible) to smother weeds and warm the soil.
Remove & Plant: Take off the tarp when you're ready to plant—no tilling needed!
Tip: Be mindful of the size—if you’re moving the silage tarp by yourself, it’s best to stick to something no larger than about 50 x 50 feet. Anything bigger typically requires a tractor to handle.
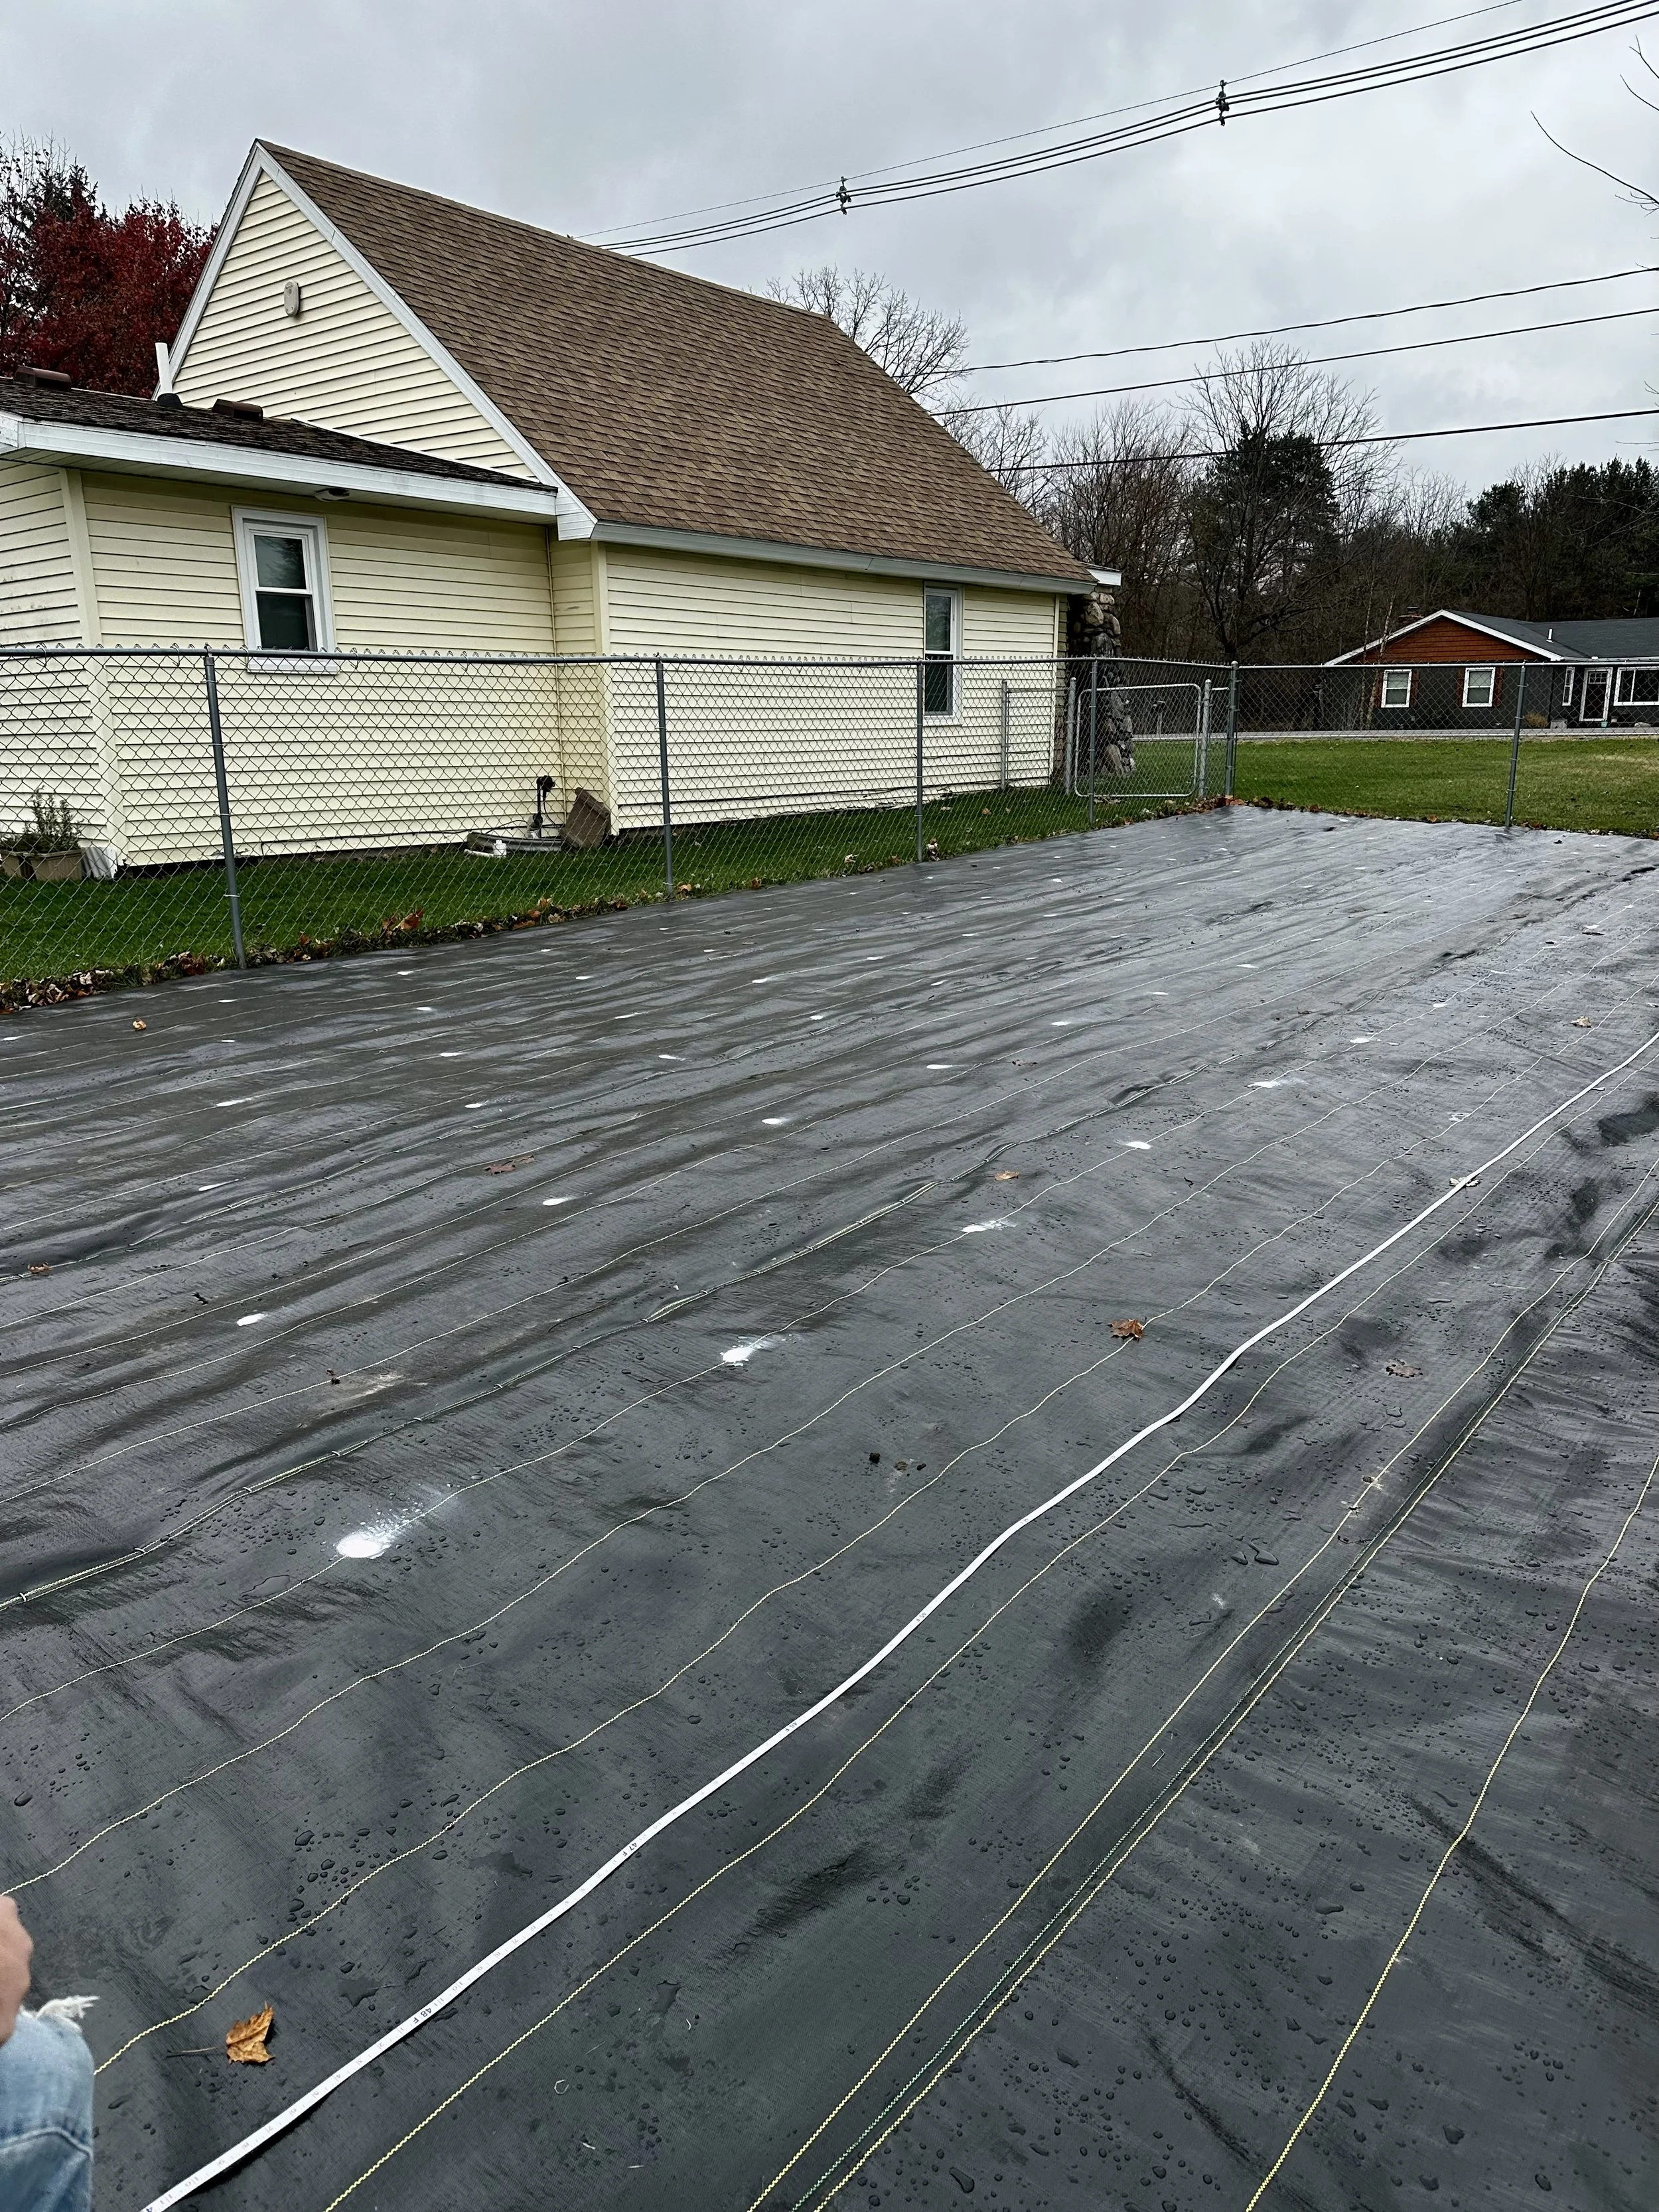
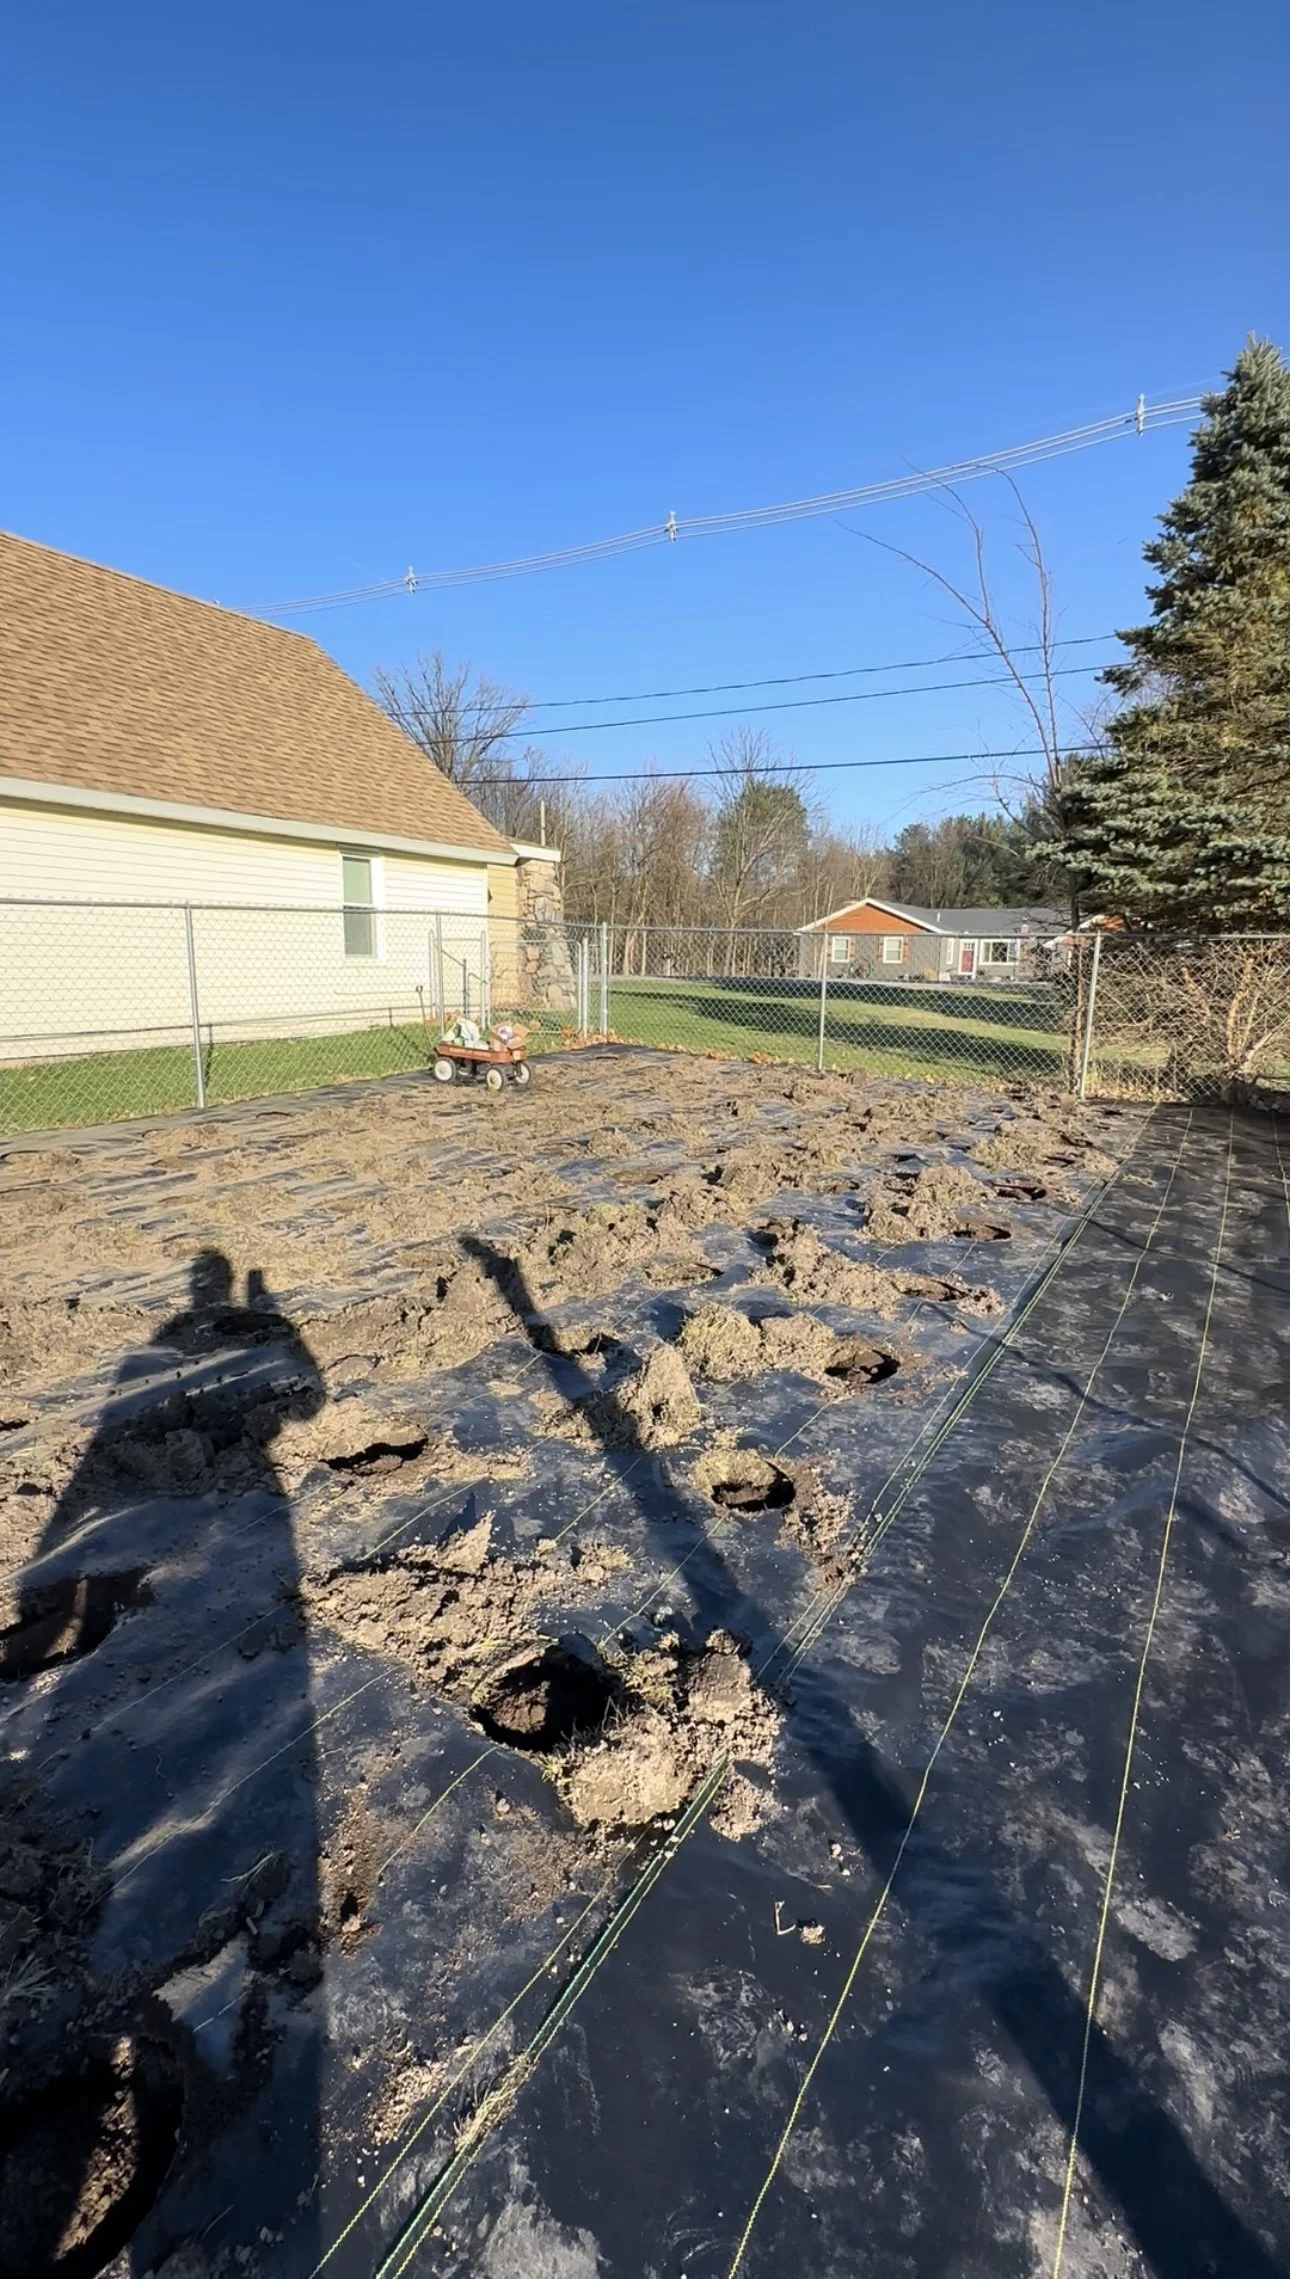
Step 4: Lay Landscape Fabric
We used Dewitt brand landscape fabric and calculated the size based on the total growing space. Supplies included:
Landscape staples (we placed them every 2–4 inches for extra durability)
Heavy-duty scissors (we’ve had these since our first season, great investment & used regularly on the farm)
While a single large piece of fabric would be ideal, cost was a factor, so we overlapped pieces by 8 inches to create continuous coverage.


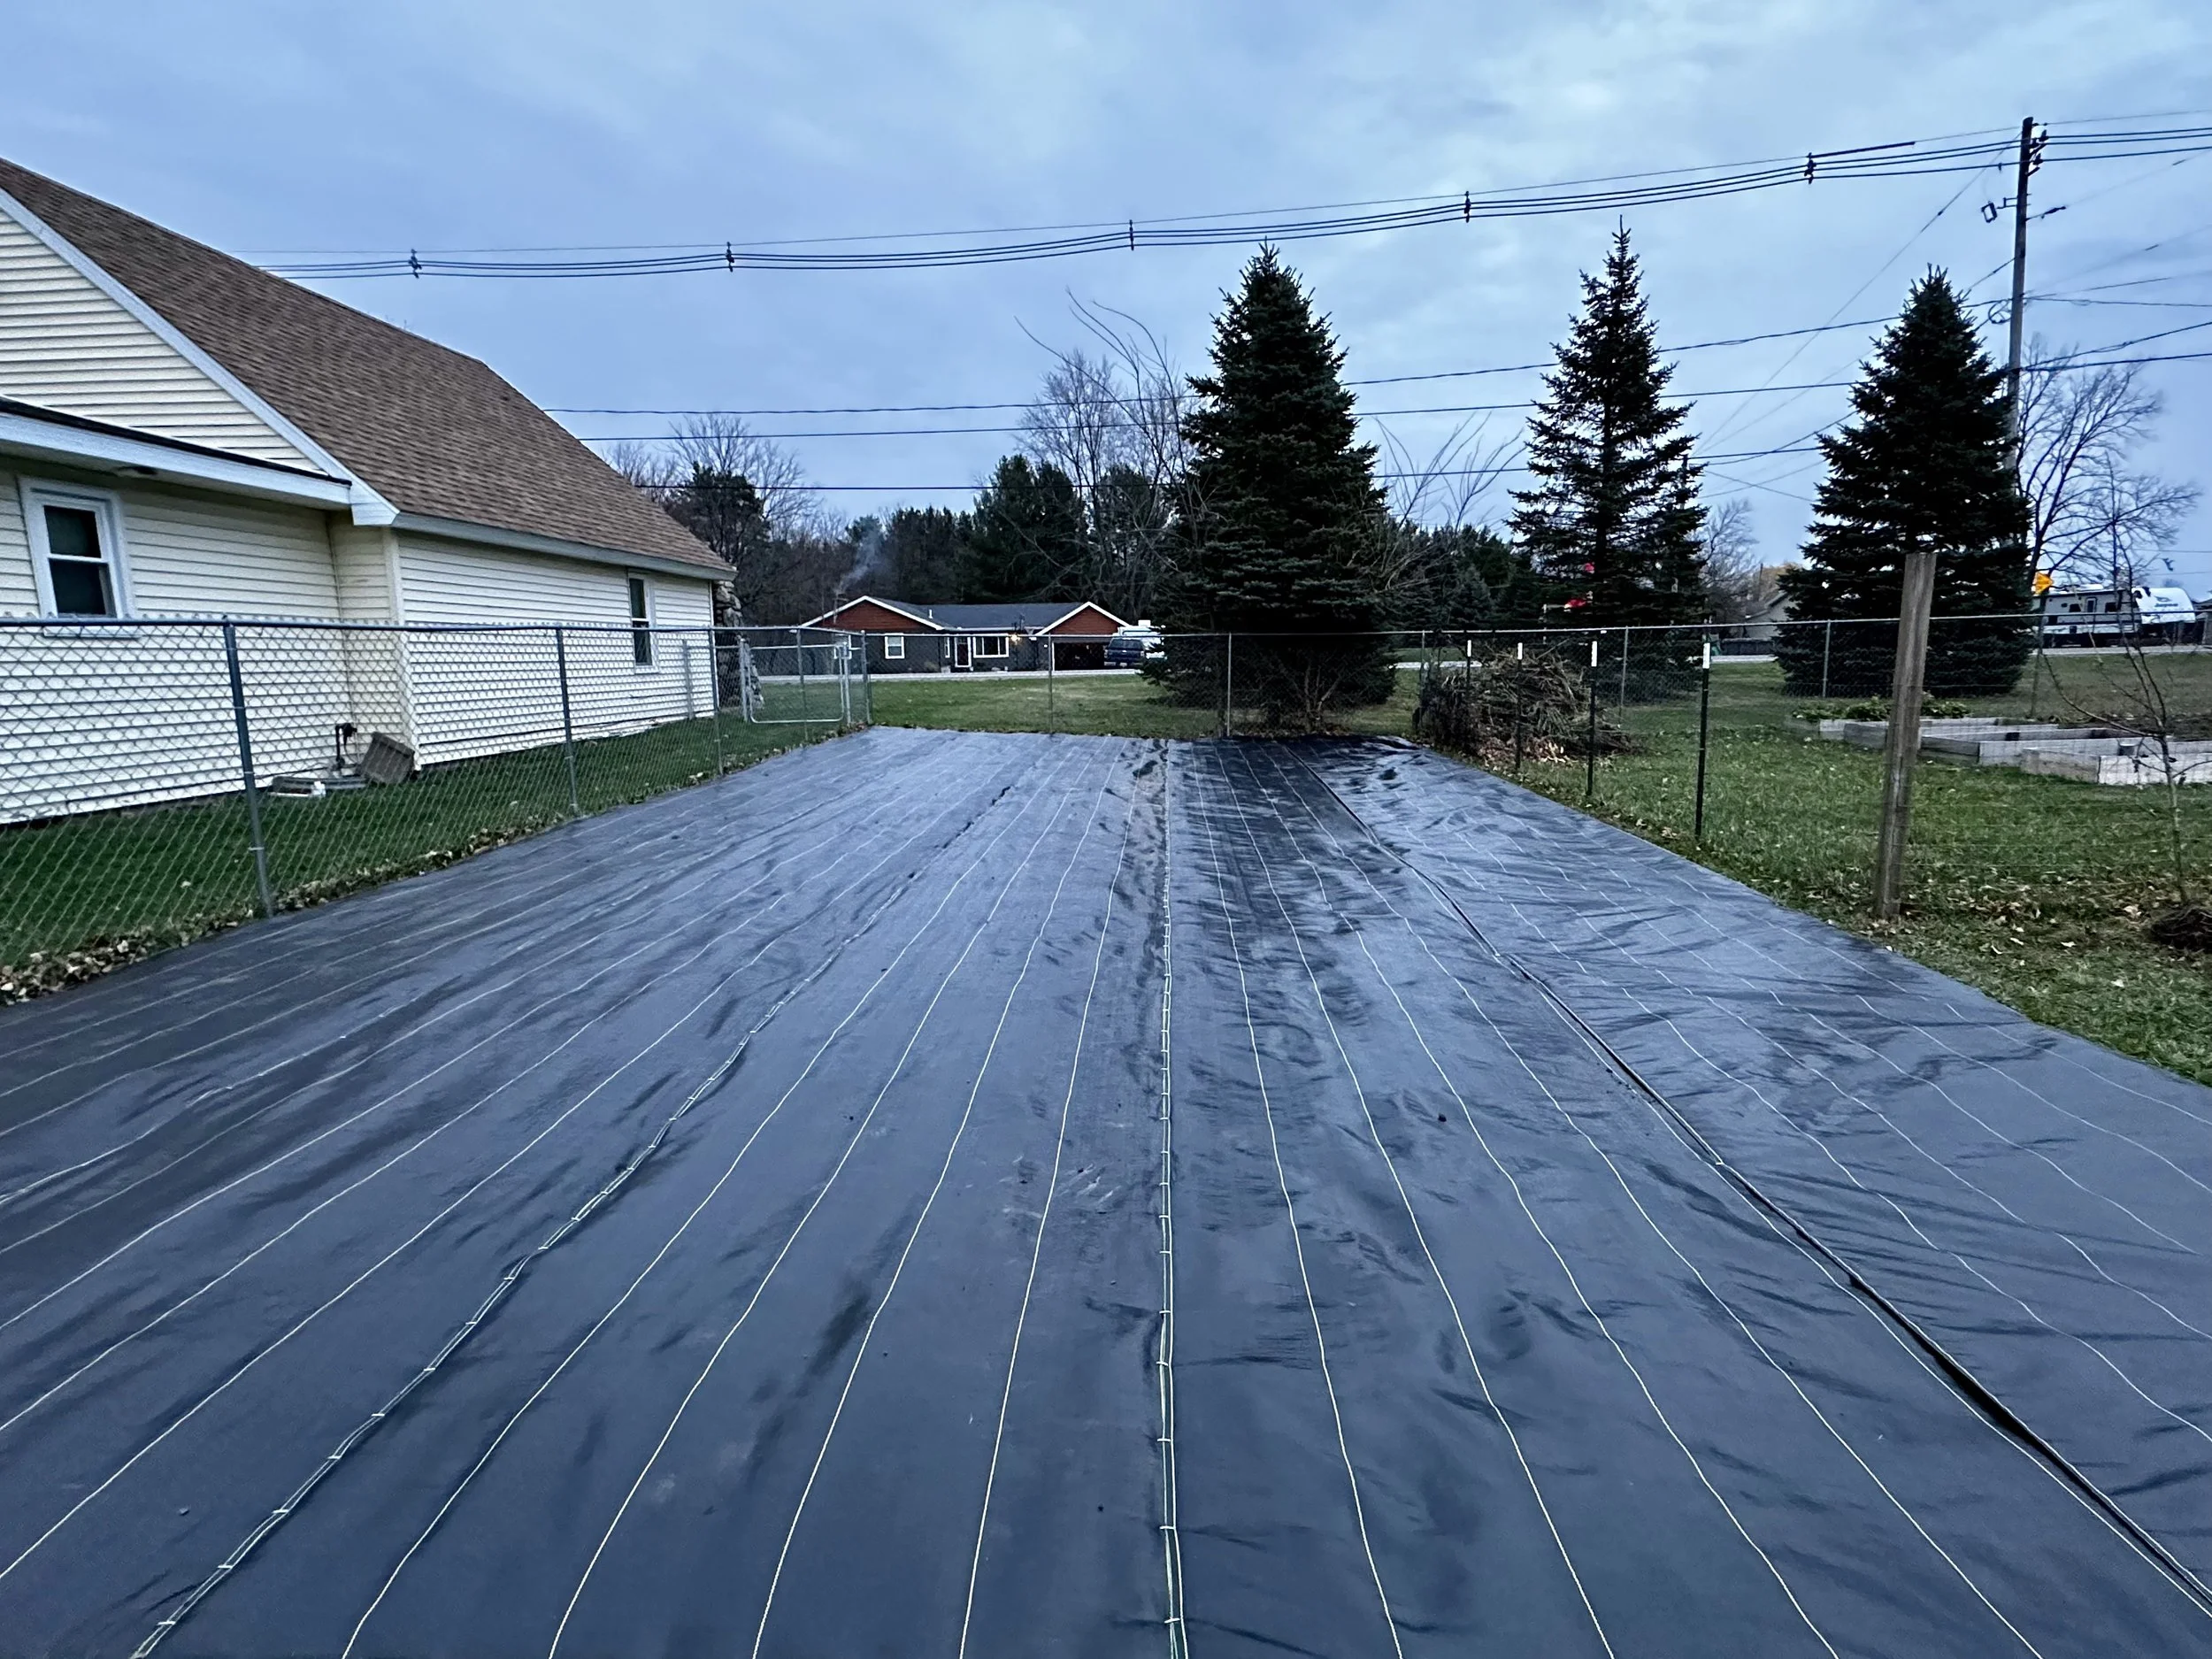

Step 5: Mark and Burn Planting Holes
Use a large measuring tape and spray paint to mark each hole, spaced 4 feet apart.
A metal planter (about 10" wide) served as our hole template.
Using a handheld torch and the metal planter, we burned clean planting holes into the fabric.
We use the Bernzomatic Trigger Start Torch and fuel it with a can of Coleman propane from our camping stove setup.


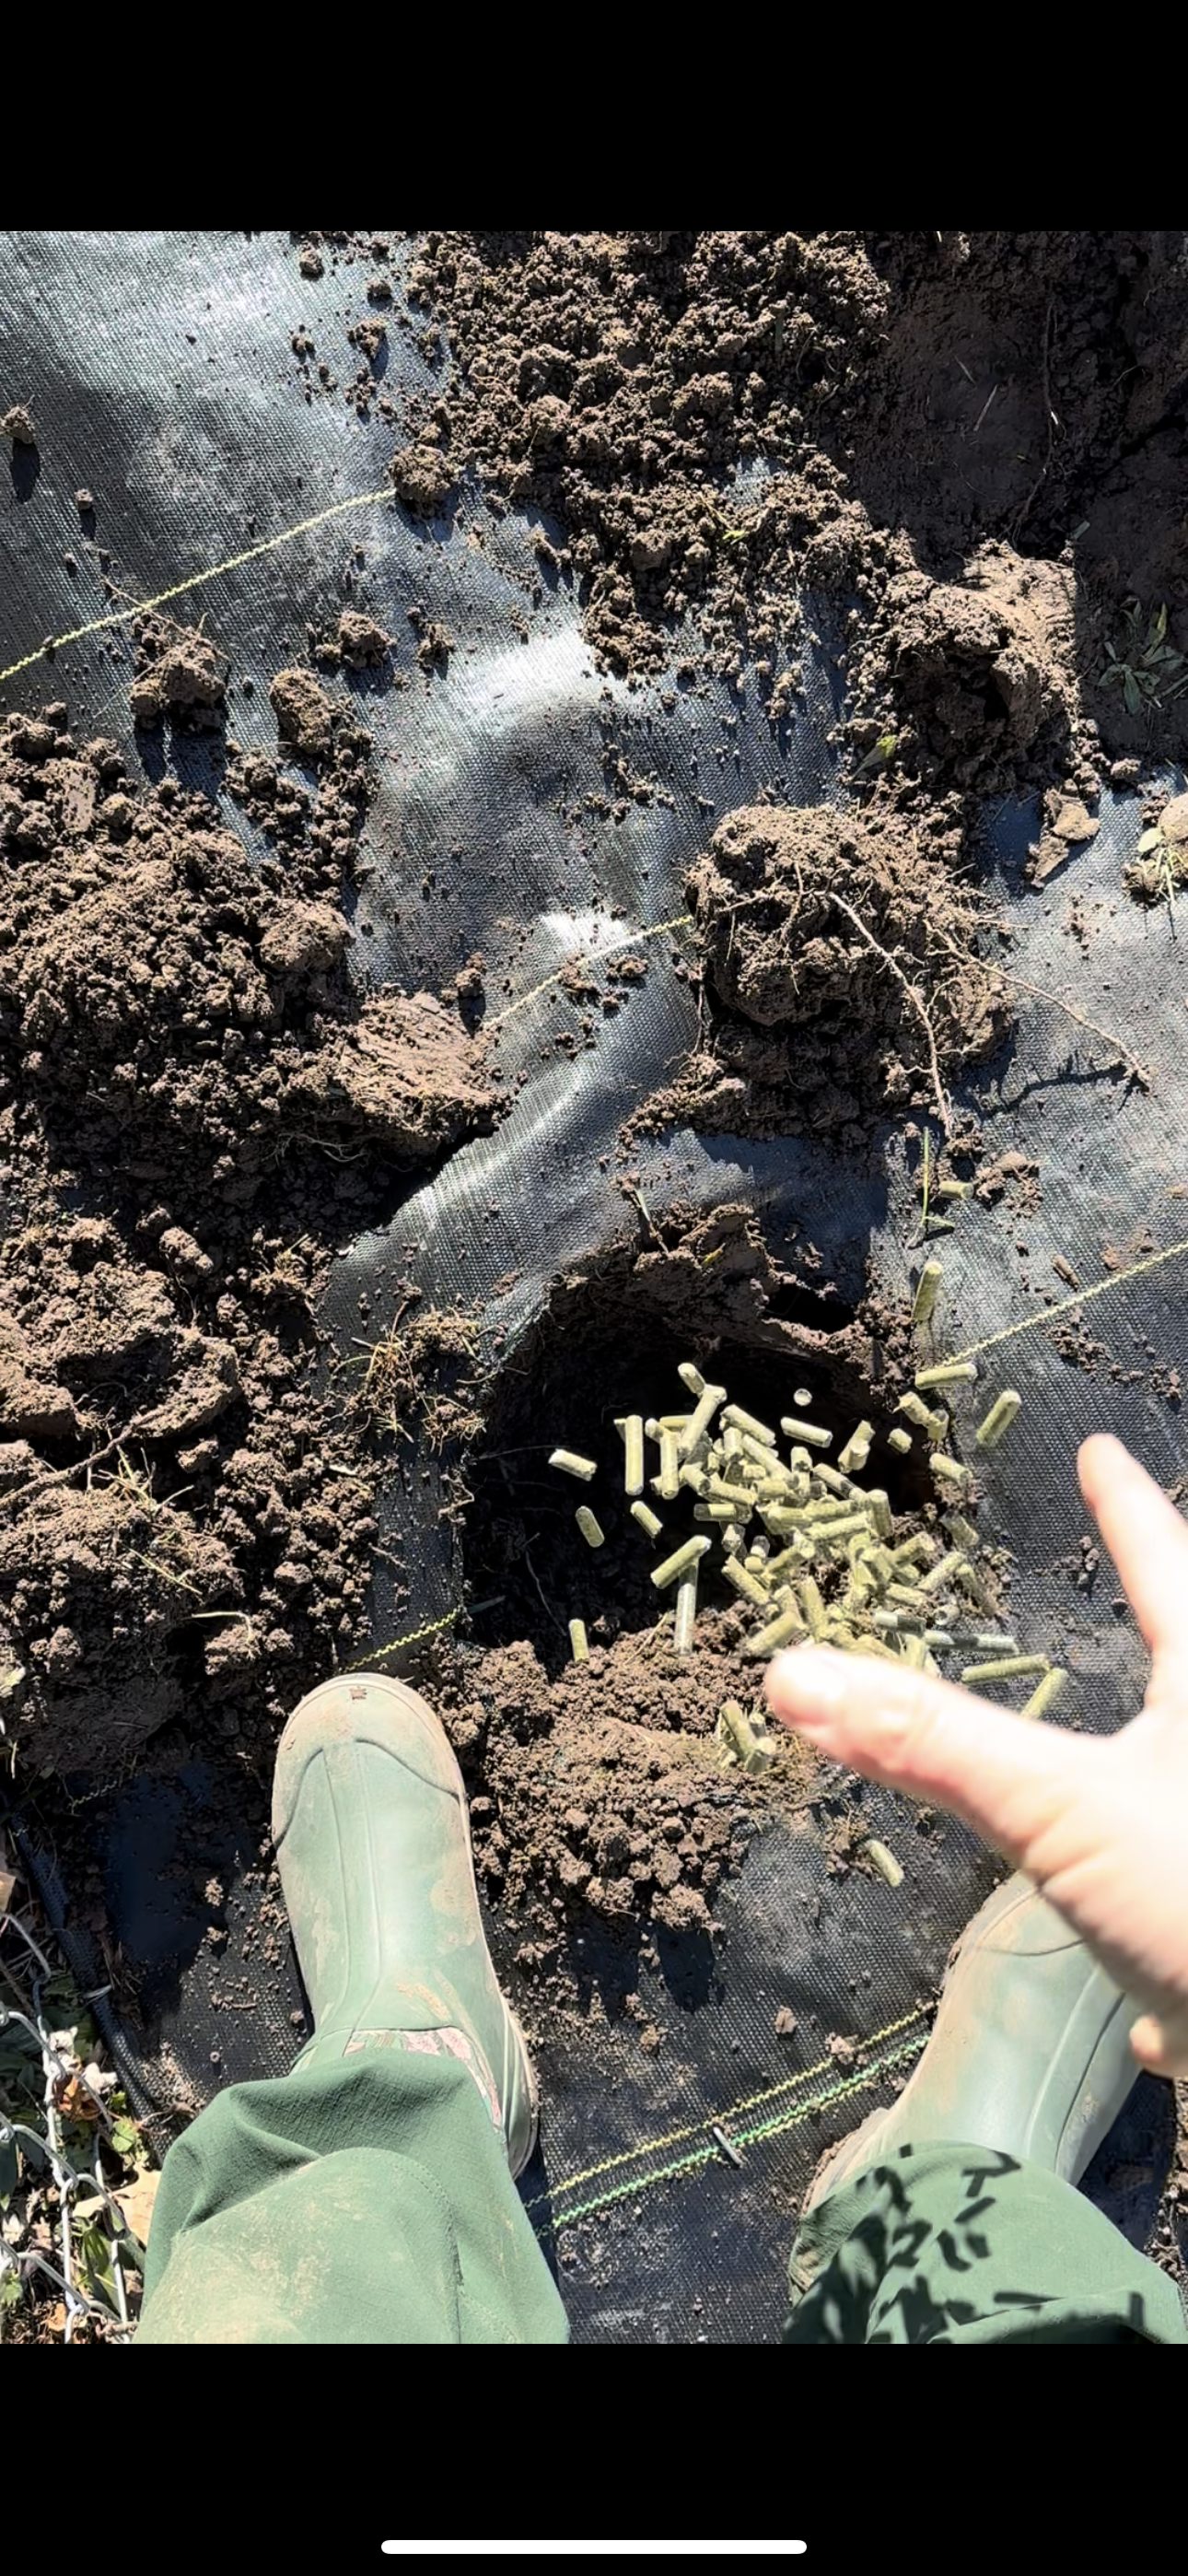
Step 6: Dig and Prep Holes
Dig about 8 inches deep, ensuring the peony crown will sit with its “eyes” (buds) no more than 2 inches below the surface.
We added alfalfa pellets to each hole for a nutrient boost—rich in nitrogen, potassium, and phosphorus.
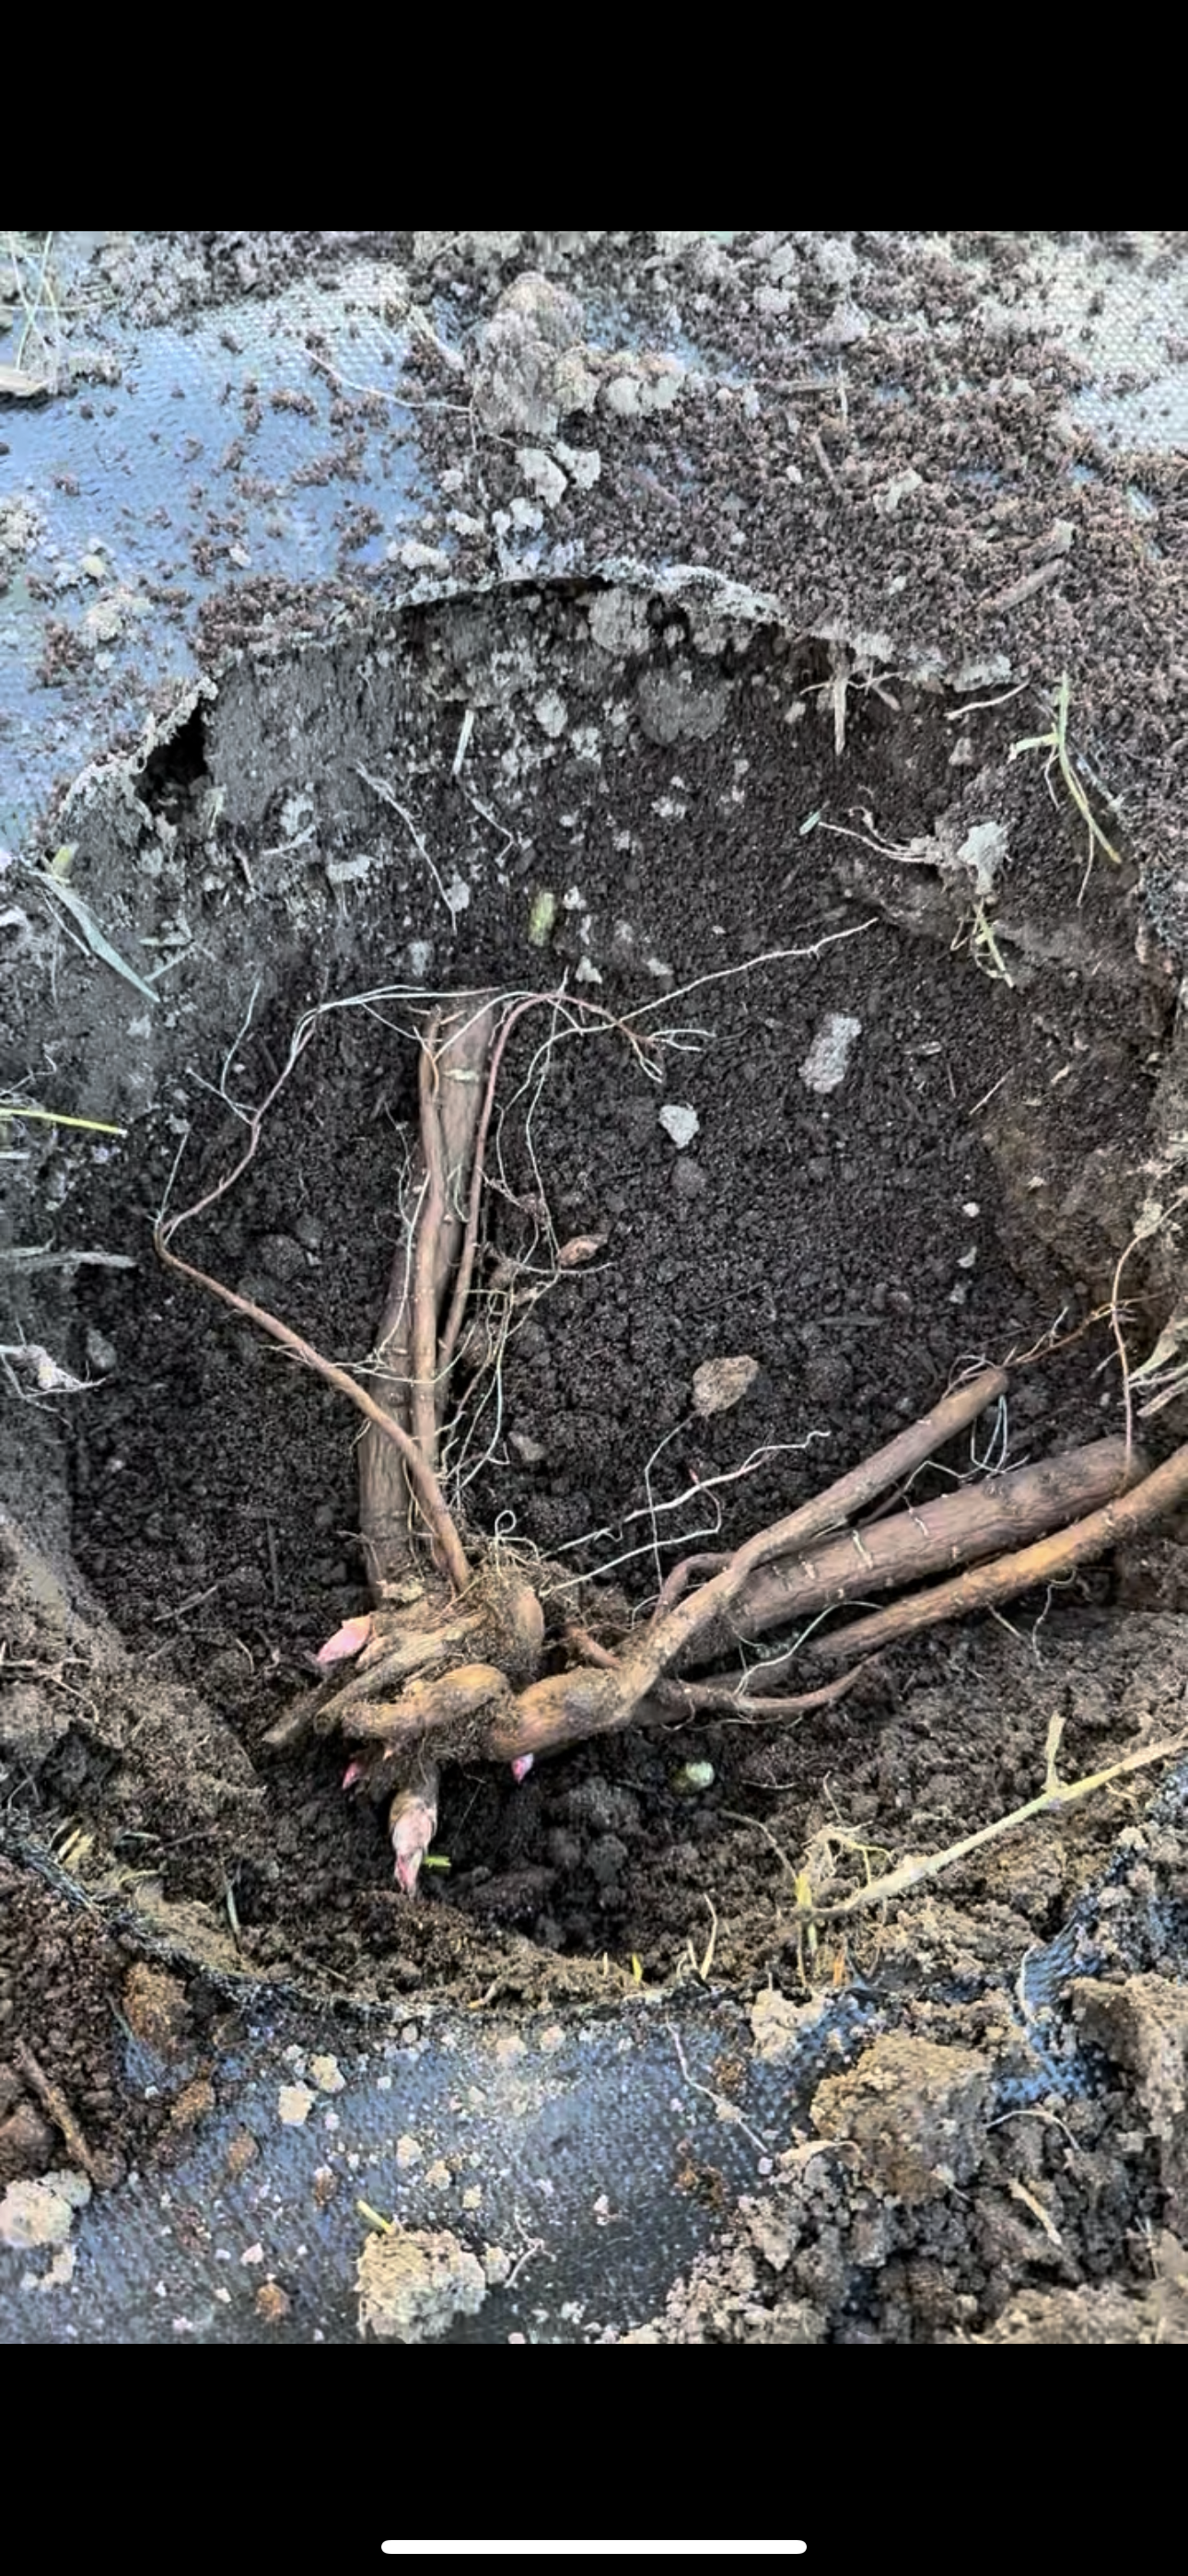
Step 7: Plant Each Root
Depending on the size of your root, you may need to widen or shape your hole so the full root structure fits without crowding or curling. Lay the root flat with eyes facing upward.


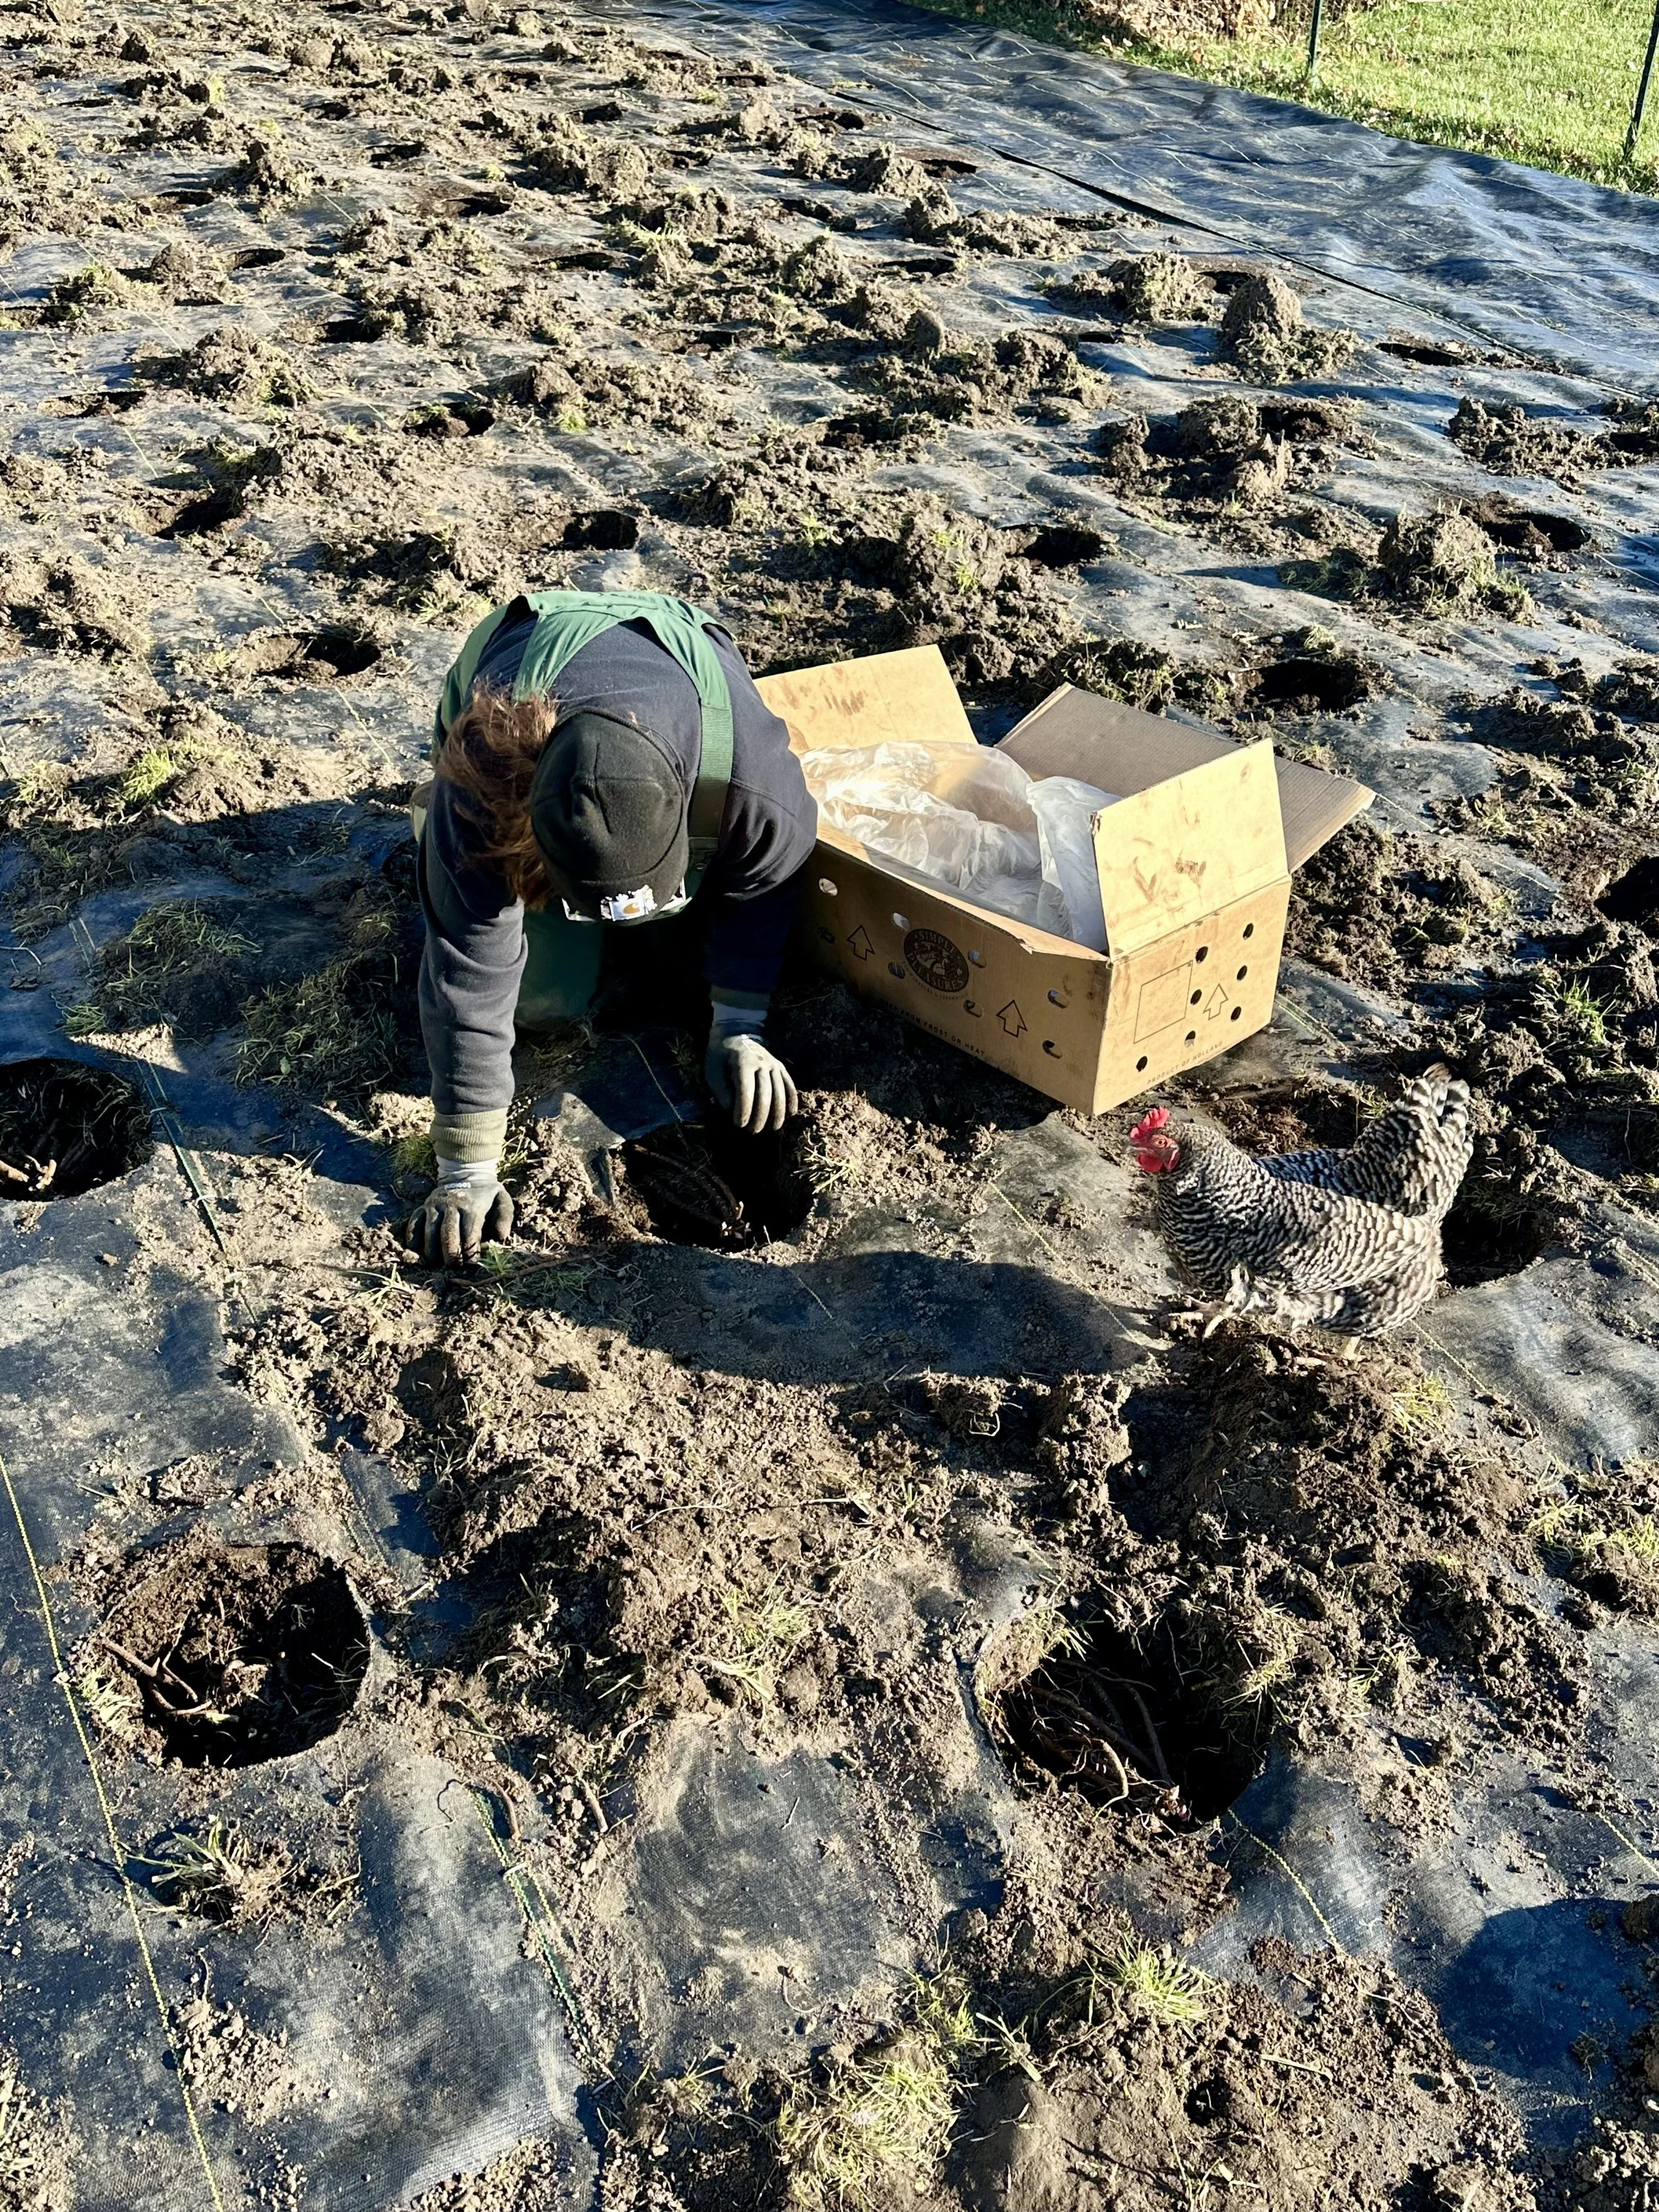
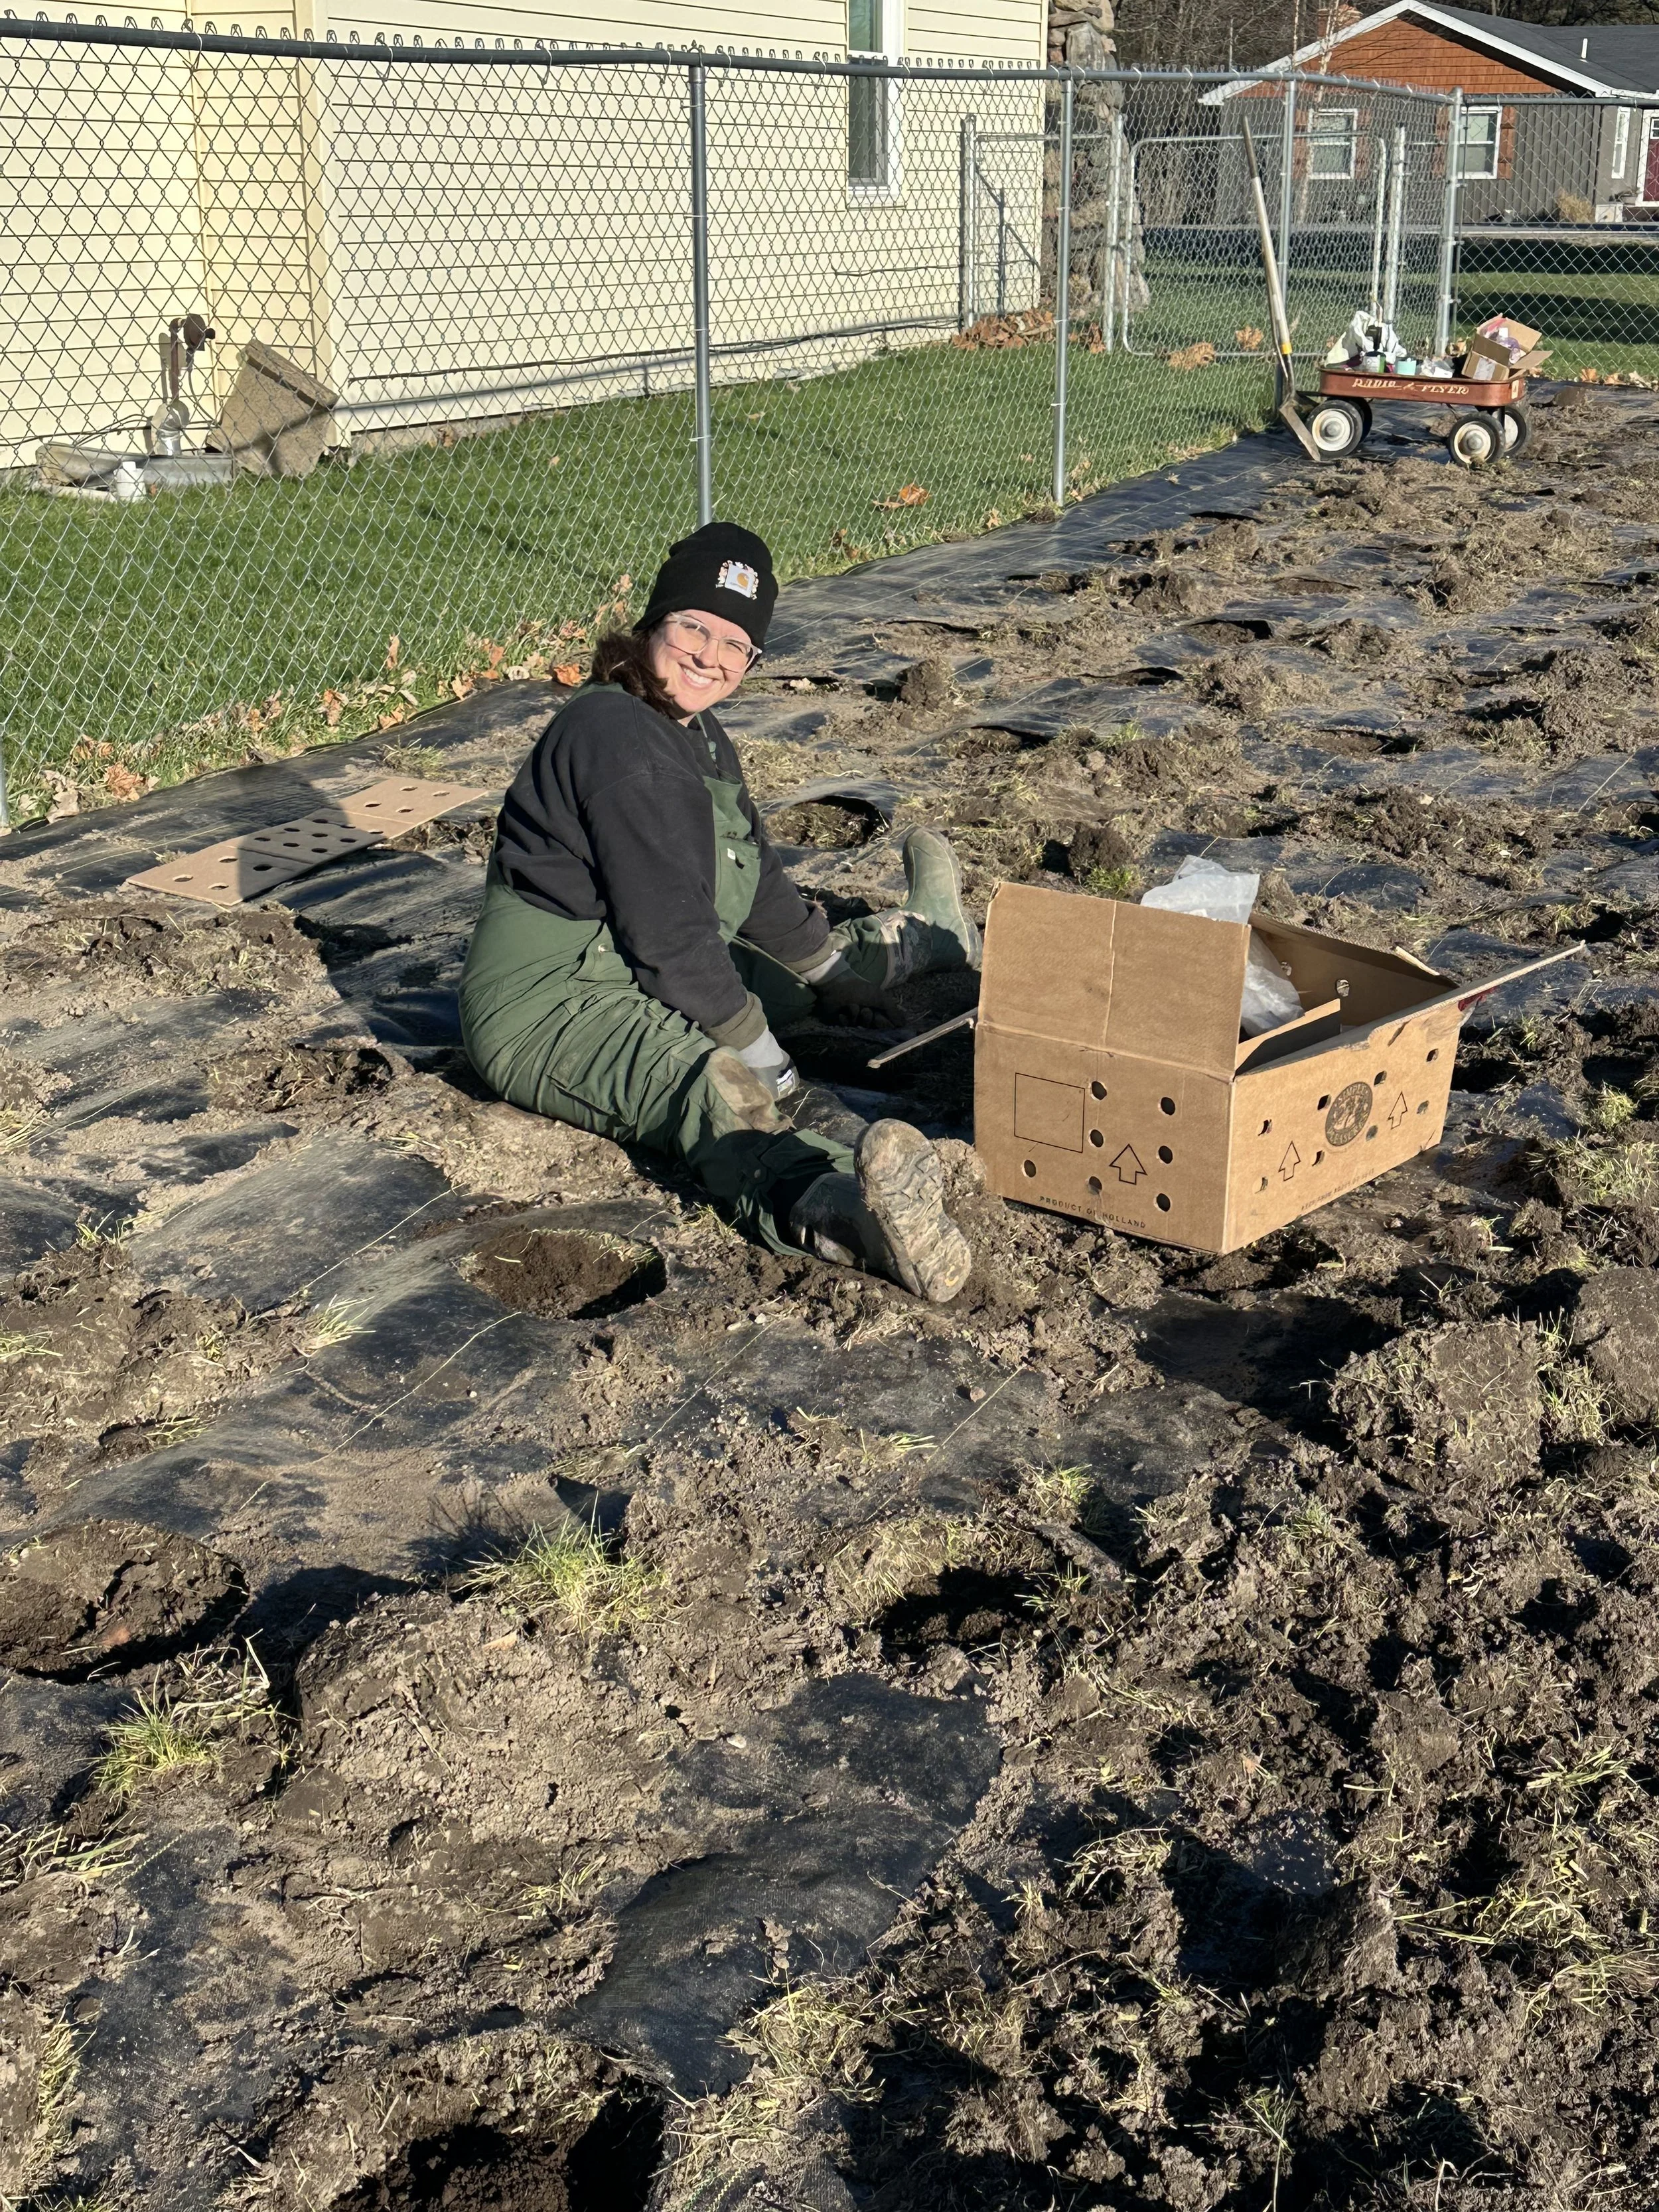


Step 8: Backfill and Sweep
Cover roots with compost and soil, gently firming it down.
Important: Sweep off any excess soil from the landscape fabric. Dirt left on fabric = weed chaos come spring.
Post-Harvest: How to Store Peonies for Later Use
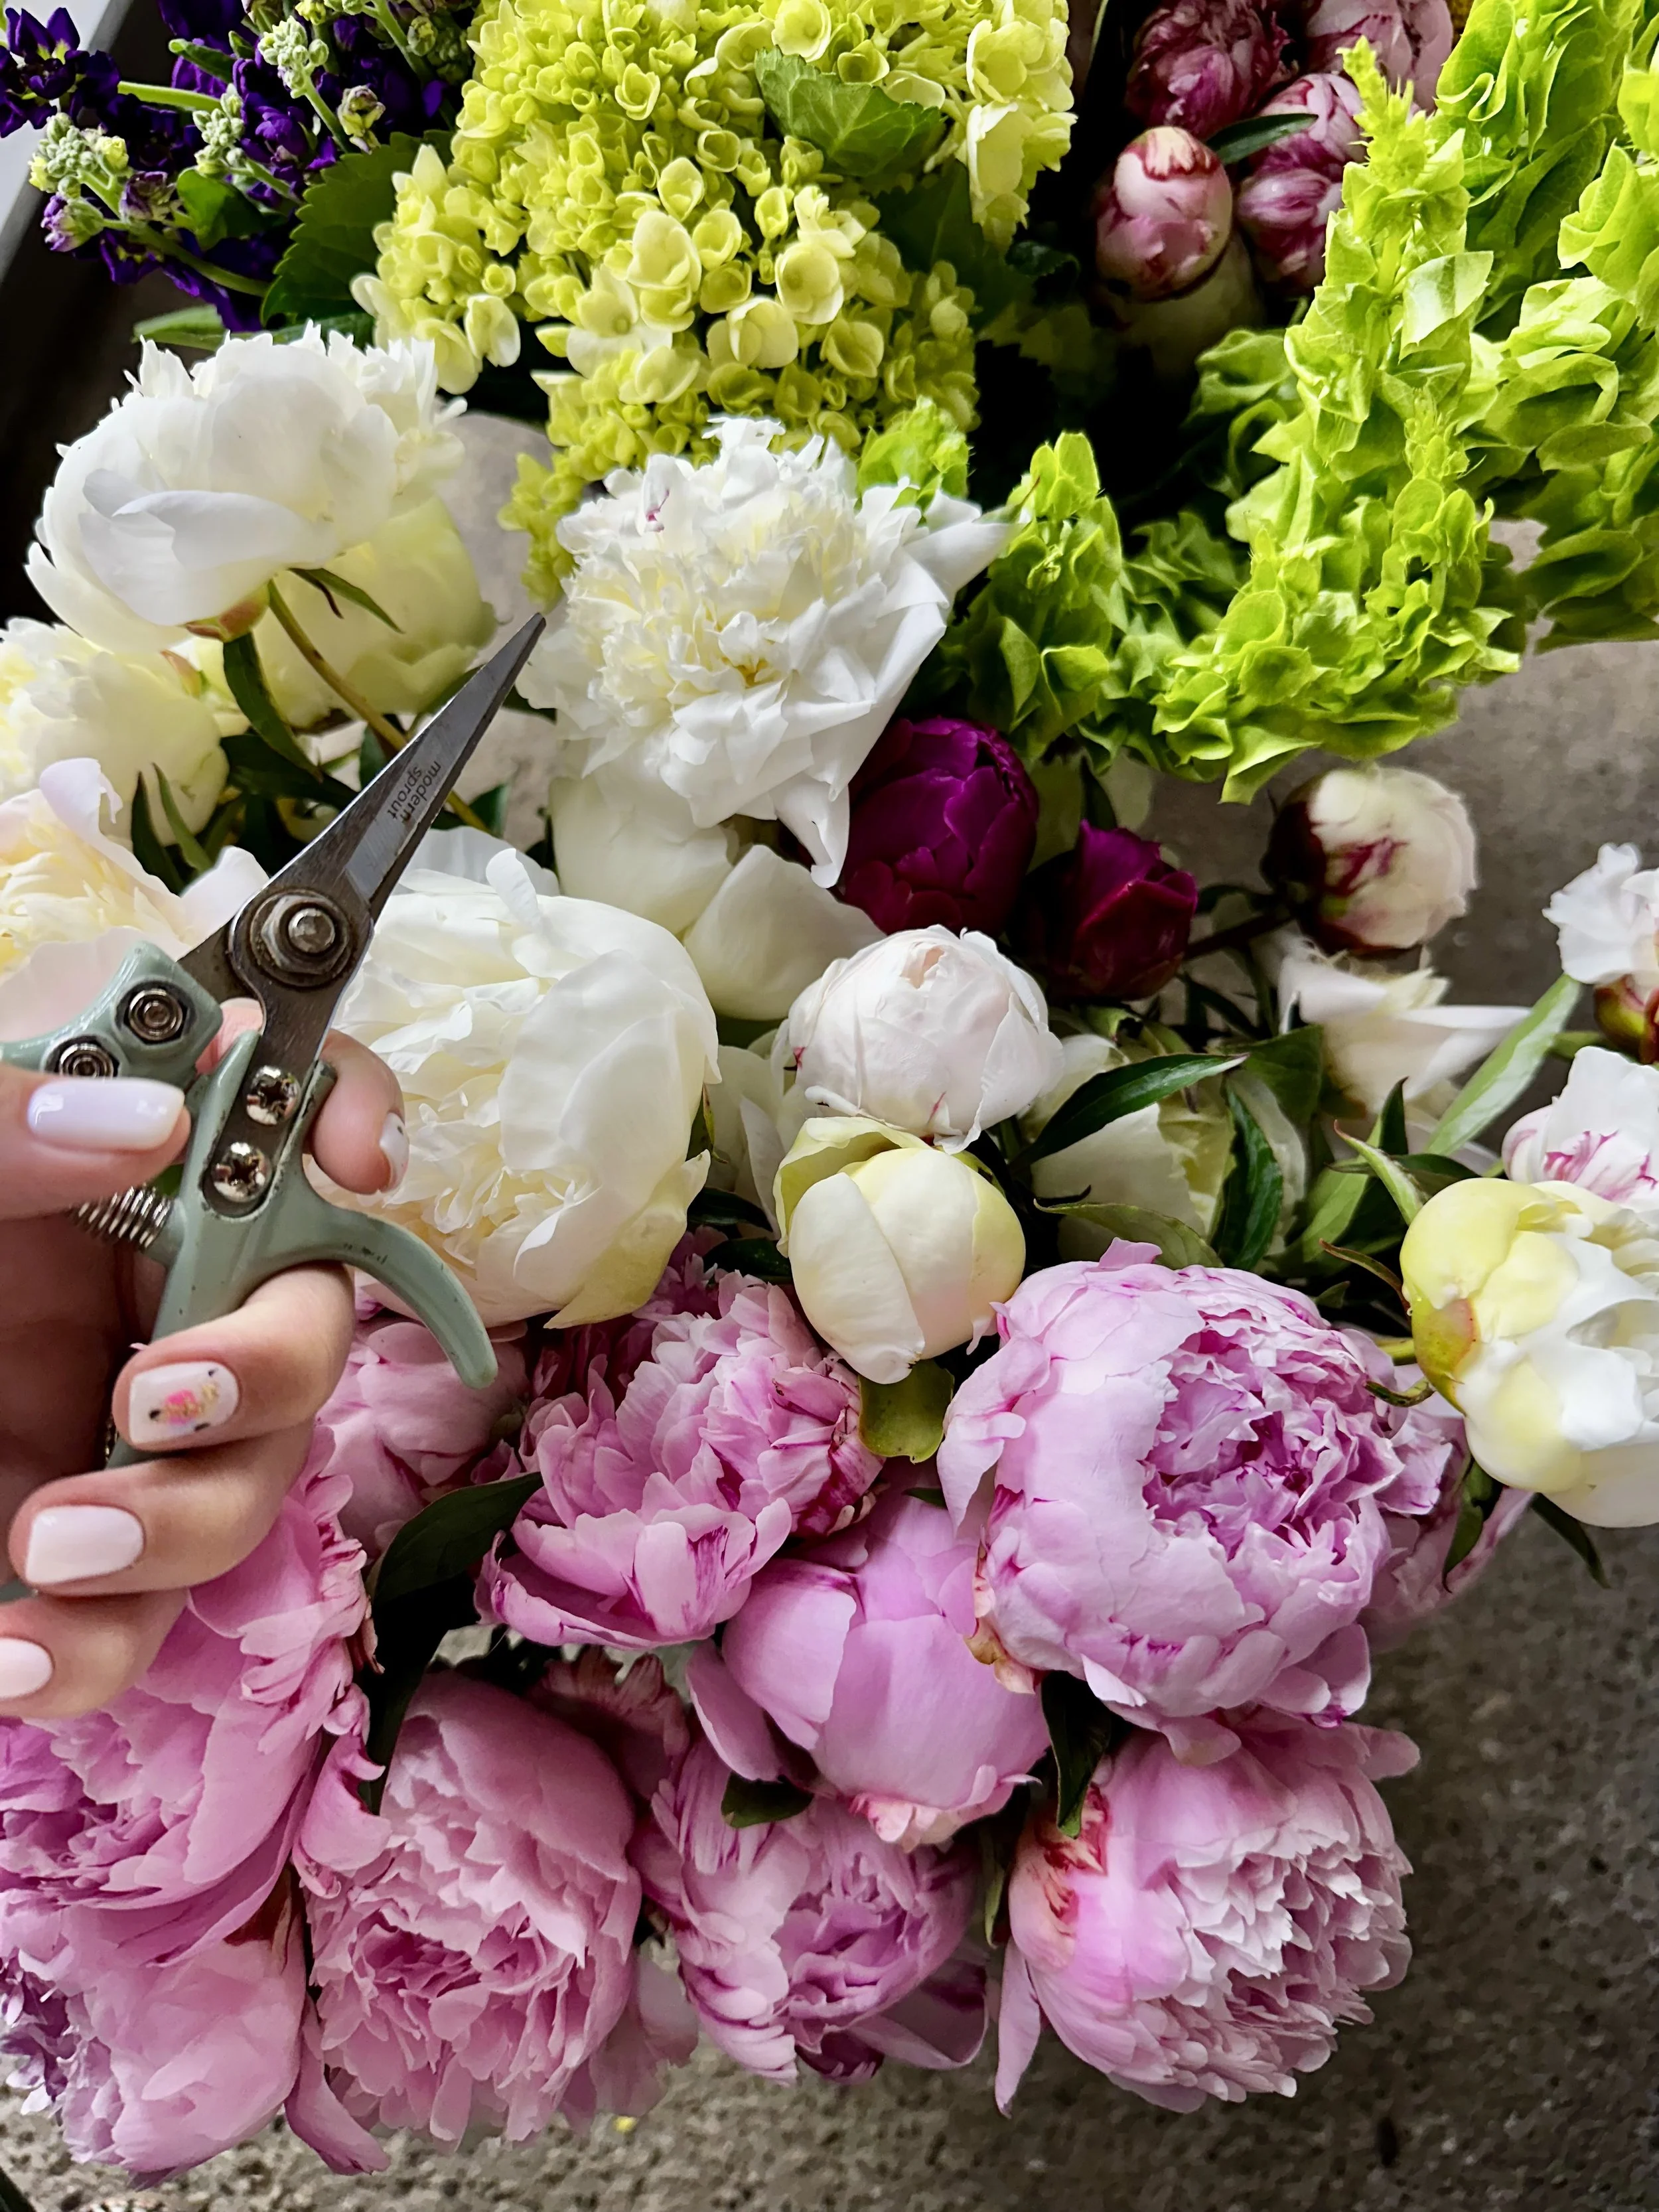
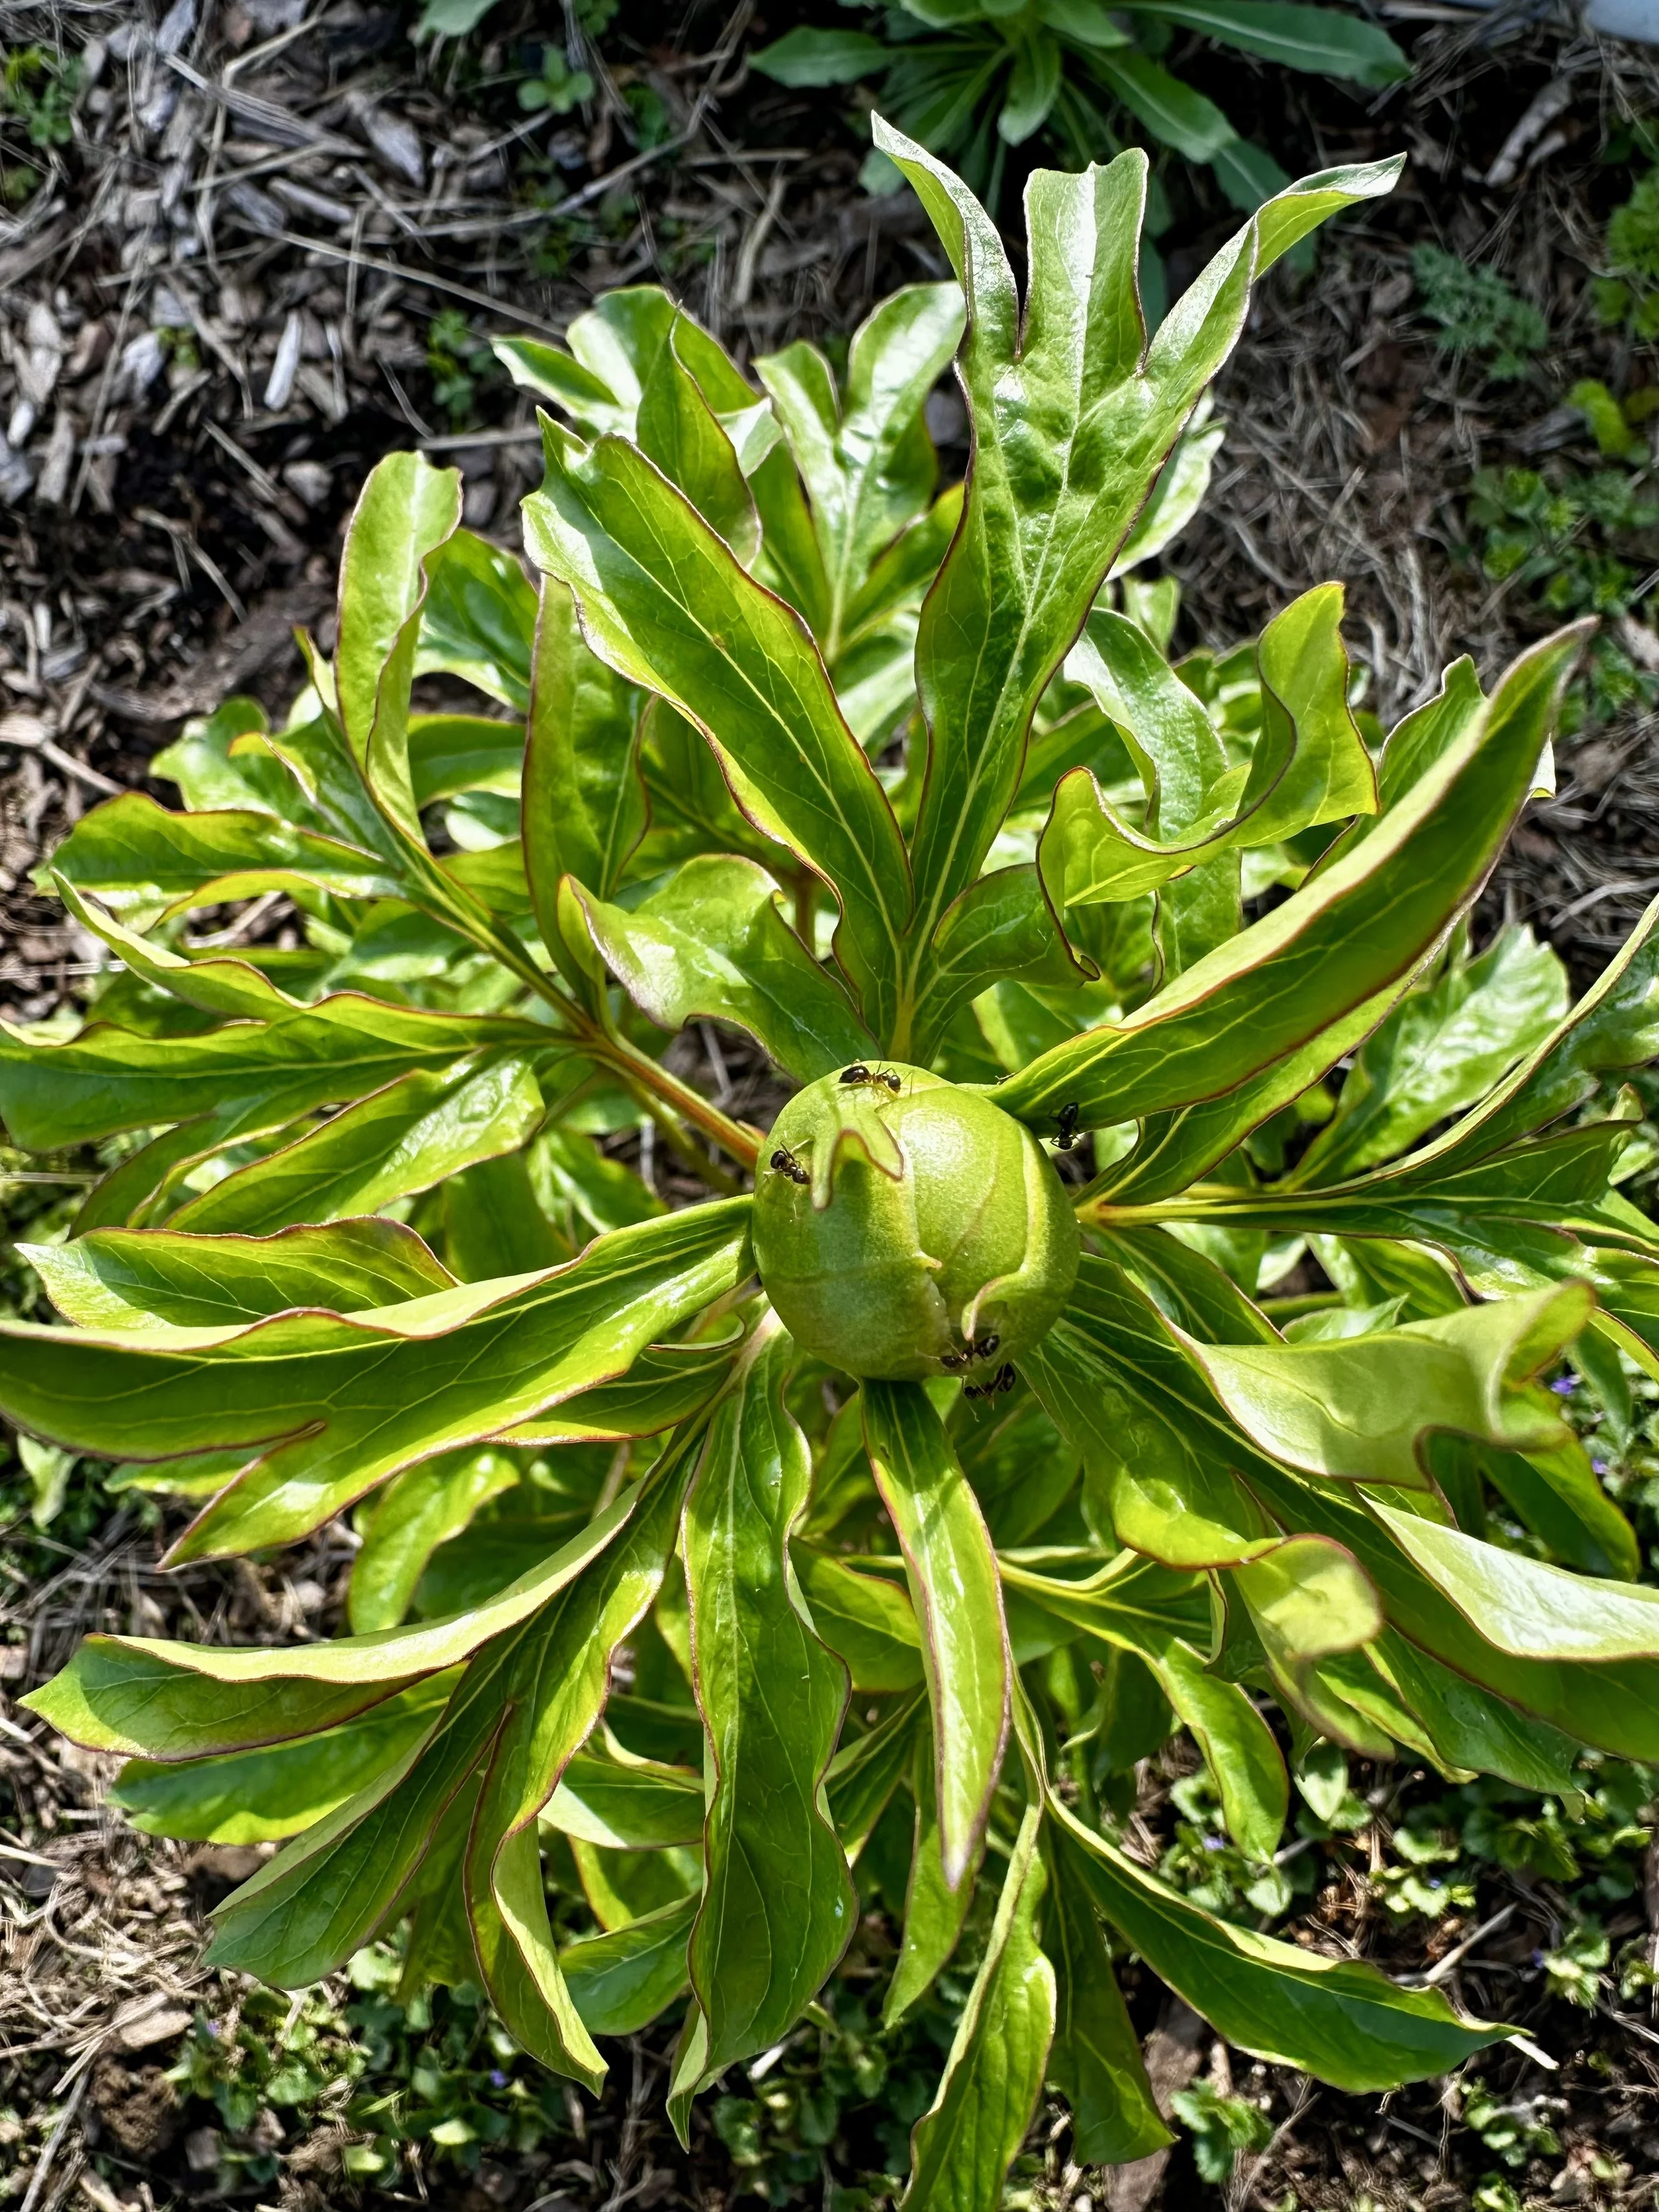
One of the best-kept secrets in floral work? Dry storing peonies.
You can harvest them at marshmallow stage, wrap them in newspaper, and refrigerate for up to 6 weeks for later use. It’s how many designers manage early June blooms for late July weddings.
I’ll be sharing a deeper dive on how to dry store peonies soon—sign up for the newsletter if you're curious!
Final Thoughts: Beauty That Waits for You
Planting peonies taught me a lot about slowing down, trusting the process, and investing in beauty that takes its time. These flowers ask us to think long-term—to believe in what we can’t see yet. That kind of growing is the most magical of all.
If you’re dreaming of your own patch of peonies, this fall is the time to start.
🌸 Peonies are a love story written underground. Here's to the flowers that are worth the wait.
With love and dirt under my nails,
— Alex💌 Want more growing tips and behind-the-scenes peeks at flower farming? Subscribe to the Bede’s Blooms newsletter or follow us on Instagram @bedesblooms for weekly updates from the field.
