Seed Starting, Motherhood, and Letting Go of Perfect
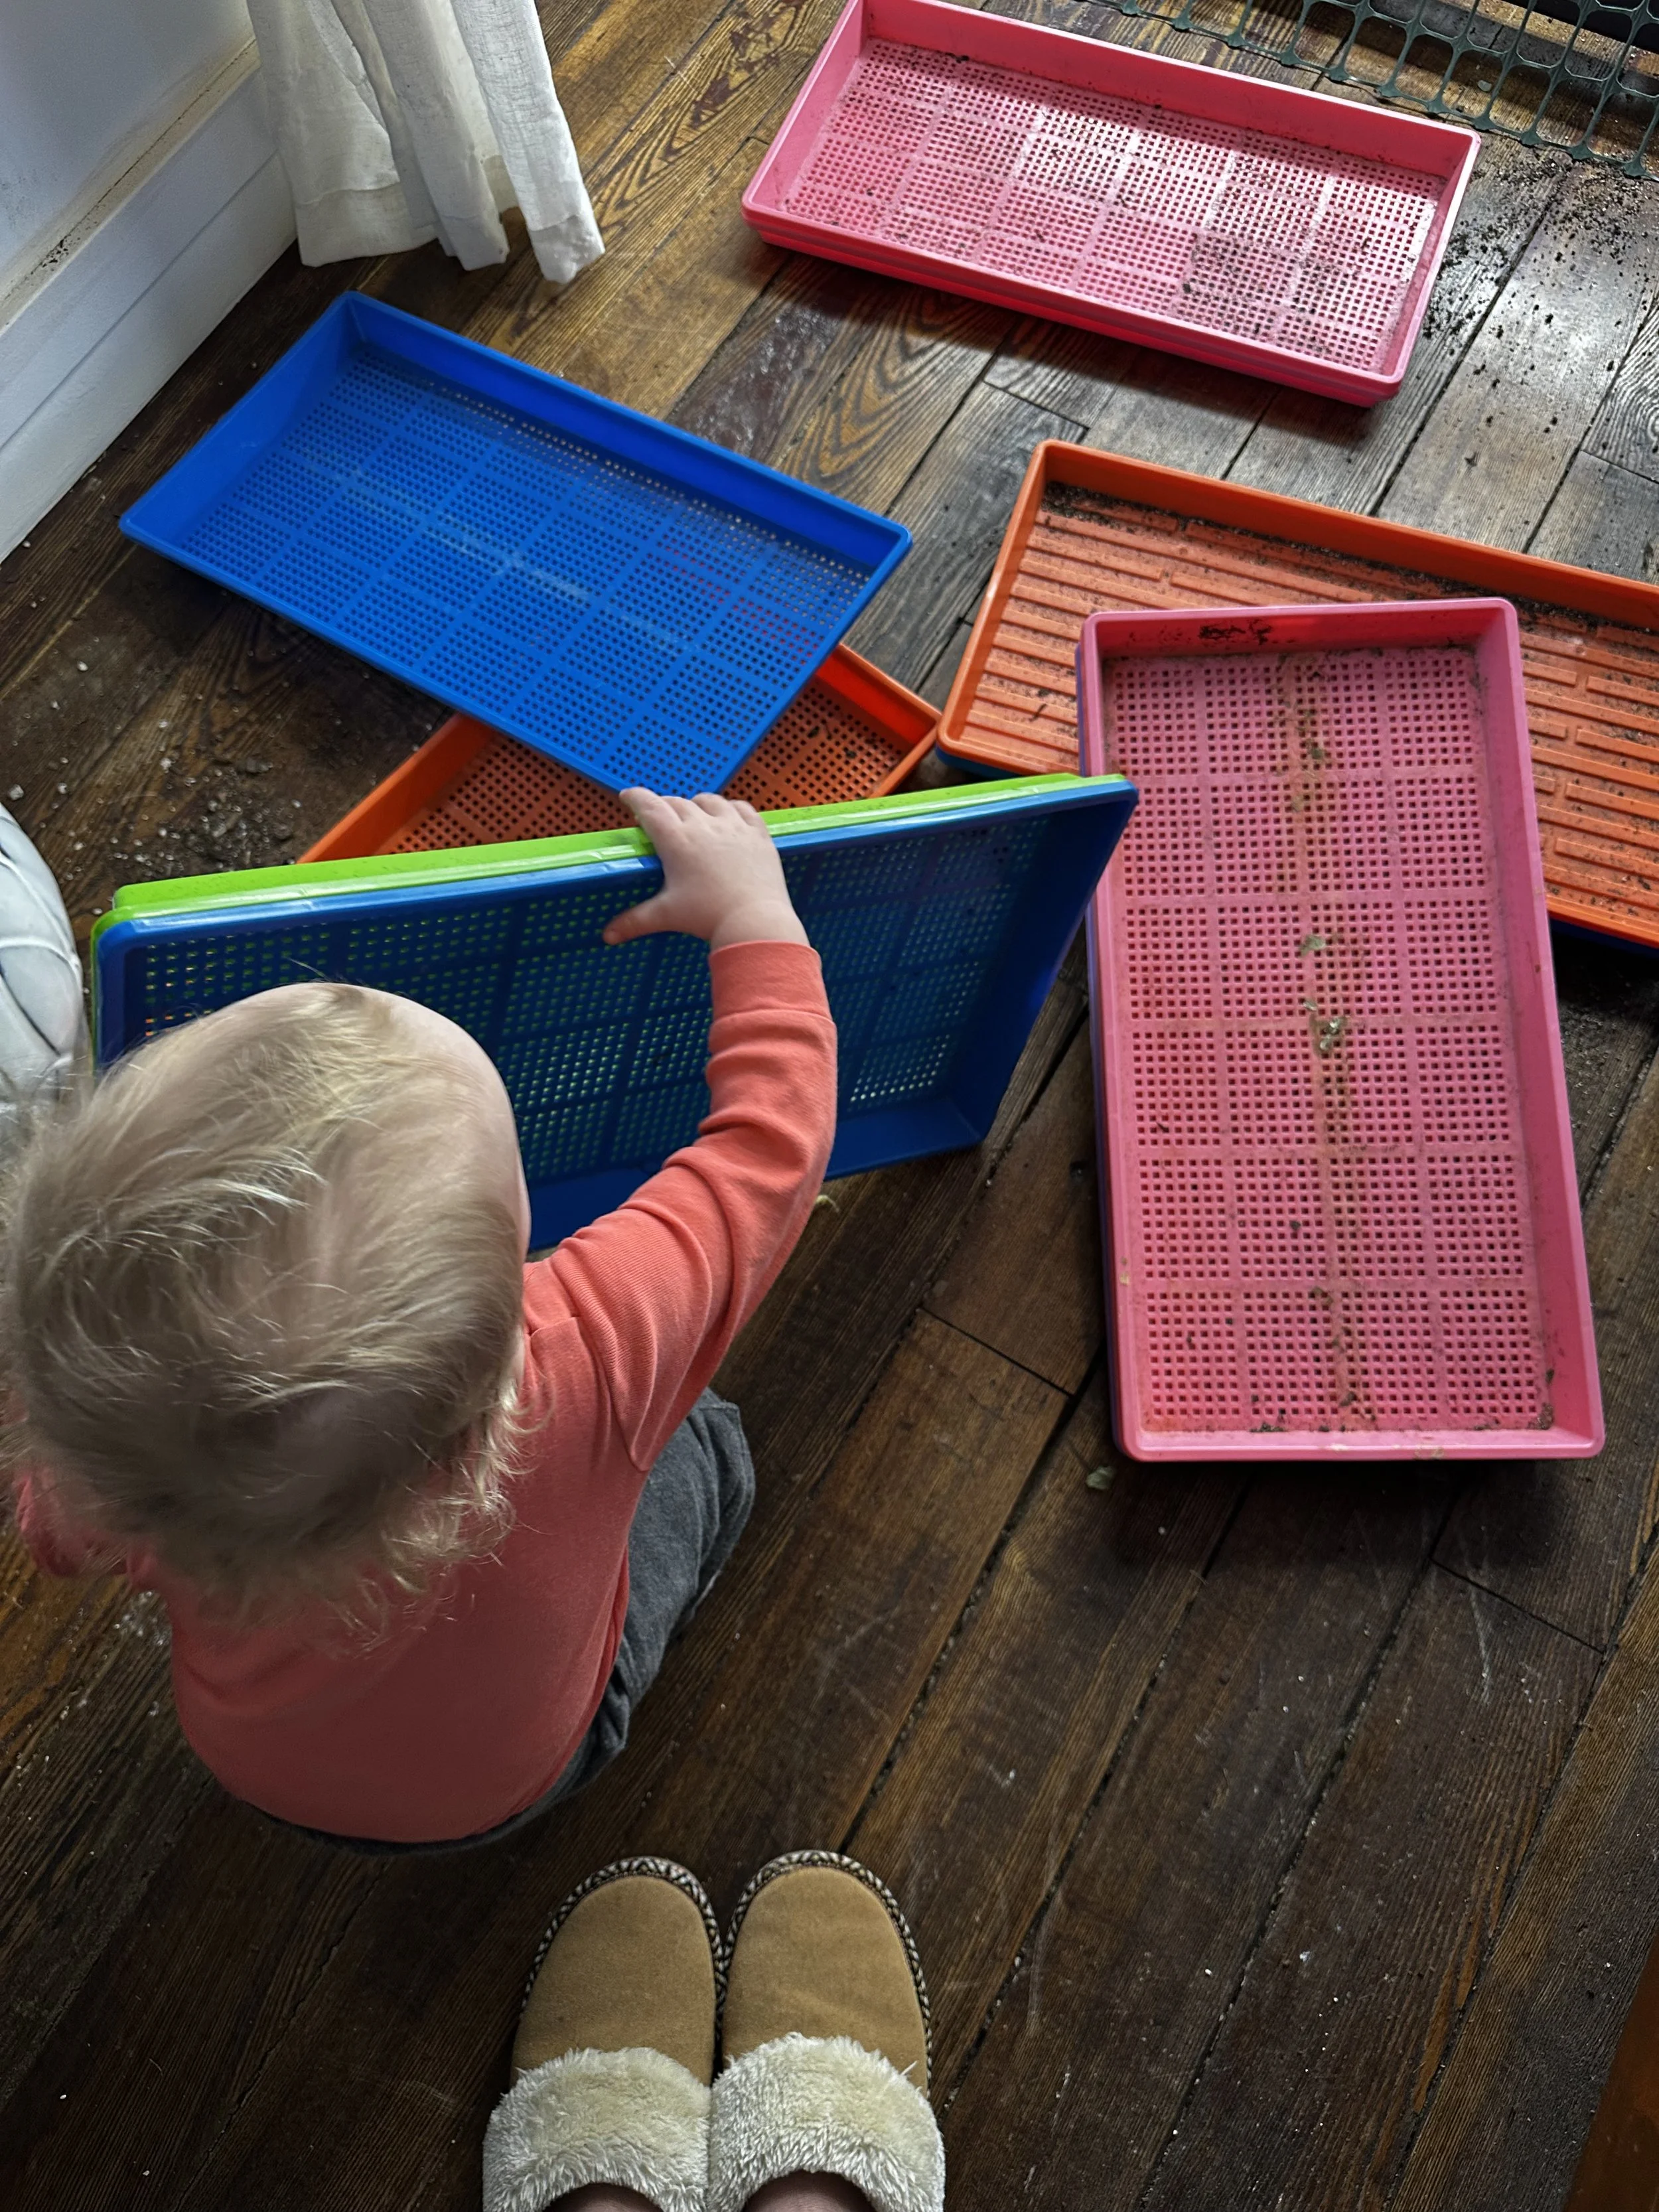
Motherhood has changed the way I start seeds — and honestly, the way I approach everything. In this season, seed trays sit on my dining room table, my toddler colors nearby, and perfection has taken a backseat to presence. Here’s what gardening and motherhood are teaching me about letting go, starting imperfectly, and trusting the process.
There’s a reel I published today that shows exactly what seed starting looks like in this season of my life: adapting, experimenting, and starting seeds with a baby in a diaper nearby.
Prepping to wash seed trays, baby at my feet.
It captures not just how I’m starting seeds right now — but why it looks different.
Last year, I intentionally trialed a new seed-starting method. Not because what I was doing before was broken, but because I’m always learning, adjusting, and experimenting to find what works best — for my plants and for my life. Gardening, just like motherhood, has a way of teaching you that flexibility and curiosity matter more than rigid rules.
And if I’m being completely honest?
That reel is more real than anything I could have staged.

I’m starting seeds slower now. I’m doing it in pockets of time — during nap time, on my dining room table, with an old tote instead of a pristine workspace. At one point in the reel I say:
“You don’t need fancy things to start seeds.”
And I meant every word.
Motherhood has been — hands down — the hardest, most rewarding, most fulfilling transition of my life. It’s also the season where I’ve lost a lot of control… in a good way.
I don’t have nearly as much time as I used to. I can’t force productivity. And that constant need for things to be precise and perfect?
I’ve let a lot of that go — and the peace that’s come with it has been incredible.
If it gets done, it gets done.
If all I had the space and capacity for that day was a shower, snuggles, and coloring with my toddler? Then I am the true winner.
You Don’t Need Perfect — You Just Need to Start
I used to think I needed all the things.
The best supplies.
The perfect setup.
The ideal workspace.
Then you throw a kid in the mix… and you learn real quick what you can and can’t do with a baby on your hip.
You hear it all the time, but it’s true:
As an entrepreneur and a corporate employee, it’s never going to be perfect to start. You’ll never have all the ducks in a row.
So if you’re waiting for that moment?
You’ll wait forever.
Will you fail?
Yes. A thousand times over.
I’ve killed more seedlings than I can count.
But what matters most?
You don’t quit.
So with all of that in mind — let’s talk seed starting.
Seed Starting 101: From Real Life, Not Perfection
Have I invested in high-quality tools over the years? Yes.
Am I picky about what I use now? Also yes.
Am I still experimenting, testing, improving, and learning every single season? Absolutely.
But I didn’t start there.
I started with:
A bag of Pro-Mix from Menards
A vegetable steamer strainer to sift an entire 3-cubic-yard bag of soil
Solo cups, with holes drilled in the bottom by my husband
A whole lot of trial, error, and learning
You can start inexpensively.
You can start expensively.
That choice is yours.
The most important choice?
Just do it.
Growing your own garden — even just a veggie or two, or a small bed of flowers — is incredibly rewarding. And like any skill, there is some investment involved in learning how to start seeds indoors successfully.
Let’s break it down from start to finish.
1. Grow Lights (Lumens Matter)
Light is non-negotiable when starting seeds indoors.
Without enough light, seedlings stretch, weaken, and fall over.
What to look for:
Lumens: Aim for at least 2,000–5,000 lumens per shelf
Color temperature: Full spectrum or daylight (5000–6500K)
Distance: Lights should sit 1–3 inches above seedlings
Adjustability is key — your lights need to move with your plants as they grow.
➡️ I link the grow lights I use here.
2. Shelving or Racks
You don’t need a greenhouse. You don’t need fancy.
I’ve used:
Old shelving units
Garage racks
Dining room corners
What matters most:
Stability
Enough vertical space
The ability to raise and lower your lights
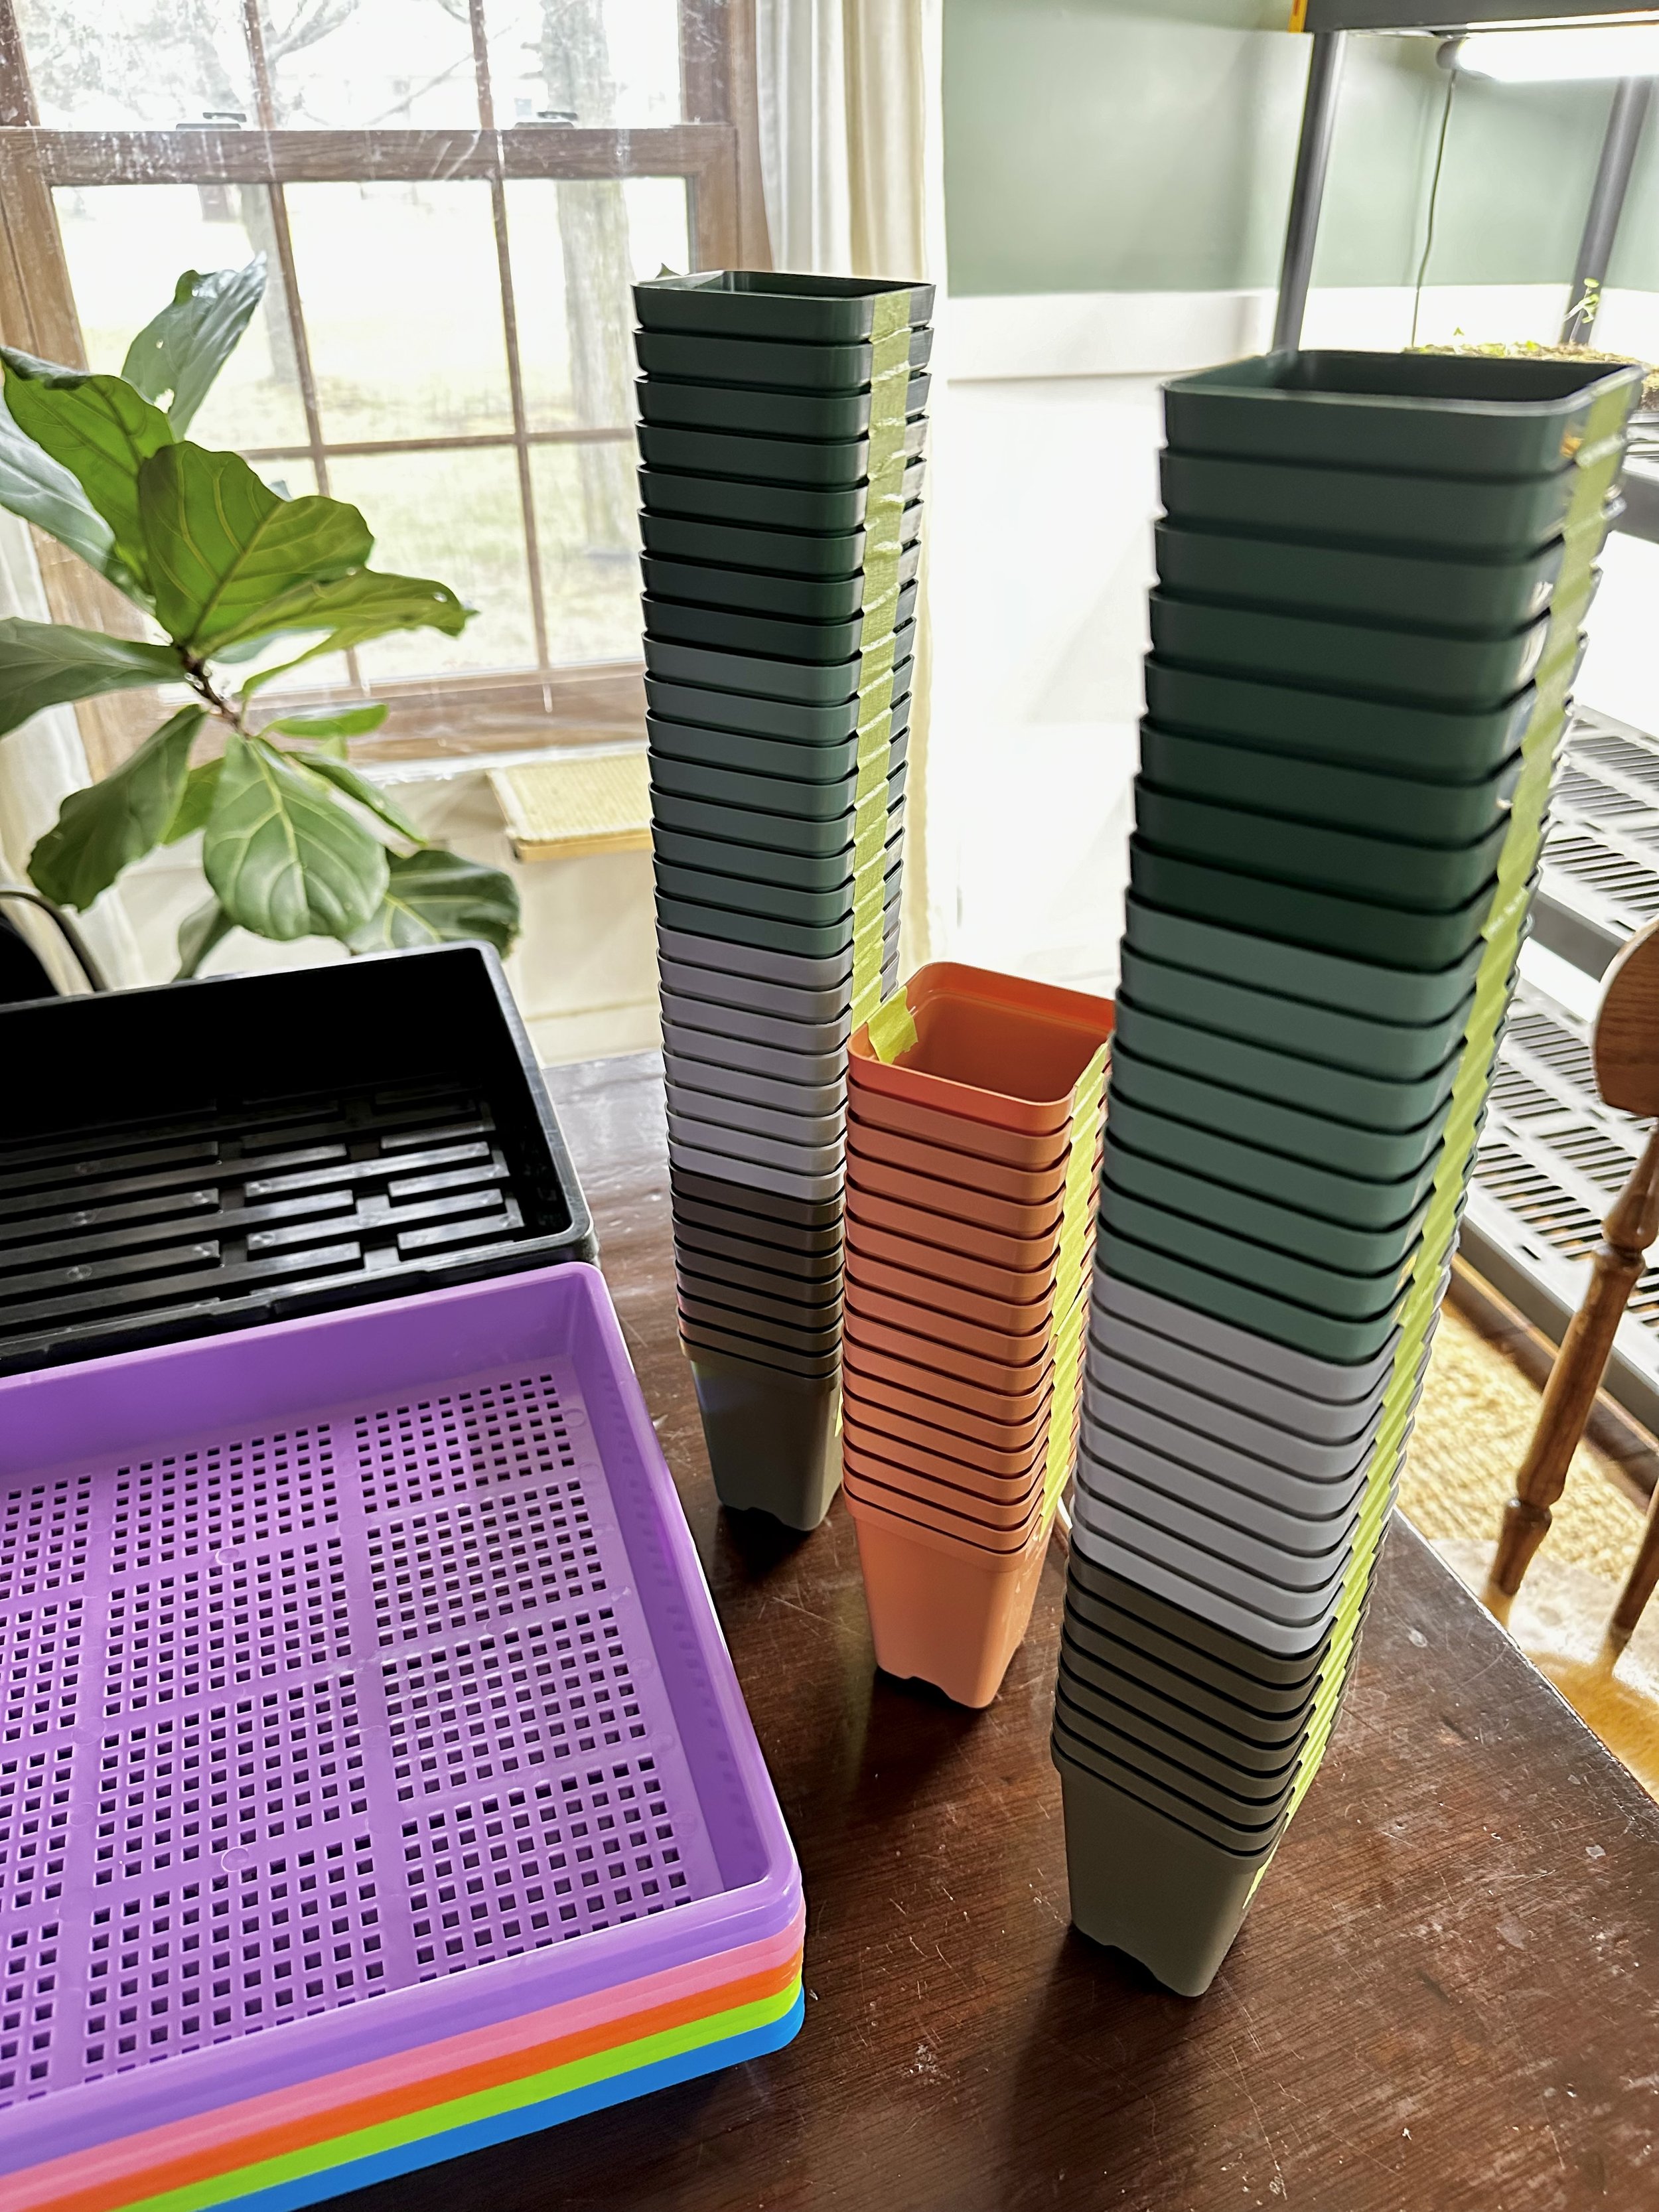
➡️ My current rack setup fits 3 Bootstrap Farmer trays per shelf, with 4 usable shelves, for a total of 12 trays per rack. We also have a couple on wheels which I love.
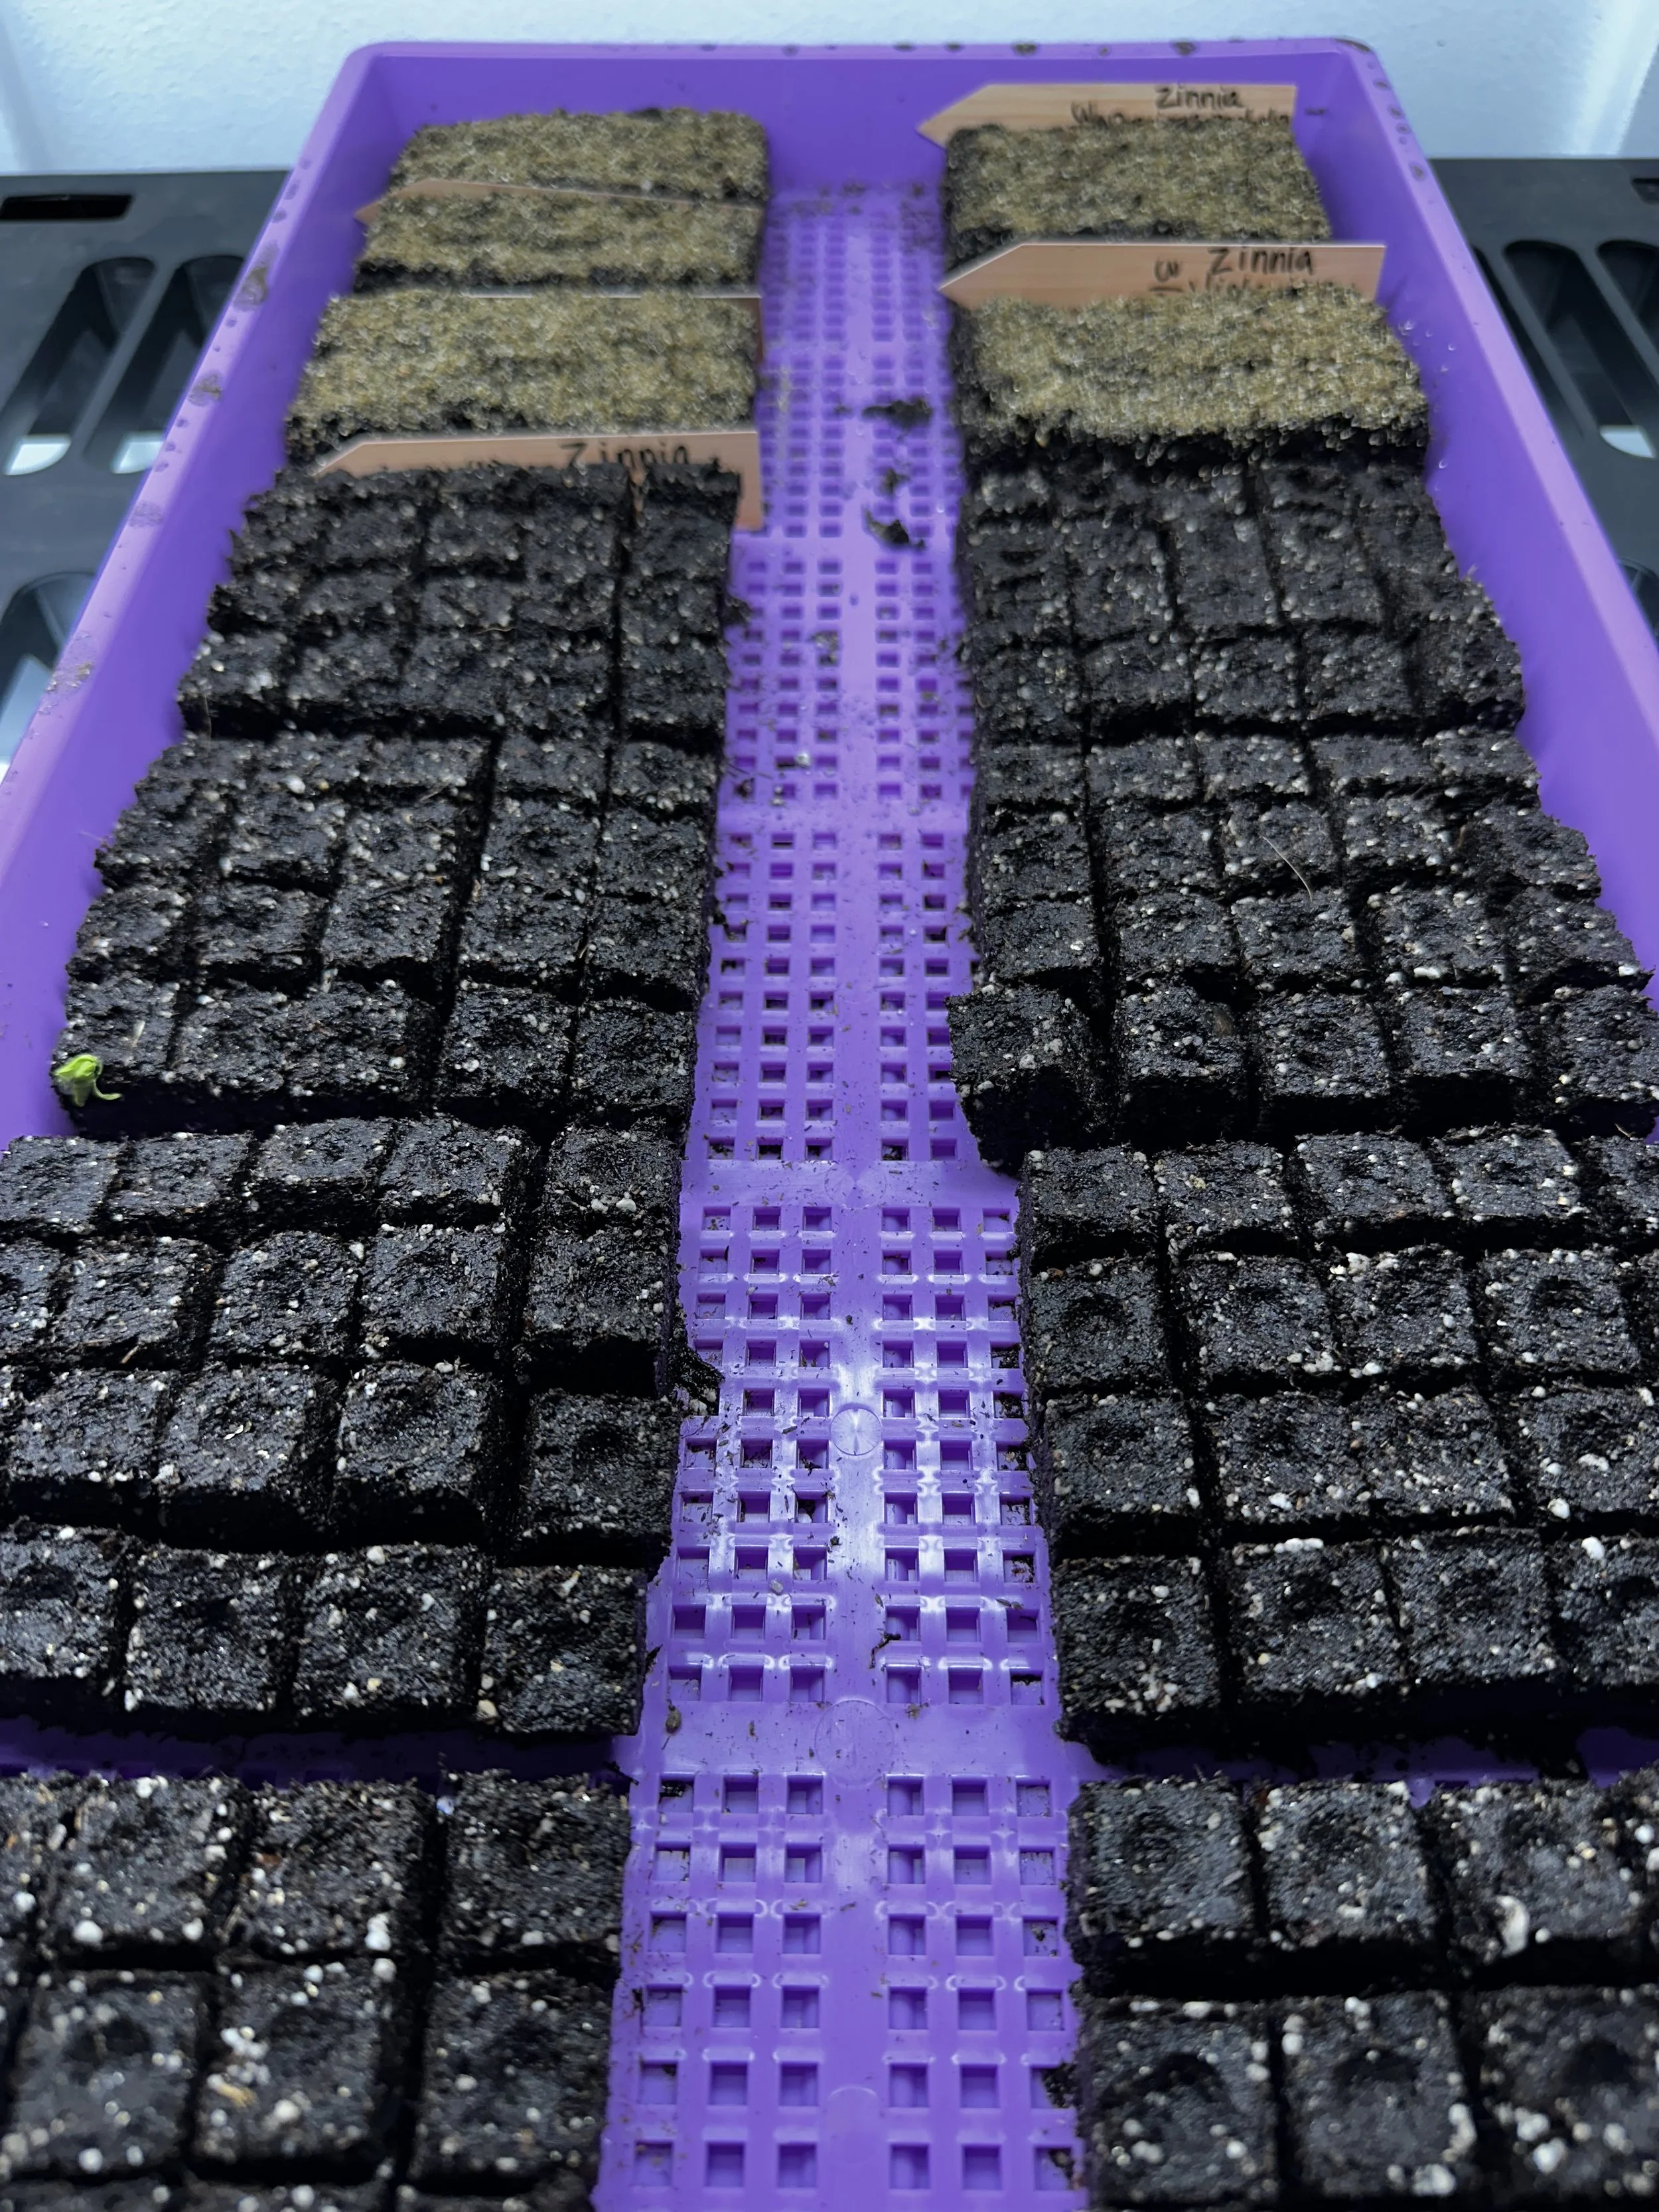
3. Containers: Cups, Trays, Soil Blocks & Air Prune Propagation Trays
There are a lot of container options out there — and yes, you can find cheaper trays on Amazon.
I’ve tried them.
For me, constantly replacing cracked or warped trays every single year became more frustrating (and more expensive in the long run) than helpful. Over time, I chose to start investing in what I’ve found to be the best trays on the market — products that hold up season after season and support healthy root development.
That’s how we landed on Bootstrap Farmer trays and containers. They’ve become the backbone of our seed-starting setup, and we use the heck out of them.
That said, you do not need everything at once. Start where you are, and build as you go.
How We Use Bootstrap Farmer Products
1020 Seed Starting Trays
These are the workhorses of our system. We use them for:Holding Air Prune Propagation Trays
Soil blocking
Catch trays for individual nursery pots
1020 Mesh Deep Trays (Soil Blocking)
When soil blocking, we pair the 1020 trays with their mesh deep trays to allow proper airflow and drainage.
Individual Nursery Pots
These are what we use for crops that need more root space early on:Tomatoes
Cucumbers
Peppers
And similar transplants
Cell Trays, Domes & Starter Pots
We use these for:Starting our own plugs
Pre-starting dahlia tubers
Crops that benefit from a more contained, protected start
Their products are 1000% worth the investment if you plan to start seeds year after year.
If you’re just trialing seed starting or want a budget-friendly way to begin, this Amazon starter kit is a great option:
👉 https://amzn.to/4q5Z2Ck
Other Container Methods I’ve Used
Solo cups
Traditional seed trays
Soil blocks
Air Prune Propagation Trays (a method I experimented with last year)
Each has its place — and every one of them can grow healthy plants.
A Quick Transparency Note
Just to be completely clear — I’m not affiliated with Bootstrap Farmer. I don’t get paid to recommend their products (though that would be pretty awesome someday).
I share them simply because we genuinely love their products and use them constantly in our seed-starting setup.
Soil Blocking (An Investment That’s Been Worth It)
Soil blocking is another method we use regularly, and it’s one that does require a bit more intention — both in learning and in tools.
Soil blocks eliminate plastic containers altogether by forming compact cubes of soil that encourage strong, air-pruned root systems. When done well, they transplant beautifully and reduce shock.
Over time, we’ve chosen to invest in Swiftblocker, and it’s been completely worth it. Their tools are thoughtfully designed, durable, and have made soil blocking far more efficient and consistent for us. As we continue to grow and refine our process, we’re slowly building our inventory with their products.
👉 Swiftblocker tools:
https://www.swiftblocker.com/shopswiftblocker
That said — this is another area where you absolutely don’t have to start with top-of-the-line tools.
When we first began soil blocking, we used much more basic options while learning the process:
A simple handheld soil blocker:
https://amzn.to/4pnzX4vAnd this larger multi-block option:
https://amzn.to/4jmoJfn
Those tools worked just fine for learning soil consistency, pressure, and technique.
Like most things in gardening, soil blocking can be done:
Inexpensively while you’re learning
Or with higher-quality tools once you know it’s a method you’ll stick with
Both approaches are valid — and both can grow healthy plants.
Soil blocking is one of those methods that rewards patience and practice — and like everything else in this season of life, I’ve learned to let it be imperfect while I learn.
Air Prune Propagation Trays (What I Experimented With)
Last year, I experimented with Air Prune Propagation Trays, and they’ve become a really valuable tool in my setup.
These trays work by allowing air to naturally prune roots. When roots reach the edges of the cell and hit air, they stop growing and branch out instead — creating a dense, healthy root system.
Why I Like Them:
Strong root development
Less transplant shock
Durable and reusable
More forgiving than soil blocking on busy days
I still love soil blocking — and I still use it.
But in this season of motherhood, air prune trays offer efficiency and consistency when I don’t have the margin for perfection.
➡️ I link my exact Bootstrap Farmer Air Prune Propagation Trays here.
4. Soil: The Foundation of Everything
Soil is one place I no longer cut corners — because everything starts here.
When you’re starting seeds indoors, soil needs to be fine, light, and consistent so delicate seedlings can easily push through the surface. Heavy or chunky mixes can prevent germination, restrict root development, and make moisture harder to manage.
A good seed-starting mix should:
Hold moisture without becoming soggy
Allow airflow to roots
Be fine enough for tiny seedlings to emerge easily
My Go-To Seed Starting Mix
Morgan Composting — Dairy Doo Seed Starting Mix
Hands down the best seed-starting mix I’ve ever used.
It’s only available through Michigan suppliers — we purchase ours from Sunshine Products of Dansville, a local small business that carries Morgan Composting’s Dairy Doo line. The good news is, they do ship throughout the U.S.
This mix is consistently fine, well-balanced, and easy to work with whether you’re soil blocking, using trays, or starting seeds in individual pots.
How I Amend It
I also amend my seed-starting mix with:
Wool pellets from Wild Valley Farms (no affiliation)
This simple addition helps improve moisture retention and adds gentle, slow-release nutrients — especially helpful during early growth.
Why This Combination Works
Together, this mix creates:
Excellent moisture retention
Proper airflow for healthy roots
Balanced nutrition without overwhelming young seedlings
Soil Consistency Tip
No matter what mix you use, consistency matters.
Your soil should feel like a wrung-out sponge — moist enough to hold together, but not dripping wet. This is especially important for soil blocking, where moisture level can make or break the process.
➡️ Here is a great seed starting mix alternative. Or this one!
5. Planting & Watering
Bottom water whenever possible
Keep soil moist, not soaked
Use humidity domes only until germination
Remove domes as soon as seedlings emerge
Airflow is essential — stagnant air leads to disease.
The Watering Tool That Changed Everything for Me
This is one of those tools I didn’t realize I needed until I used it — and now I genuinely wouldn’t want to seed start without it.
I swear by an electric automatic spray mister, and it has saved me so much hassle over the years.
When you’re starting seeds — especially in soil blocks, air prune propagation trays, or shallow cells — gentle watering matters. A harsh stream of water can displace seeds, compact soil, or damage tiny seedlings.
This mister gives:
A consistent, fine mist
Even moisture without disturbing soil
One-handed operation (which matters when you’re juggling a baby)
It’s rechargeable, lightweight, and takes the guesswork out of hand watering. No pumping. No wrist fatigue. No accidentally blasting seedlings across the tray.
On busy days — which is most days in this season of life — this tool lets me water quickly, gently, and move on.
6. Heat Mats (Do You Need Them?)
Heat mats aren’t required for every seed — but for certain crops, they can make a huge difference.
Heat mats help maintain a consistent soil temperature, which speeds up germination and improves overall success rates, especially for heat-loving plants. They warm the soil, not the air, creating the ideal environment for seeds to sprout evenly.
I Recommend Heat Mats For:
Tomatoes
Peppers
Eggplant
Basil
Celosia (especially important for consistent germination)
Dahlias and other tubers
Cool-season crops like lettuce, spinach, and brassicas typically don’t need bottom heat and will germinate just fine without it.
How I Use Heat Mats
I place heat mats under trays only until seeds germinate
Once seedlings emerge, trays come off the heat
If possible, I use a thermostat to avoid overheating
Heat mats work best when paired with proper lighting and airflow
Used correctly, heat mats can dramatically reduce germination time and help create more uniform seedlings — which means less frustration and fewer do-overs.
Heat mats are one of those tools that aren’t essential for everything, but when you need them, they’re absolutely worth having.
➡️ I link the heat mats and heat mats with thermostat I use here.
7. Daily Maintenance
This doesn’t have to be complicated.
Each day:
Check moisture
Adjust lights
Observe growth
Some days you’ll do it perfectly.
Some days you’ll forget.
Plants are more resilient than we give them credit for.
8. Hardening Off
Before planting outdoors:
Start with 30–60 minutes outside
Gradually increase exposure
Protect from wind and harsh sun
Skipping this step often leads to setbacks — take the time.
9. Accessories That Make Life Easier
These aren’t required, but they help:
Light pulleys for easy adjustment
Timers (I also have a power strip one as well)
Fans for airflow
Labels (trust me on this one)
Final Thoughts
You don’t need the perfect setup.
You don’t need endless time.
You don’t need to get it right the first time.
You will fail.
You will learn.
You will grow.
And one day, you’ll look back at seeds started on a dining room table during nap time — and realize that was never a limitation.
It was the beginning 🌱
Thank you for being here!
Continuously growing,
Alex

Blooms and Boundaries: Rebuilding After a Busy Season🌸
In the whirlwind of planting season, it’s easy to lose yourself in the to-do lists, long days, and endless weeds. In this post, I’m reflecting on the importance of boundaries—both in the garden and in life—and how I’m learning to nurture not just my flowers, but myself, too. This is a behind-the-scenes look at what’s blooming at Bede’s Blooms, and the intentional choices I’m making to protect peace and purpose this season.
This post may contain affiliate links. As an Amazon Associate, I earn from qualifying purchases.
Phew. May was a whirlwind.
It was filled with highs, lows, and everything in between — a month of major growth, both for the flowers and for me personally. The shift from winter into spring always hits like a freight train, but this year it came faster and harder than ever before.
One moment, I felt on top of it all — my seed trays were organized, seedlings thriving, my beds prepped, and I was ready for the season. And then, like clockwork, the floodgates opened. Suddenly, I was buried under a wave of tasks, Mother’s Day prep, crop failures, unexpected detours, and endless to-do lists. I blinked, and I went from “on track” to “completely behind” in what felt like a matter of minutes.
Mother’s Day Mayhem
The start of Mother’s Day weekend didn’t go as planned. Between a health scare, disappointing turnout, and the last-minute loss of crops, things felt heavy. But we pivoted — because that’s what flower farmers do — and we ended the weekend strong.
Still, the grueling late nights, early mornings, and long days added up. And when the dust settled, the return didn’t quite match the effort. That was a hard truth to sit with. One of the biggest lessons I learned? We don’t need to leave home to sell our flowers. Local is where the magic happens — and if the cost is my health, it’s simply not worth it.
Wedding Whirlwind
Just two days after Mother’s Day, I hit the road for a wedding in Ludington. No rest. No pause. Normally, florists take at least a day or two off after a big event — I didn’t have that luxury.
But here’s the thing: the wedding was beautiful. It was my best friend’s big day, and I had the honor of designing her flowers and standing beside her as matron of honor. It was a juggle, for sure. And though the timing was brutal, I would do it again in a heartbeat. From the first flower pickup with her mom (my trusty sidekick for the day) to assembling each bouquet, I cried happy tears more times than I can count. It was a labor of love I’ll treasure forever.

Photo: Nicole Jenrow - Details and Daydreams Photography (she’s amazing!)
Flowers: Bede’s Blooms + Co.
When the Body Says Stop
All of this — the constant go, go, go — came at a cost. My health.
The physical toll of early mornings and late nights, the emotional load of balancing work, family, and creative output, the guilt of missing time with my toddler… it hit me hard. Burnout crept in fast, and I knew I had to make a change. I couldn’t ignore what my body was telling me any longer.
The Signs Were Clear
Even now, weeks later, I’m still recovering. I’m still processing everything that May threw at me — while trying to stay on top of my responsibilities, spend quality time with my son, and somehow get all the summer annuals planted (which I feel behind on). Usually, I’m in the garden the weekend after Mother’s Day planting away. This year, I was still wedding-recovering.
But then came the rainy days — a full week of them. And honestly? It felt like a divine gift. I was forced to slow down. I had no choice but to rest. And I desperately needed it.
🌿 Why Self-Care and Boundaries Matter
In creative entrepreneurship and farming, boundaries and self-care aren’t luxuries. They’re lifelines. Here’s what I’m learning:
🌱 1. Your business depends on your well-being.
You’re the engine behind everything — from growing to designing to delivering. When you burn out, the whole operation slows. Self-care isn’t selfish; it’s necessary.
🧠 2. Creativity needs breathing room.
To be inspired, you have to make space. Boundaries protect your ability to think clearly, create joyfully, and stay connected to your purpose.
⏳ 3. Without boundaries, there’s no off switch.
This work is deeply personal, and the line between home and business is blurry. Boundaries — like time off, screen-free evenings, or simply saying no — keep you from running yourself into the ground.
💪 4. The work is intense.
Farming is physically exhausting. Running a business is emotionally draining. Doing both? It demands rest, recovery, and resilience.
💸 5. Boundaries guard against overcommitment.
It’s easy to say yes to everything when you’re passionate. But that leads to depletion. I’m learning to say yes more selectively.
❤️ 6. You model what sustainable success looks like.
When you care for yourself, you show your community — and your family — that success doesn’t have to come at the cost of health, joy, or connection.
Things I Like to Do to Shift, Rest, and Recharge After Burnout
When I hit a point of burnout, I’ve learned not to push through, but to pause—and intentionally create space to heal. Here are a few things that help me shift, rest, and recharge:
1. Nourishment + Hydration
I consciously focus on my water intake and nutrition. I up my electrolytes, sip herbal teas throughout the day, and take time to actually sit and enjoy my morning mushroom coffee (or matcha) instead of rushing through it.
This also means getting back on track with my supplements—especially when life gets busy (which is exactly when I need them most). I tend to forget them in the chaos, but they’re part of what keeps me steady. My go-to lineup includes:
Electrolytes - Redmond Re-lyte is our go-to (plain water just doesn’t cut it—throw in some Himalayan salt or dive into the hydration rabbit hole!)
Beef organs or beef liver supplements - Taking beef liver regularly has truly been a game changer for me—no exaggeration. Since adding it to my routine, I’ve had noticeably more energy, no postpartum hair loss, and just feel better overall. It’s made such a difference! Go-to’s Paleo Valley Organ Complex, Perfect Supplements Desicated Beef liver, Ancestral Supplements Beef Organs and or Ancestral Supplements Beef Liver
Adrenal support, like Just Ingredients Adrenal Complex or Jigsaw’s Adrenal Cocktail
Magnesium (we like MegaFood) and we also use Earthley Wellnesses Good Night Lotion
L-Methyl Folate (I use this one - it helps w/ my ADD)
Vitamin D with K2 ) (I use Perfect supplements drops or MegaFood)
Probiotics - I try to get mine through food whenever possible. My go-to sources are kombucha and sauerkraut, but I’ll also supplement when needed to help support gut health. If supplementing, entegro healths flourish probiotic, Dr.Ohhira’s , or seed.
I also make a conscious effort to increase my daily protein intake. One of my favorite ways to do this is by adding Perfect Supplements Hydrolyzed Collagen to milk or my coffee—it tastes like chocolate milk, and even the kids love it! I aim to include about 30 grams of protein in each meal—and even before I have my coffee. I also focus on high-protein recipes, drink bone broth hot chocolate (FOND is my go-to bone broth if I don’t have time to make it myself), and supplement with clean, high-quality protein powders. Some of my favorites are Equip Protein, FlavCity’s All-In-One Protein Smoothie, and Paleo Valley’s Bone Broth Protein (chocolate is my fav!).
These aren't just checkboxes—they’re tools that support my energy, mood, and overall resilience. When I stay consistent, I feel the difference.

Wellness from the Inside Out
How I Support My Body Through Busy Seasons

Stillness Before the Bloom
Resting Isn’t Quitting—It’s Recharging
2. Extra Time With Jesus
That coffee or matcha moment becomes sacred when I pair it with quiet time with Jesus. I write out my thoughts, reflect, breathe deeply, and reconnect to peace and perspective. It grounds me.
3. Baths + Body Care
Baths are a love language to myself. I love Flewd bath soaks—they help my nervous system reset and feel like a hug for my body. I let myself fully unwind.
When I don’t have a flewd bath soak handy, a regulated used item in our house is Ancient Minerals Magnesium Flakes (PS: great for little ones to help them sleep!)
I also stay consistent with my chiropractic care—regular visits make such a difference. We go to Volz Family Chiropractic in Holt, and Dr. Volz and her team are truly amazing!
4. Gentle Movement
Exercise becomes a way to reconnect with my body, not punish it. Long walks (sometimes with my weighted vest - game changer!), light weight training, a spin session, or my favorite: Pilates. Even 15 minutes of movement or stretching shifts my energy. If I’m really depleted, I rest first—sometimes for days—before easing into intentional, slow movement.
5. Saying No
When I’m in a season of recovery, I intentionally reel back. I admit my limits. That often means saying no—to events, orders, obligations—so I can be home more, breathe deeper, and return to alignment with my priorities. It’s not always easy, but it’s necessary.
6. Tidy Spaces = Tidy Mind
One of the most grounding things I do when I’m coming out of burnout is slowly working through neglected corners of my home. I’ll throw on an audiobook or a podcast and start tackling the laundry pile that’s been haunting me, the cluttered workshop corner, or that cabinet I’ve been meaning to purge for weeks. It’s not about perfection—it’s about creating breathing room. Deep cleaning, organizing, and simplifying my space gives me a sense of control and calm. You feel so much better once it’s done.
7. Deep Rest + Stillness
Rest is medicine. I curl up with a book, let myself enjoy the stillness, and resist the urge to write out a new to-do list. I let the slow moments stretch out.
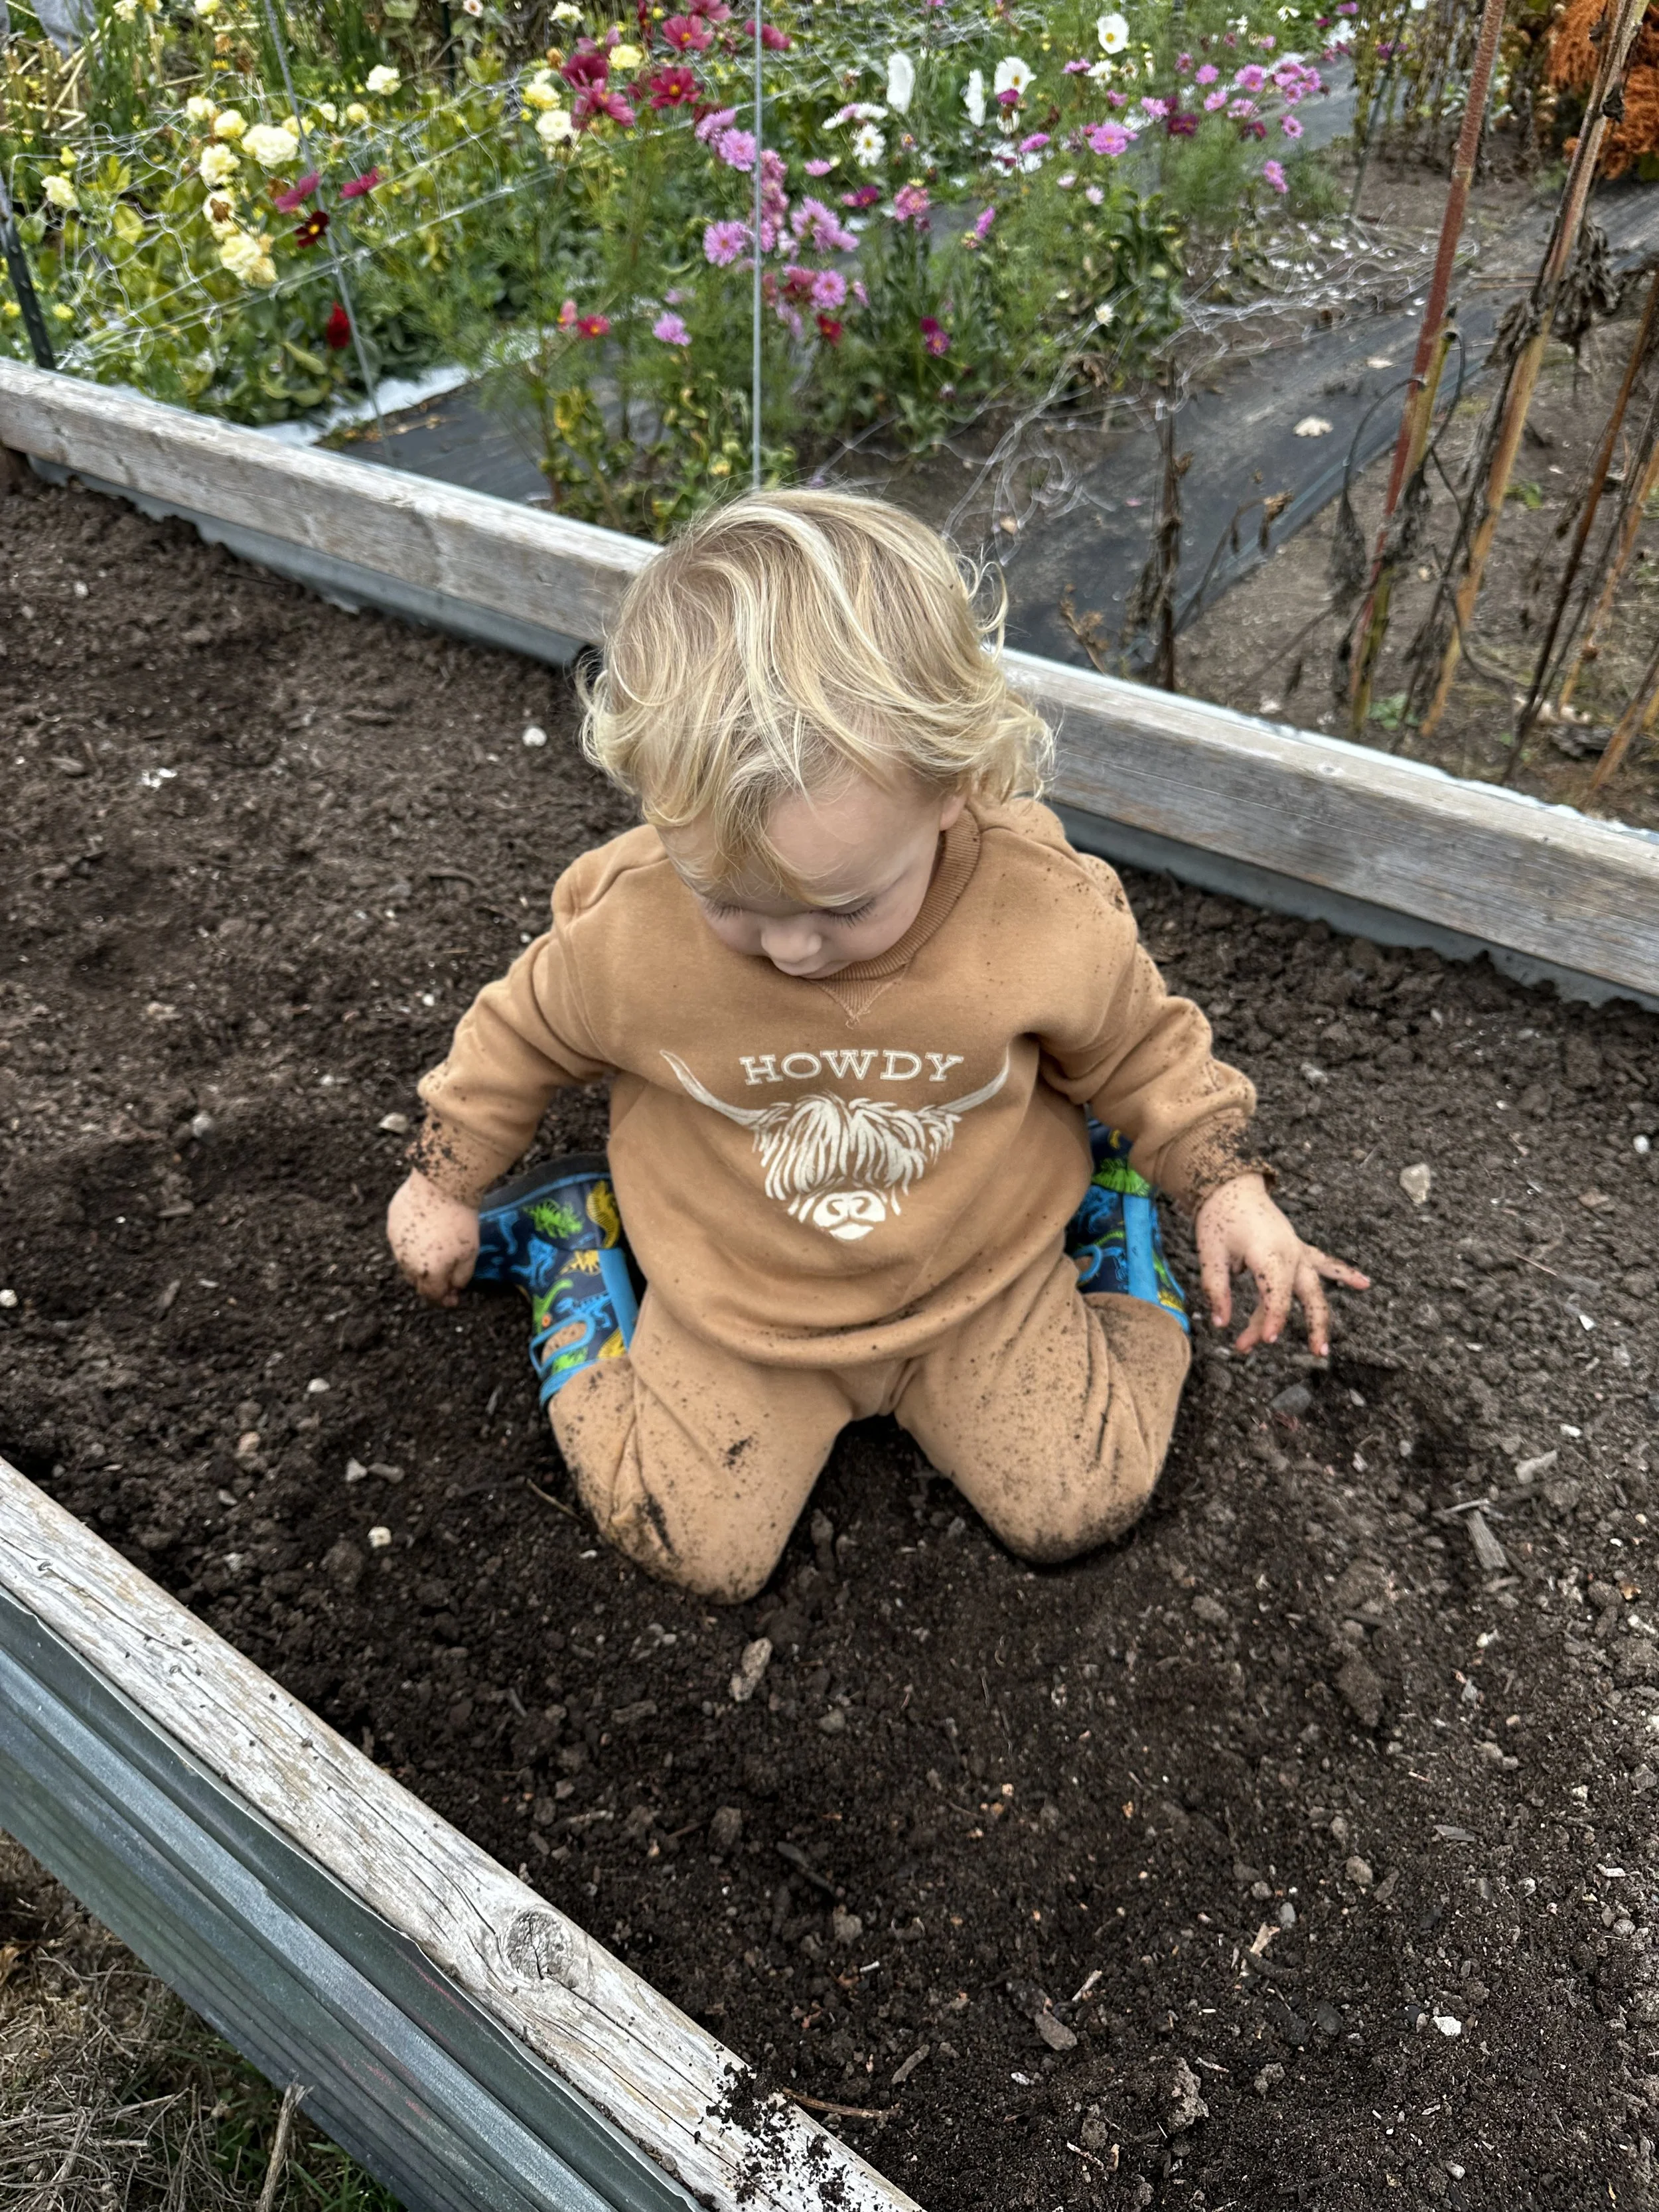
And finally—when I feel ready—I gradually get back into the soil. There’s something so healing in its presence. It reminds me why I love what I do, and that growth often starts in quiet, unseen places.
Bonus – 8. Resparking Your Creativity
Sometimes, the best thing I can do for my soul is to reconnect with beauty and creativity—without the pressure to produce. That might look like flipping through flower books, playing with color palettes, styling a few leftover blooms just for fun, or creating something with my hands that has nothing to do with business. Creativity doesn’t always have to be productive—it can simply be a way back to joy, curiosity, and play. That spark always leads me home.
A Few of My Favorite Books for When I Need That Garden Spark Again
When I’m feeling a little disconnected or burnt out, I often find that flipping through a good garden book helps reignite my inspiration and remind me why I love working with the land. Here are a few of my favorites I reach for again and again:
Floret’s A Year in Flowers , Erin Benzakein
From Seed to Bloom, Milli Proust
Designing with Dried Flowers, Hannah Rose Rivers Muller
The Tiny But Mighty Farm, Jill Ragan

Creating Without Pressure
When I Need to Feel Inspired Again
—or—I head into the kitchen and let my creativity flow through food, experimenting with herbal botanicals and edible flowers. It’s a grounding, sensory way to reconnect—with flavor, color, and beauty in the everyday.
Here are some of my favorite books surrounding food:
I love anything of Erin French’s — highly reccommend watching The Lost Kitchen on the Magnolia channel — The Lost Kitchen: Recipes and a Good Life Found in Freedom, Maine: A Cookbook
I love to play around with fermantation, this is a fun book I use: Wild Drinks: The New Old World of Small-Batch Brews, Ferments and Infusions and if you really want to dive into the world of fermentation than The Noma Guide to Fermentation is a must.
I absolutely love turning to Julia Child for timeless comfort, Joanna Gaines’s Magnolia Table recipes for cozy, feel-good meals, and Samin Nosrat’s Salt, Fat, Acid, Heat for inspired, intuitive cooking that always reawakens my love for the kitchen.
🌸 Looking Forward
If you’re also feeling the weight of burnout or the guilt of needing to slow down — you’re not alone. Building something meaningful takes energy, and it’s okay to pause, pivot, or reset when needed.
I’m still in the process of recovering. But I’m looking forward to the quiet moments — planting summer annual successions, watching the garden grow, catching fireflies with my son in the evenings, enjoying family time, reading more books and simply breathing. The beauty of seasonal work is that it teaches us to honor the rhythms — of nature, of work, and of our own bodies.
Here’s to slower mornings, intentional choices, and letting ourselves rest when we need to.
With gratitude and floral magic,
Alex 🌸