From the Ground Up: Why Healthy Soil is the Secret to Thriving Flowers 🌱
Healthy flowers start with healthy soil. Here's how we prepare our beds each season—with compost, alfalfa, bone meal, and mycorrhizal fungi—to grow strong, resilient blooms from the ground up.
If there’s one thing I’ve learned as a flower farmer, it’s this: the health of your flowers starts beneath your feet.
Soil is the very soul of the farm—it’s where the magic begins. And after years of growing, failing, experimenting, and digging deep (literally and emotionally), I’ve come to believe this truth:
🌿 Healthy soil grows healthy flowers. Healthy soil grows healthy people.
The Healing Power of Soil
Let’s start with something that’s often overlooked in all the science talk: being in soil actually heals us.
Soil microbes trigger serotonin production when we garden or work with our hands in the dirt—boosting mood and reducing anxiety. It’s sometimes called “nature’s Prozac.”
These same microbes support gut health by introducing diverse bacteria into our system—especially for those of us who live or eat from the land.
It’s also good for our immune systems, stress response, and even sleep. Simply put: when we care for the soil, it has a way of caring for us right back.
I’m Still Learning
The more I grow, the more I realize how much I still don’t know. I’m not an expert—just someone who is sharing what I’ve learned in hopes it helps or inspires someone else. Whether it’s a small backyard bed or a full flower field, we’re all learning together. I’m constantly adjusting, pivoting, and learning—right alongside my plants.
🧪 Start with a Soil Test
You can’t manage what you don’t measure—and that’s why a soil test is essential.
We’ve used our local Michigan State University Agricultural Extension testing lab:
👉 MSU Soil Test Link
If you're outside of Michigan, check with your local university extension program. Or, you can order an at-home soil test kit online (I'll link a few favorites below with my affiliate links!).
Why test?
A good soil test tells you pH, organic matter levels, and nutrient availability (especially nitrogen, phosphorus, potassium, and micronutrients). Without this info, you could be overfeeding or underfeeding—wasting money, hurting your plants, or even harming the environment.
🛒 [Here is a link to an at home soil test you can order online]
🌱 What Flowers Pull from the Soil
Cut flowers are beautiful—but they’re also nutrient-hungry. When we harvest the flowers, we’re also removing nutrients from the soil that must be replenished.
Over time, this depletes your soil—especially of key macronutrients like nitrogen (N), phosphorus (P), and potassium (K).
To replenish what your flowers take, you need a fertilizing strategy that starts with building soil health.

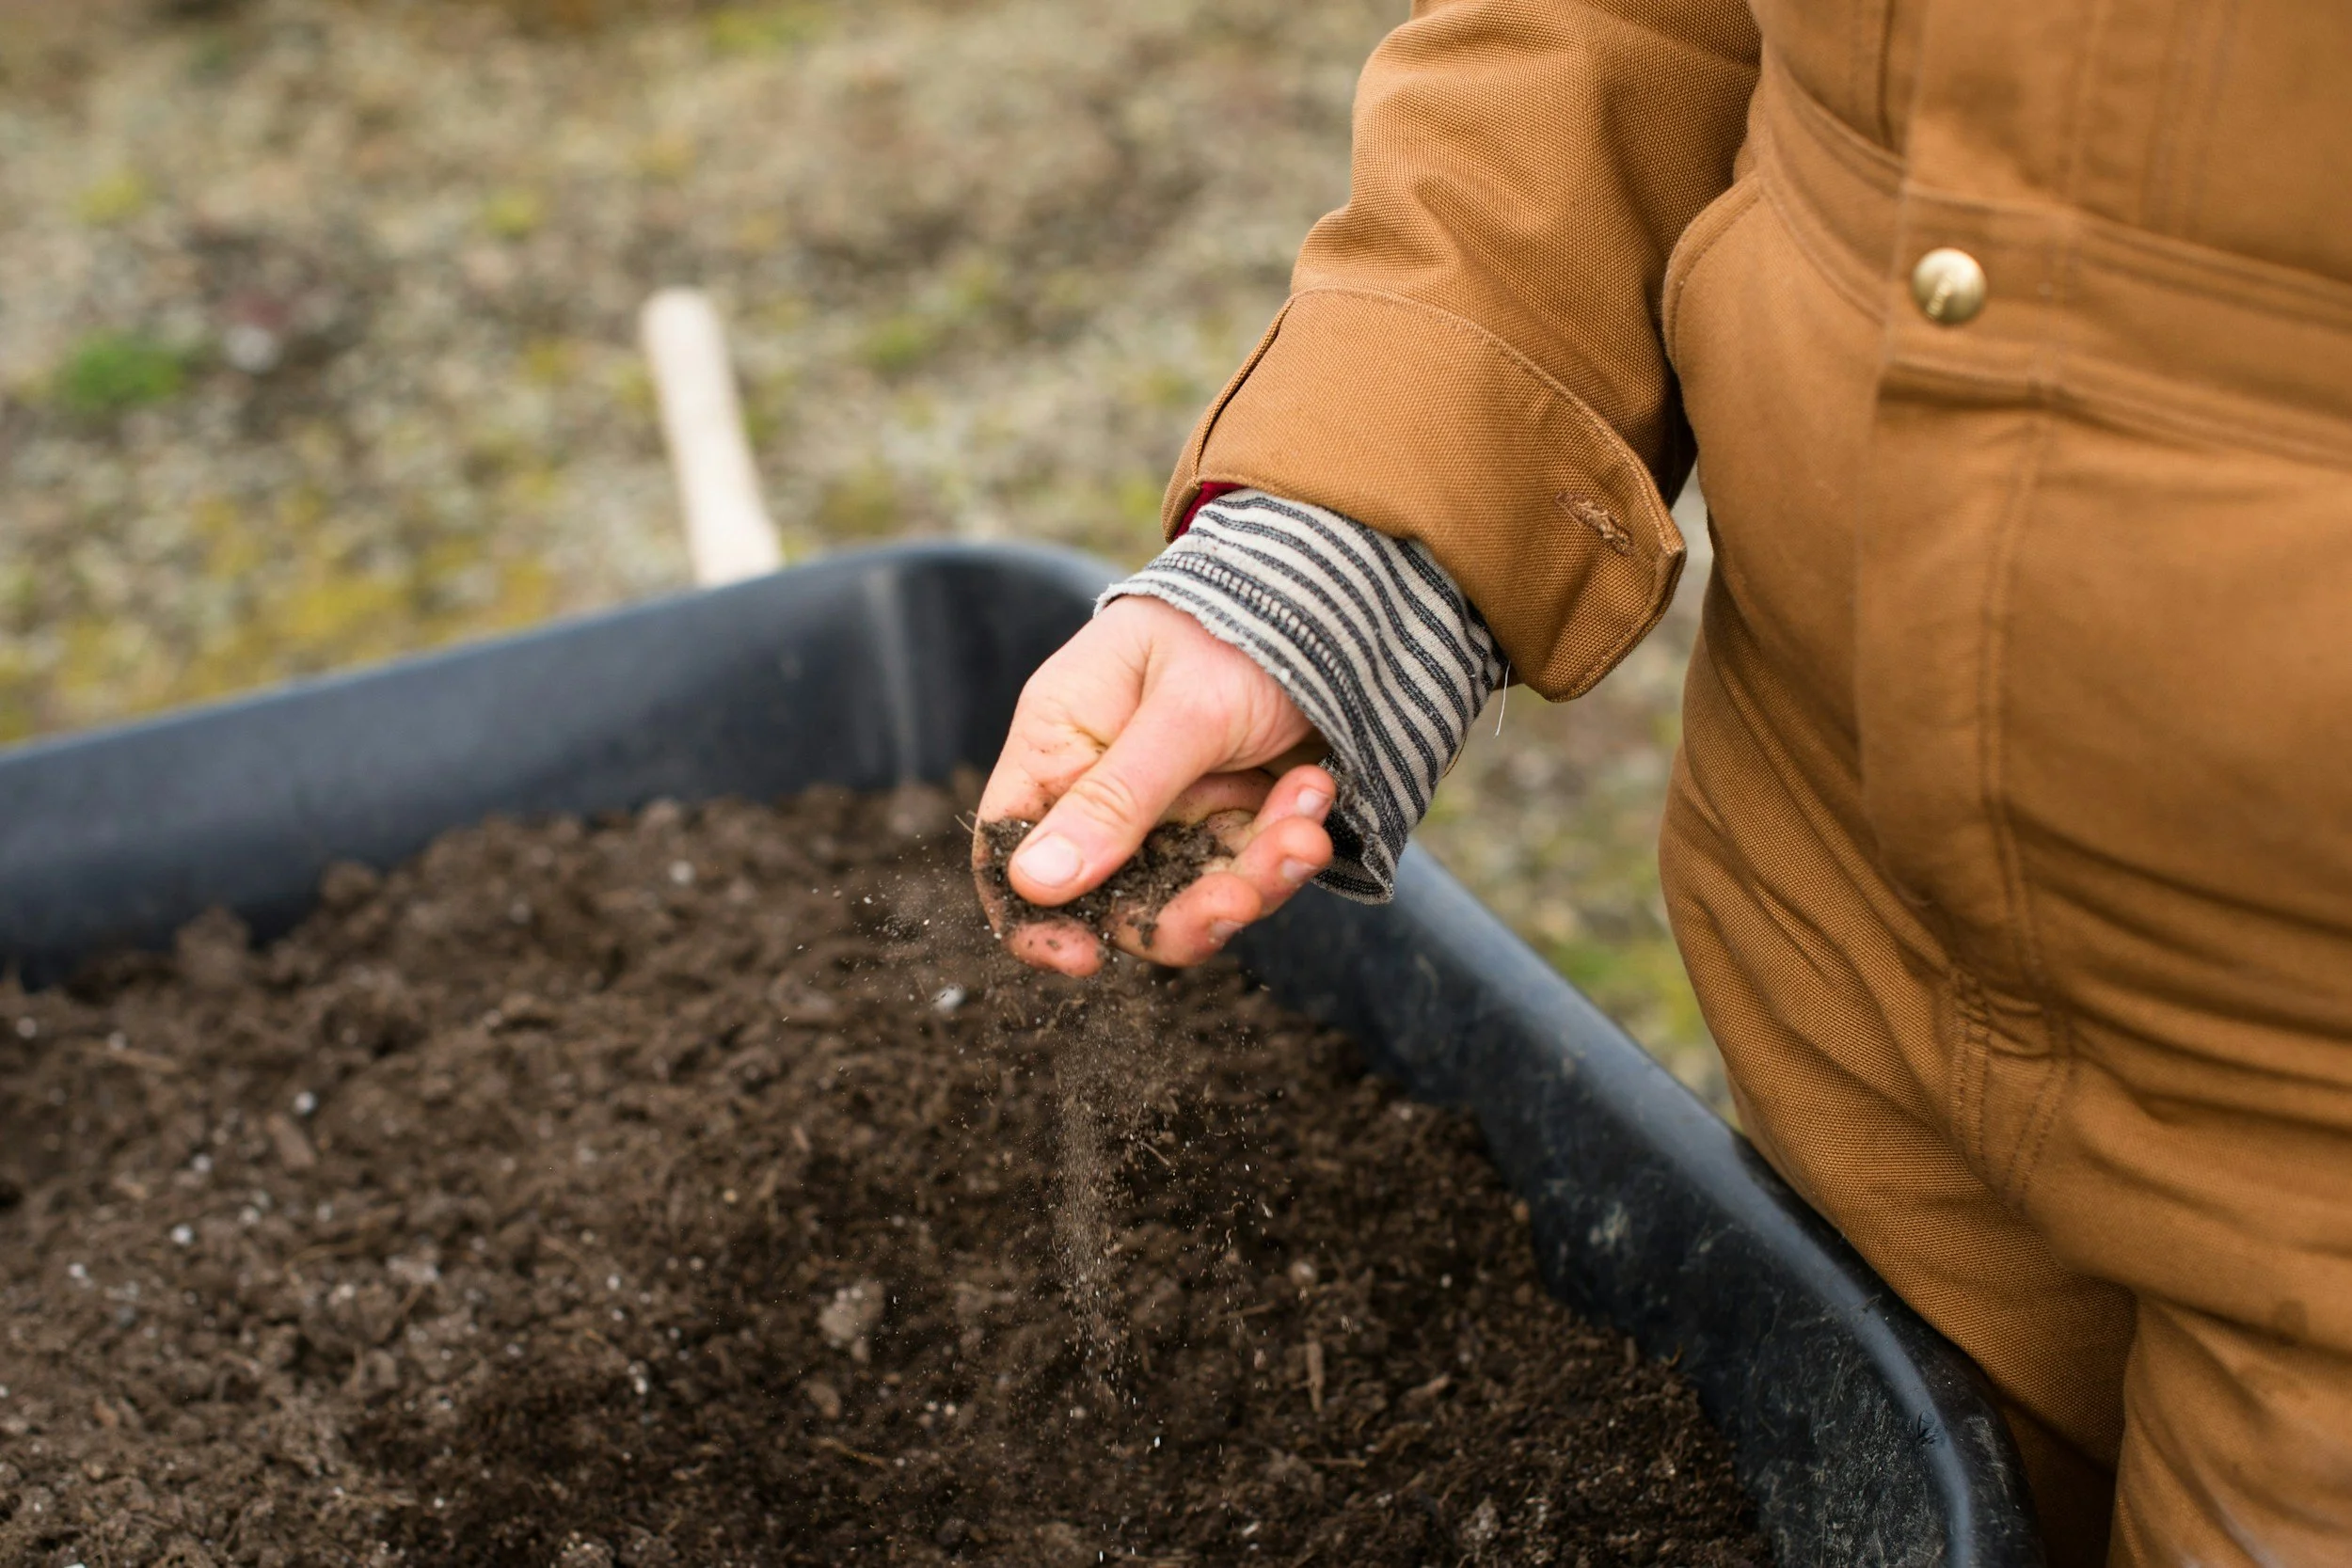
More than Dirt: How We Build Living Soil to Grow Better Blooms
We’ve spent the past five years investing in our soil: compost, cover cropping, broadforking practices, and lots of organic matter. And let me tell you—it shows. Earthworms, deep color, crumbly texture... it's alive.
We believe in feeding the soil so the soil can feed the flowers.
1. Building the Foundation: Compost, Amendments & Microbial Support
Every fall and spring, we build our beds with compost and aged manure. These slow-release, microbe-rich amendments are the backbone of soil health. They build structure, improve water retention, and support the web of life underground.
Our favorite blends: Dairydoo and worm castings. You can also input mushroom compost or aged chicken or cow manure (fully broken down).
Alfalfa Pellets During Soil Prep
Alfalfa pellets are one of my favorite “secret weapons” when it comes to enriching the garden. I grab big bags of pelleted alfalfa from the farm store—sold as horse feed—for a fraction of the cost of typical alfalfa meal, and use them throughout our beds.
When prepping garden beds in the spring, I sprinkle a layer of alfalfa pellets into our annual beds and tuck a handful into planting holes for perennials, roses, dahlias and fruit trees.
Alfalfa adds organic matter that encourages earthworm activity and feeds soil microbes. It also brings nutrients from deep within the soil thanks to its long taproots. As it breaks down, the garden receives a slow and steady release of natural nitrogen and minerals—a gentle nudge for strong, healthy growth.
Planting with Mycorrhizal Fungi Inoculant
Almost every plant, mainly perennials, gets its root ball dipped in mycorrhizal fungi inoculant before planting. These fungi form a symbiotic relationship with plant roots, dramatically increasing their ability to access water and nutrients. In return, plants feed the fungi carbon. This invisible partnership helps your flowers thrive without extra inputs.
This is what leads us into fertilizing—with intention, not guesswork.
Bone Meal for Dahlias
When planting our dahlias, we add a scoop of bone meal (with a generous handful of alfalfa pellets) directly into the planting hole. These natural amendments provide phosphorus and calcium, which support strong root development and sturdy stems.
2. Compost Tea & Worm Casting Tea (The Gentle Boost)
During active growth and early bloom phases, we drench or foliar spray with homemade compost teas. These help deliver nutrients in a bioavailable form and support beneficial soil microbes.
Our favorite time to use it: Once a week during peak growth. We spray early morning or evening to avoid sunburn.
You can buy pre-bagged compost tea such as Morgan Compostings Compost Tea (our favorite during the busy season) or make your own:
🐛 Worm Casting Compost Tea Recipe for Flowers
🌿 Ingredients:
2 cups worm castings (we love WormDoo by Dairy Doo or we’ve use this one for years as well)
4–5 gallons non-chlorinated water
(Optional) 1 tablespoon unsulfured molasses
(Optional) 1 tablespoon kelp powder or liquid kelp
🪴 Equipment:
5-gallon bucket
Mesh bag, old sock, or cheesecloth
Long spoon or stick for stirring
(Optional) Aquarium pump with air stone
🍵 Brewing:
Option 1: Simple Soak (Non-Aerated)
Place castings in mesh bag and submerge in water
Stir well, steep 24–48 hours, stirring occasionally
Strain well if spraying on leaves
Use immediately
Option 2: Aerated Tea (More Potent)
Same as above, but add aquarium pump
Brew no longer than 24 hours
Use promptly for peak microbial life
⚠️ Important Note: Do not use compost tea that has been brewed for longer than 48 hours (or 24 hours if aerated). Over-brewing can cause anaerobic conditions, where harmful bacteria outcompete the beneficial ones. Applying this to your plants can do more harm than good—leading to root stress, foliar burn, or disease. Always use compost tea fresh!

🐟 3. Fish Emulsion & Seaweed Extract (The Ocean Tonic)
These natural fertilizers are rich in trace minerals and encourage leafy growth, root development, and resilience.
Fish emulsion = nitrogen-rich (great for leafy green growth early on).
Seaweed extract = full of cytokinins and minerals that help with stress tolerance, root development, and bloom support.
I use this mix of both: Fish & Kelp Fertilizer (yes it stinks, but the garden LOVES it).
We often mix them and apply every 10–14 days when plants are in active growth. Ideally, I’d love to get back to a weekly fertilizing rhythm, but lately we’ve been landing in that 10–14 day window—and that’s working for now.
Additional tip: I set calendar reminders for fertilizing days to keep me on track 📅


4. Raising BRIX Levels (The Healthier Plant Secret)
One of my newer learnings is about Brix levels—a measure of the sugar content in plant sap. Higher Brix = healthier plants, stronger stems, better resistance to pests, and more vibrant blooms. Higher sugar level = less munching insects.
Brix is commonly measured using a tool called a refractometer. While mostly known in the wine and fruit industries, flower farmers are beginning to look at Brix as an indicator of overall plant vitality. Higher Brix not only improves floral color and resilience, but also makes your plants less attractive to pests, as many insects are drawn to low-sugar, stressed-out plants.
I used to use this Earth Juice Hi-Brix, but it was sold out the last time I tried to reorder it, so I switched to this molasses, which I will use before purchasing the Earth Juice again.
How do we raise it?
Feed the soil, not just the plant
Use foliar sprays in early morning (when stomata are open)
Support microbial activity with compost, mycorrhizal fungi, and humic acids
Reduce stress by keeping plants evenly watered and well-fed, without overdoing it
Goal: The higher the Brix, the less appealing your plants are to pests. Think of it as boosting the plant’s immune system from the inside out.
I’m still learning and experimenting with this—but it’s become a fascinating piece of the puzzle for me. Definitely worth digging into if you're a fellow soil health nerd!
Also, I have to say—switching to a backpack sprayer has been a total game-changer. I used a hose-end sprayer (like the Ortho Dial) for a couple of years, and while it worked, it started clogging over time. The backpack sprayer has made fertilizing so much easier and more efficient. One day I’d love to upgrade to a battery-powered version, but even this manual one has been a huge improvement.
5. Organic Bloom Fertilizers (The Flower-Pushers)
As soon as plants start budding, we switch to a bloom formula that’s lower in nitrogen and higher in phosphorus and potassium. These nutrients support flower production, stem strength, and overall plant health.
We like:
We apply every 2–4 weeks depending on crop type and rainfall.
6. Slow-Release Options (For Set-It-and-Forget-It Beds)
For beds we can’t easily re-fertilize—like our tunnel crops or long-term perennials—we use organic slow-release fertilizers (like Sustane or Osmocote). It’s a good insurance policy during busy stretches when the watering can feels miles away.
Final Thoughts
Healthy soil isn’t a one-time achievement—it’s a relationship. It requires listening, learning, and giving back more than we take. The more I farm, the more I realize how much I still have to learn.
But by sharing my journey, I hope it encourages you to start your own—whether it’s a backyard bed or a full flower field.
Because flowers really are a kind of soul medicine. And if I can grow them, I promise—you can too.
With love and floral magic,
Alex
Owner & Founder - Bede’s Blooms + Co.
🌸 Let’s stay connected!
Follow along behind the scenes on Instagram (@bedesblooms.co) , join our Blooms Club newsletter, and be the first to know about upcoming events, exclusive giveaways, and seasonal flower launches.
👉 Click here to sign up and never miss a bloom!

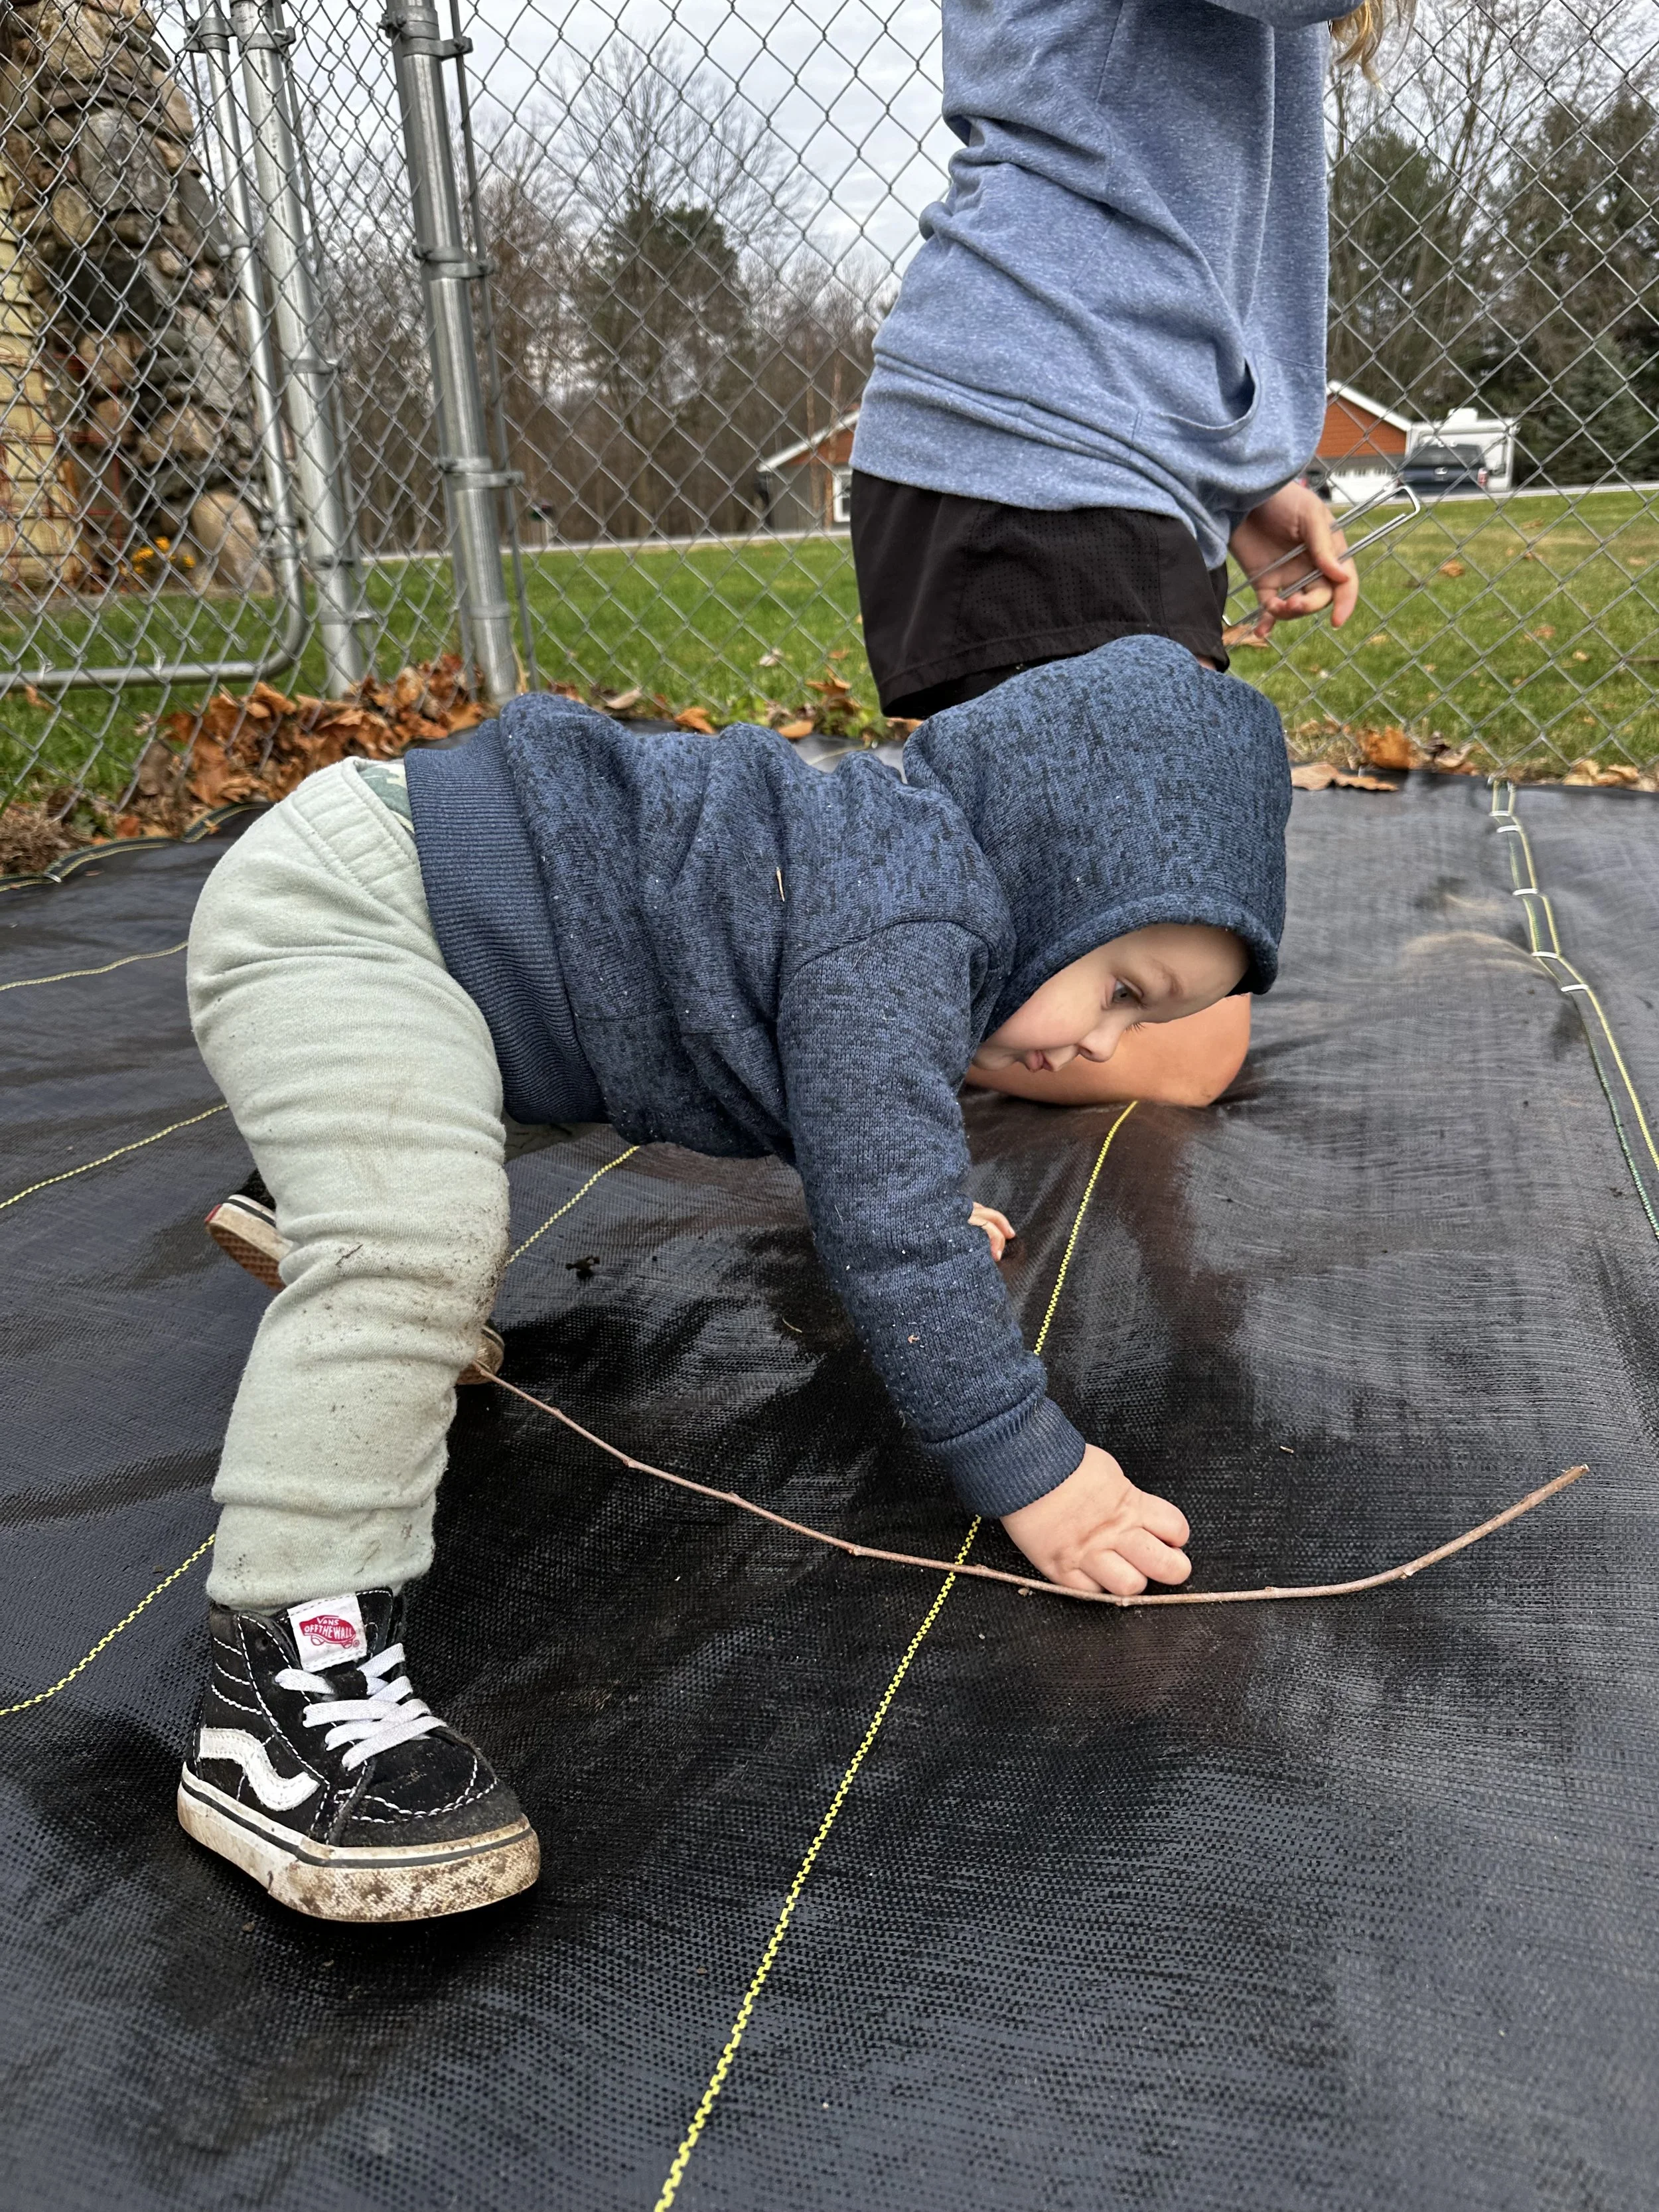
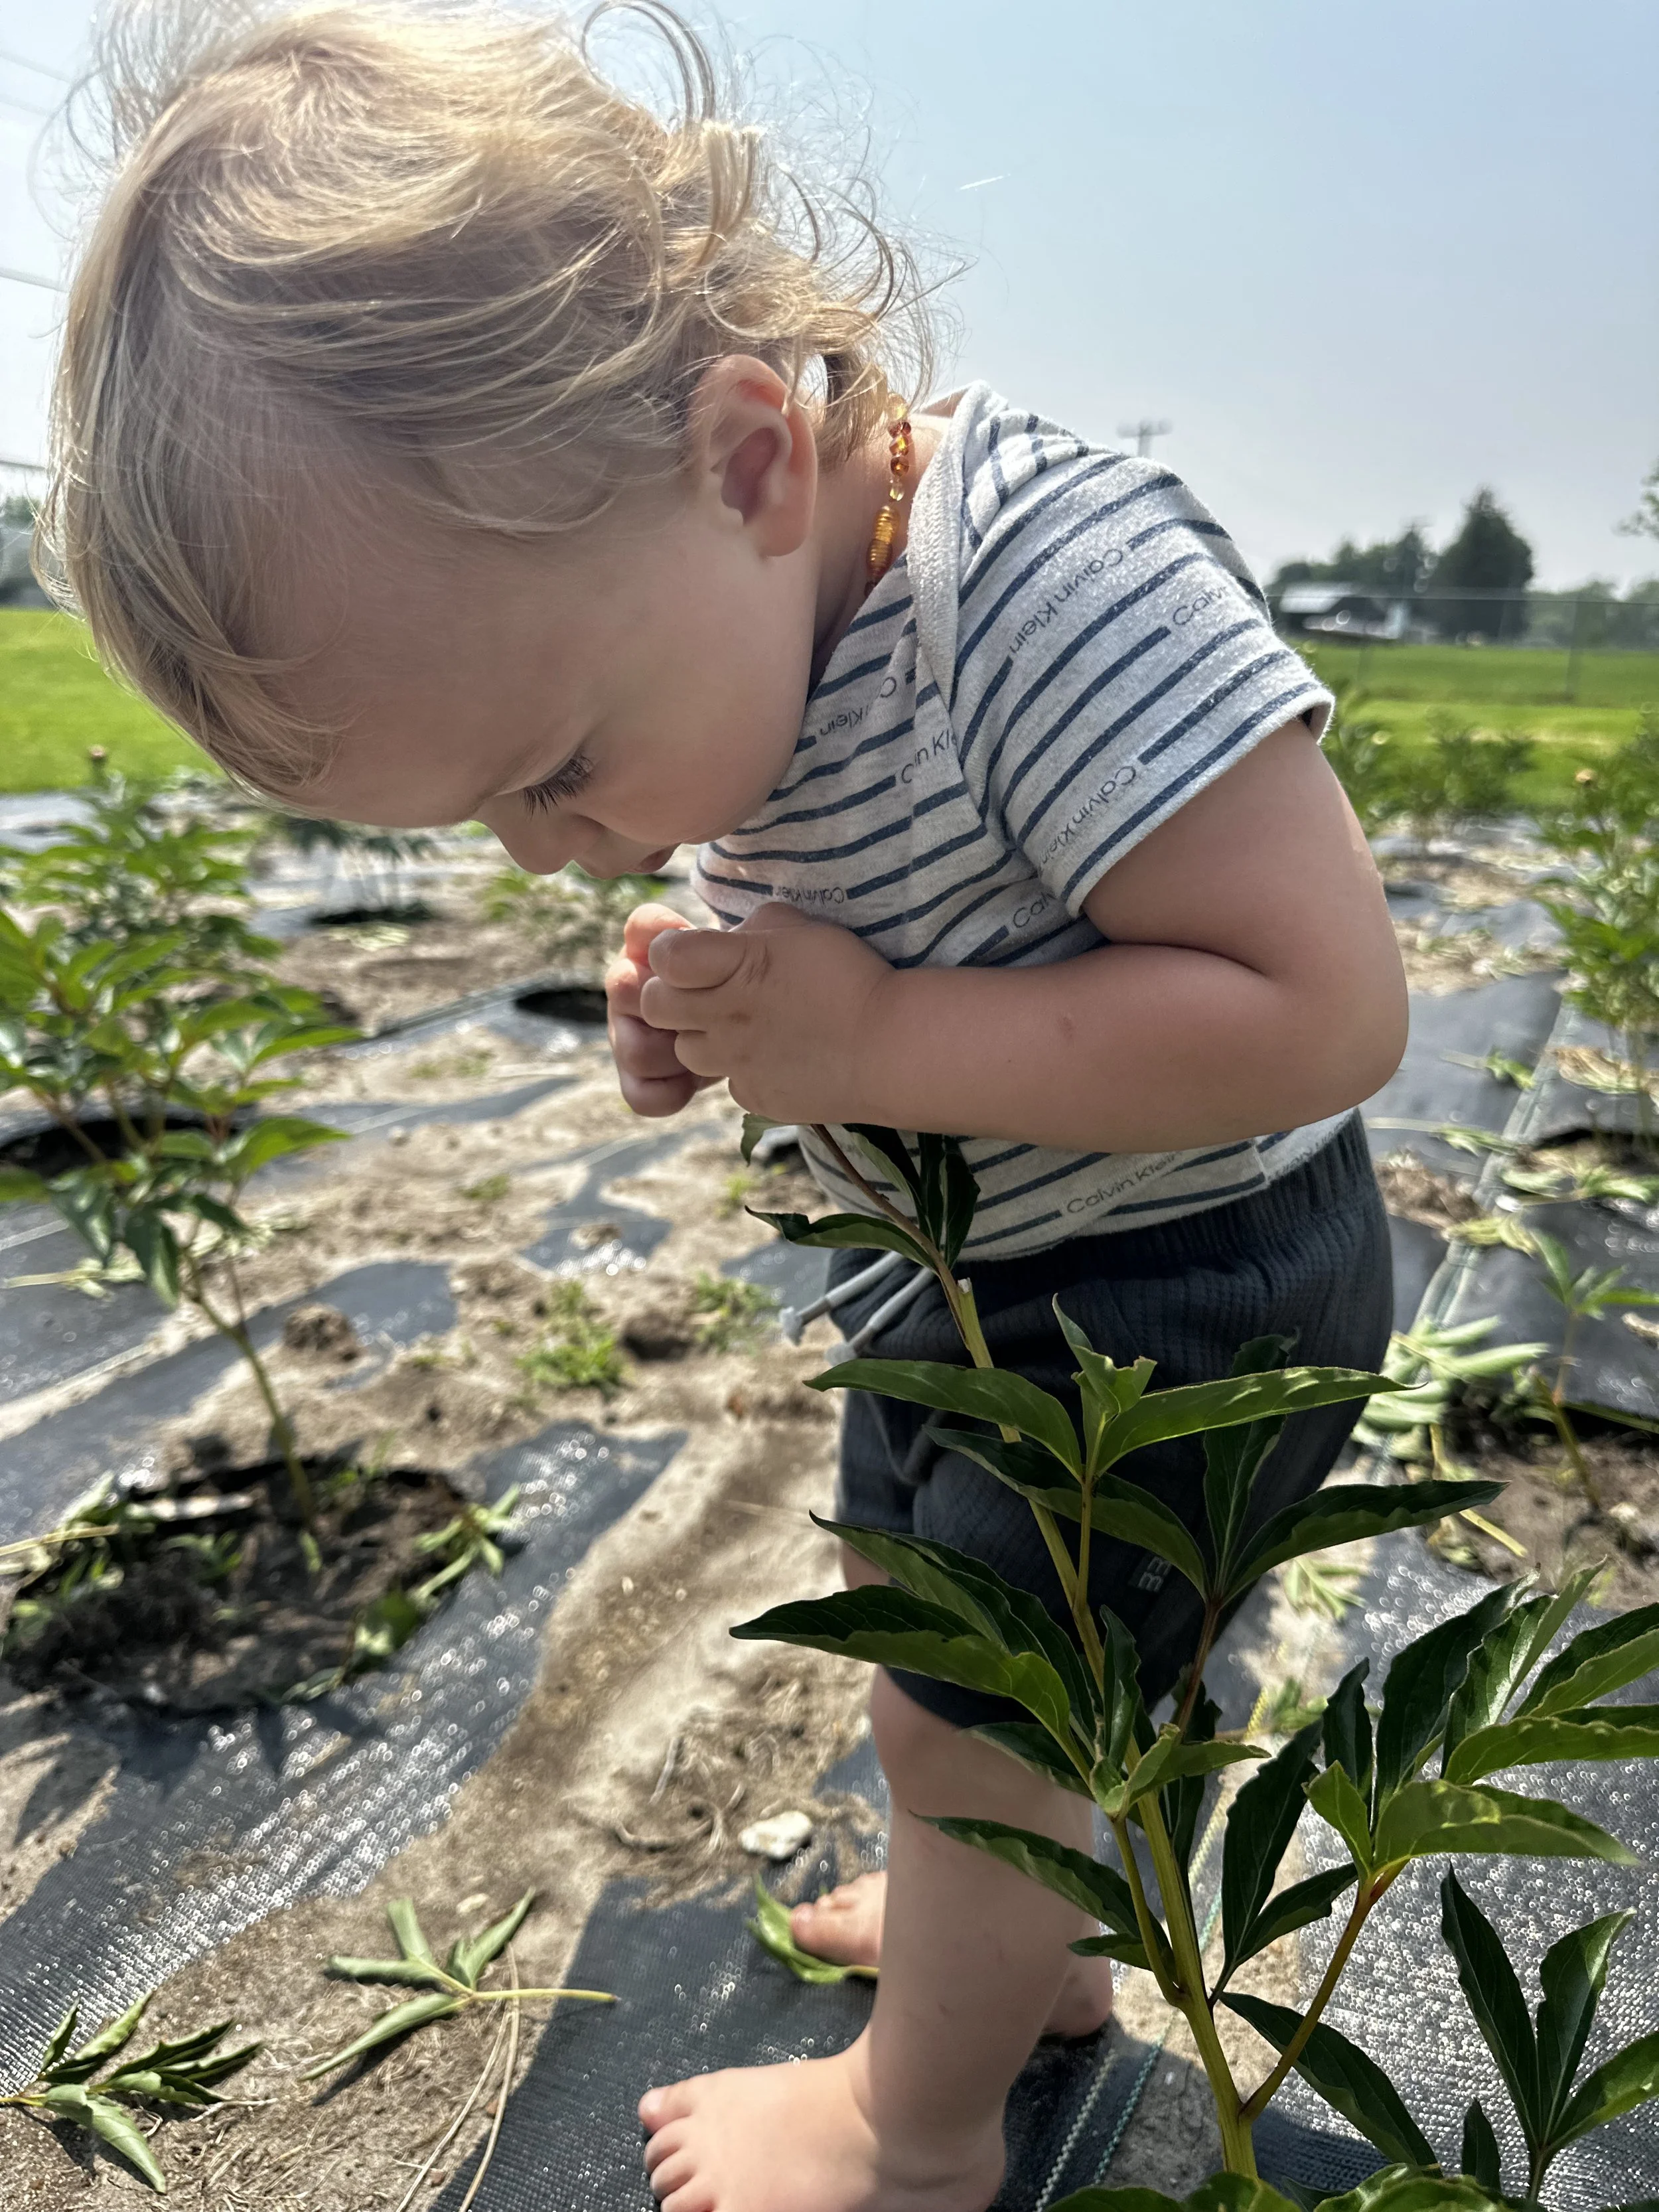
My mini bestie <3

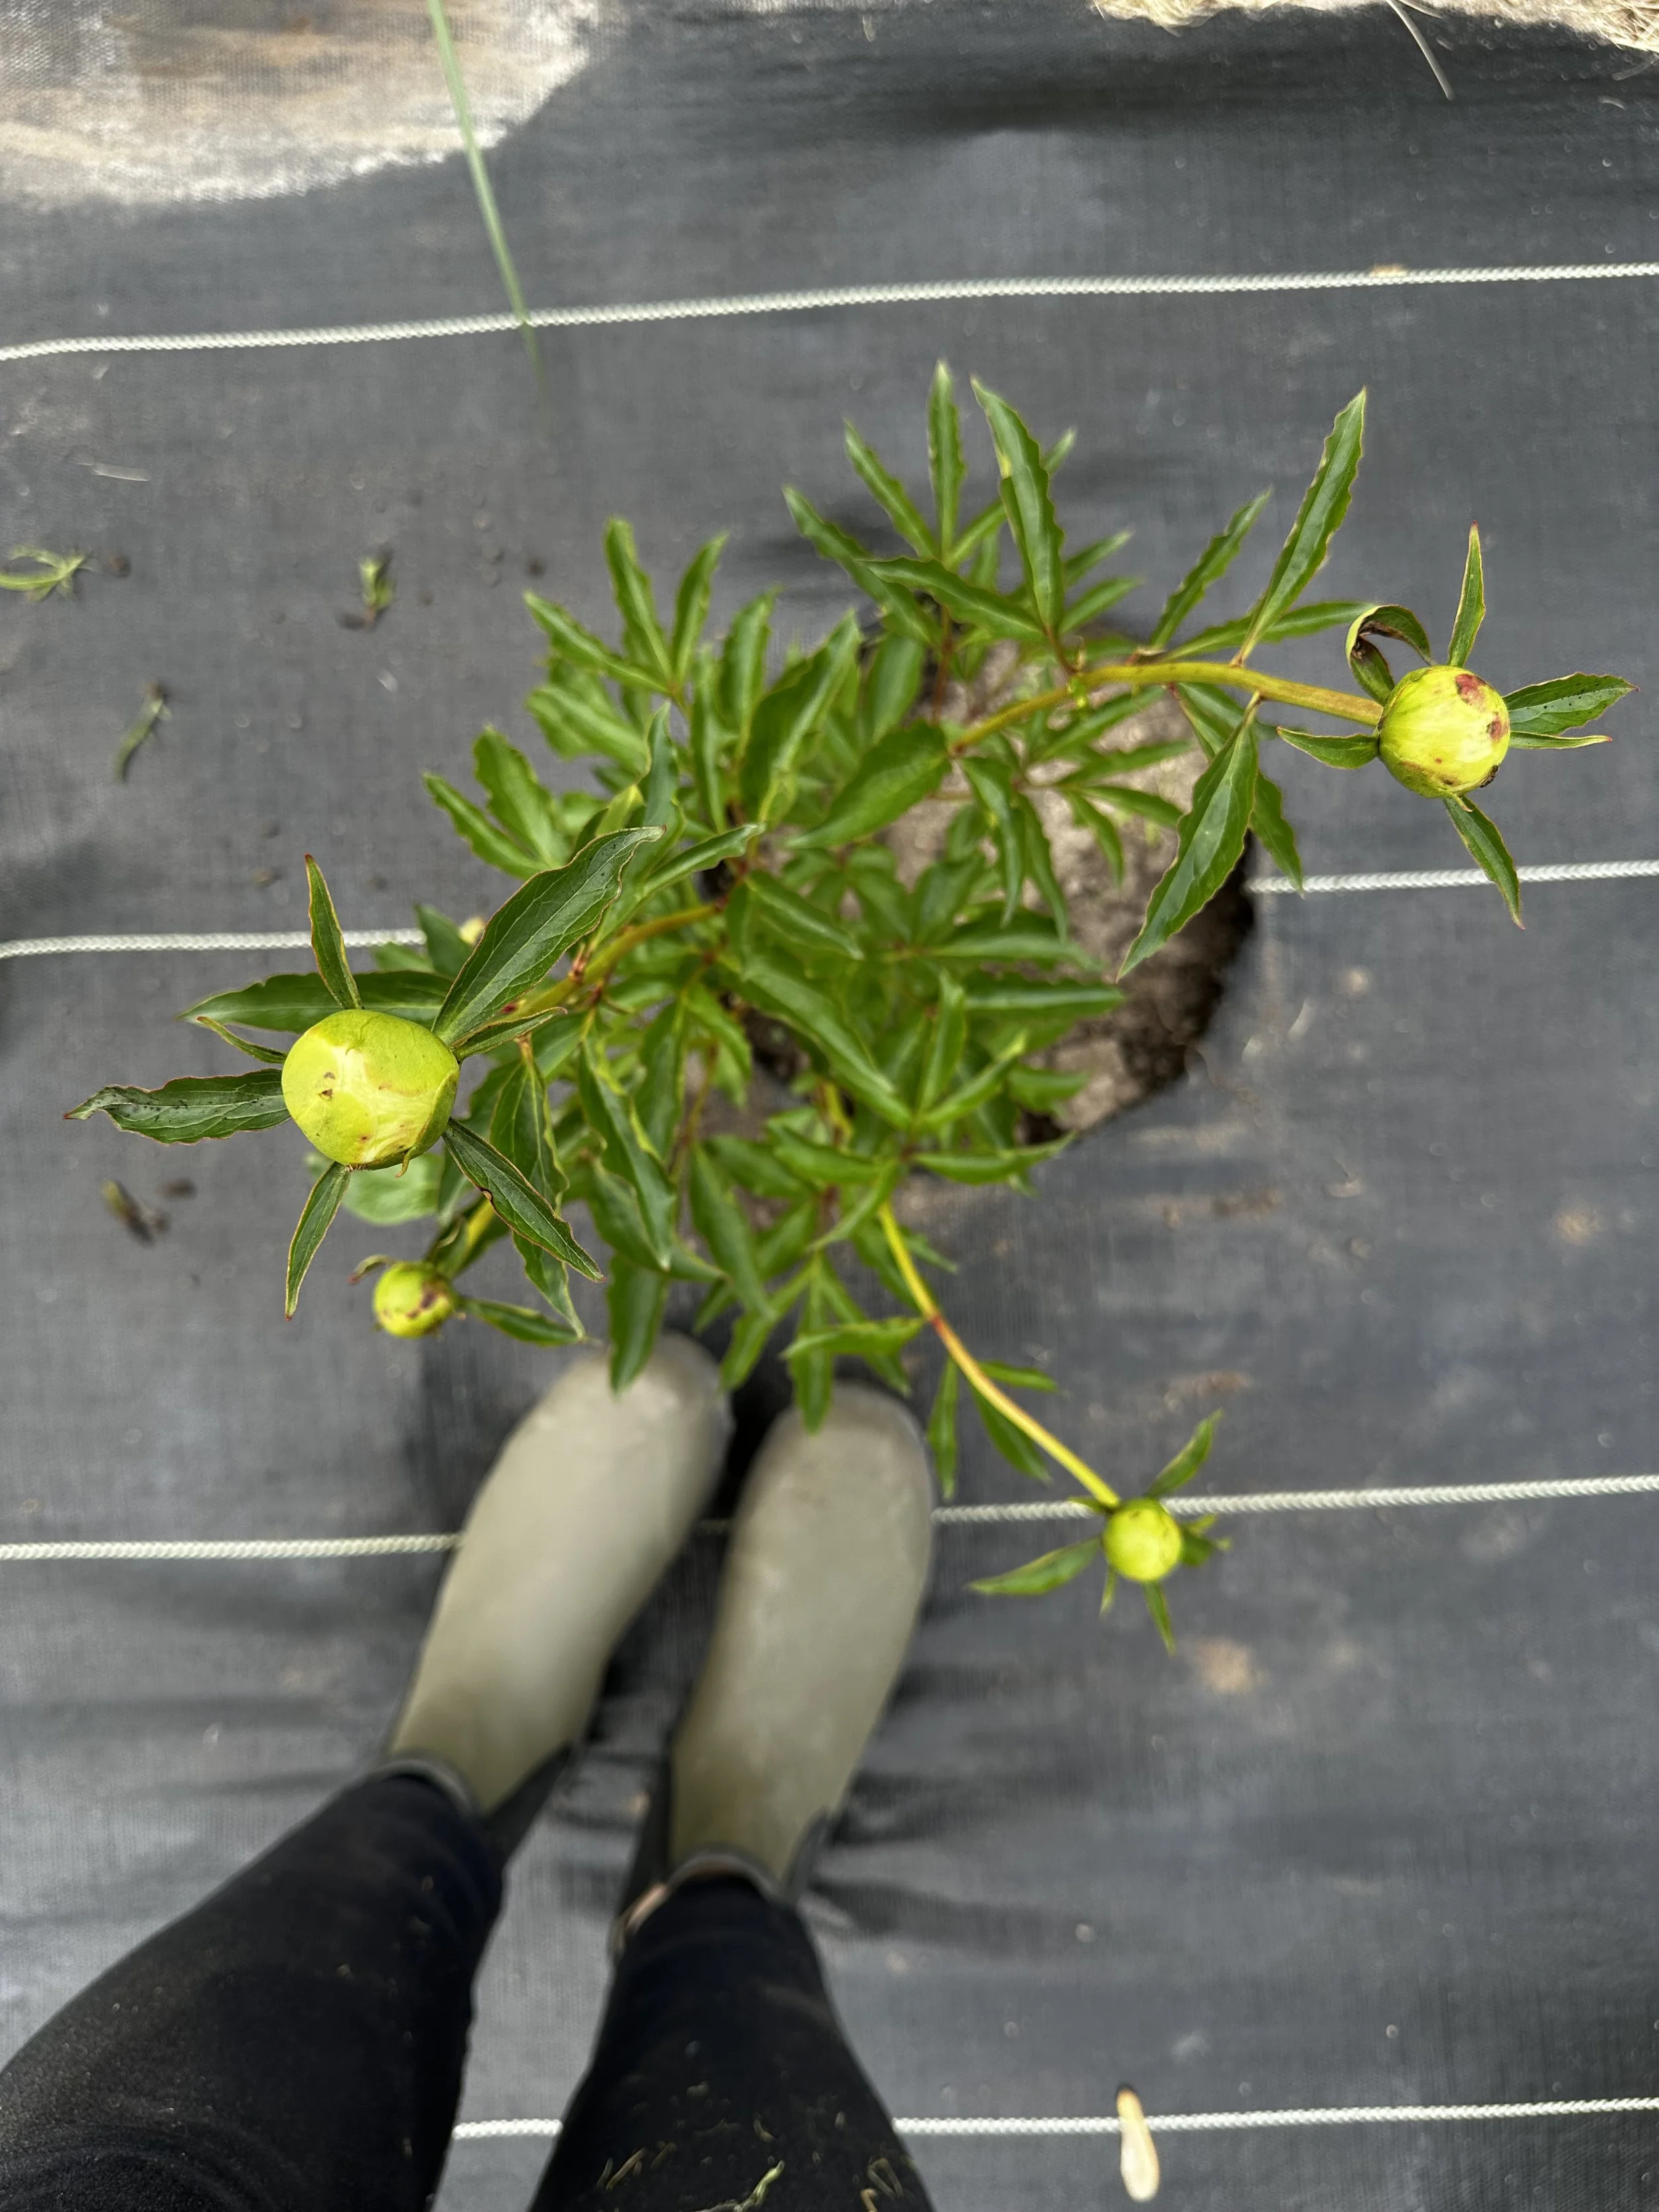
How to Plant Peonies: A Farmer-Florist’s Guide to the Queen of the Garden
Peonies are timeless, elegant, and worth every ounce of patience. Here’s a full behind-the-scenes look at how we planted over 150 peony roots at Bede’s Blooms—from spacing and fertilizing to lessons learned (like why you really should sweep your landscape fabric).


Planting Peonies: A Love Letter and Grower’s Guide
This post may contain affiliate links. If you click through and make a purchase, I may earn a small commission at no extra cost to you. I only recommend products I use and love here on the farm.
There’s just something about peonies.
The soft, blush-pink blooms. Their ruffled elegance. The scent—heady and nostalgic, like something out of a dream. For me, peonies aren’t just flowers—they’re a soul-stirring presence in the garden and one of the greatest joys of being a flower farmer. Without a doubt, they are my favorite flower.
Last fall, I took the leap and planted our largest-ever peony field here at Bede’s Blooms + Co. This blog is part love letter, part how-to, and part behind-the-scenes peek at what it really takes to get peonies established on a flower farm.
If you’ve ever dreamed of growing peonies—or if you’re just starting to fall in love with these romantic blooms—this post is for you. Whether you’re a backyard gardener or a farmer-florist mapping out your first field, I’m sharing everything I learned from planting 150+ peony roots on our Michigan farm: from sourcing and spacing to root size, first-year harvests, and all the tools and tips that made the process smoother.
Why Peonies Deserve a Place in Your Garden (or Your Business)
They’re perennials – plant them once, and they’ll bloom for decades.
They get better with age – larger, fuller blooms year after year.
They command premium prices – stems regularly sell for $3–6 wholesale, and even more at retail or for events.
They bloom during peak wedding season, making them a dream crop for farmer-florists.
That said, they do require patience. Peonies can take 2–3 years to establish, and while the wait is worth it, it’s important to set expectations—especially if you’re hoping for first-year blooms.
A Note on Root Size and First-Year Harvesting
Most growers will tell you not to harvest from peonies in their first year. And generally? That’s good advice.
But here’s the nuance: I invested in larger, 6–8 eye roots instead of the standard 2–3 or 3–5 eye divisions. I experimented—harvesting from about half of my 6–8 eye plants in the first year. The result? Beautiful, large blooms. Not quite as robust as my three-year-old plants, but certainly strong enough for arrangements.
In short: root size matters, and not all first-year harvests are created equal. I also know other growers who’ve harvested cautiously from year one with great results.
✨ Farmer tip: If you’re planting peonies for production, consider investing in higher-eye count roots. The upfront cost is greater, but so is the payoff.
Establishing Peonies: The First Year is Everything
Peonies don’t love being rushed, so the first year is all about establishment. Even if you’re not harvesting blooms, what’s happening underground is just as important.
🌱 Key Summer Care Tips (Especially in Michigan):
Water deeply and consistently in July, as this is when the plant shifts energy to root and bud development for the following spring.
Aim for 1–1.5 inches per week at the base (no overhead watering—botrytis loves wet leaves).
Deadhead spent blooms but leave all foliage intact.
Fertilize lightly in early July with a low-nitrogen, balanced fertilizer like 5-10-10 or 10-20-20. Apply directly to the soil around the plant—not on the leaves—to avoid fungal issues. It’s like a nutrient smoothie for next year’s blooms. Avoid fertilizing after mid-July to prevent weak late-season growth.
📅 Stay tuned: I’ll be sharing a full fertilizing schedule, product links, and my compost tea recipe in next week’s blog post!
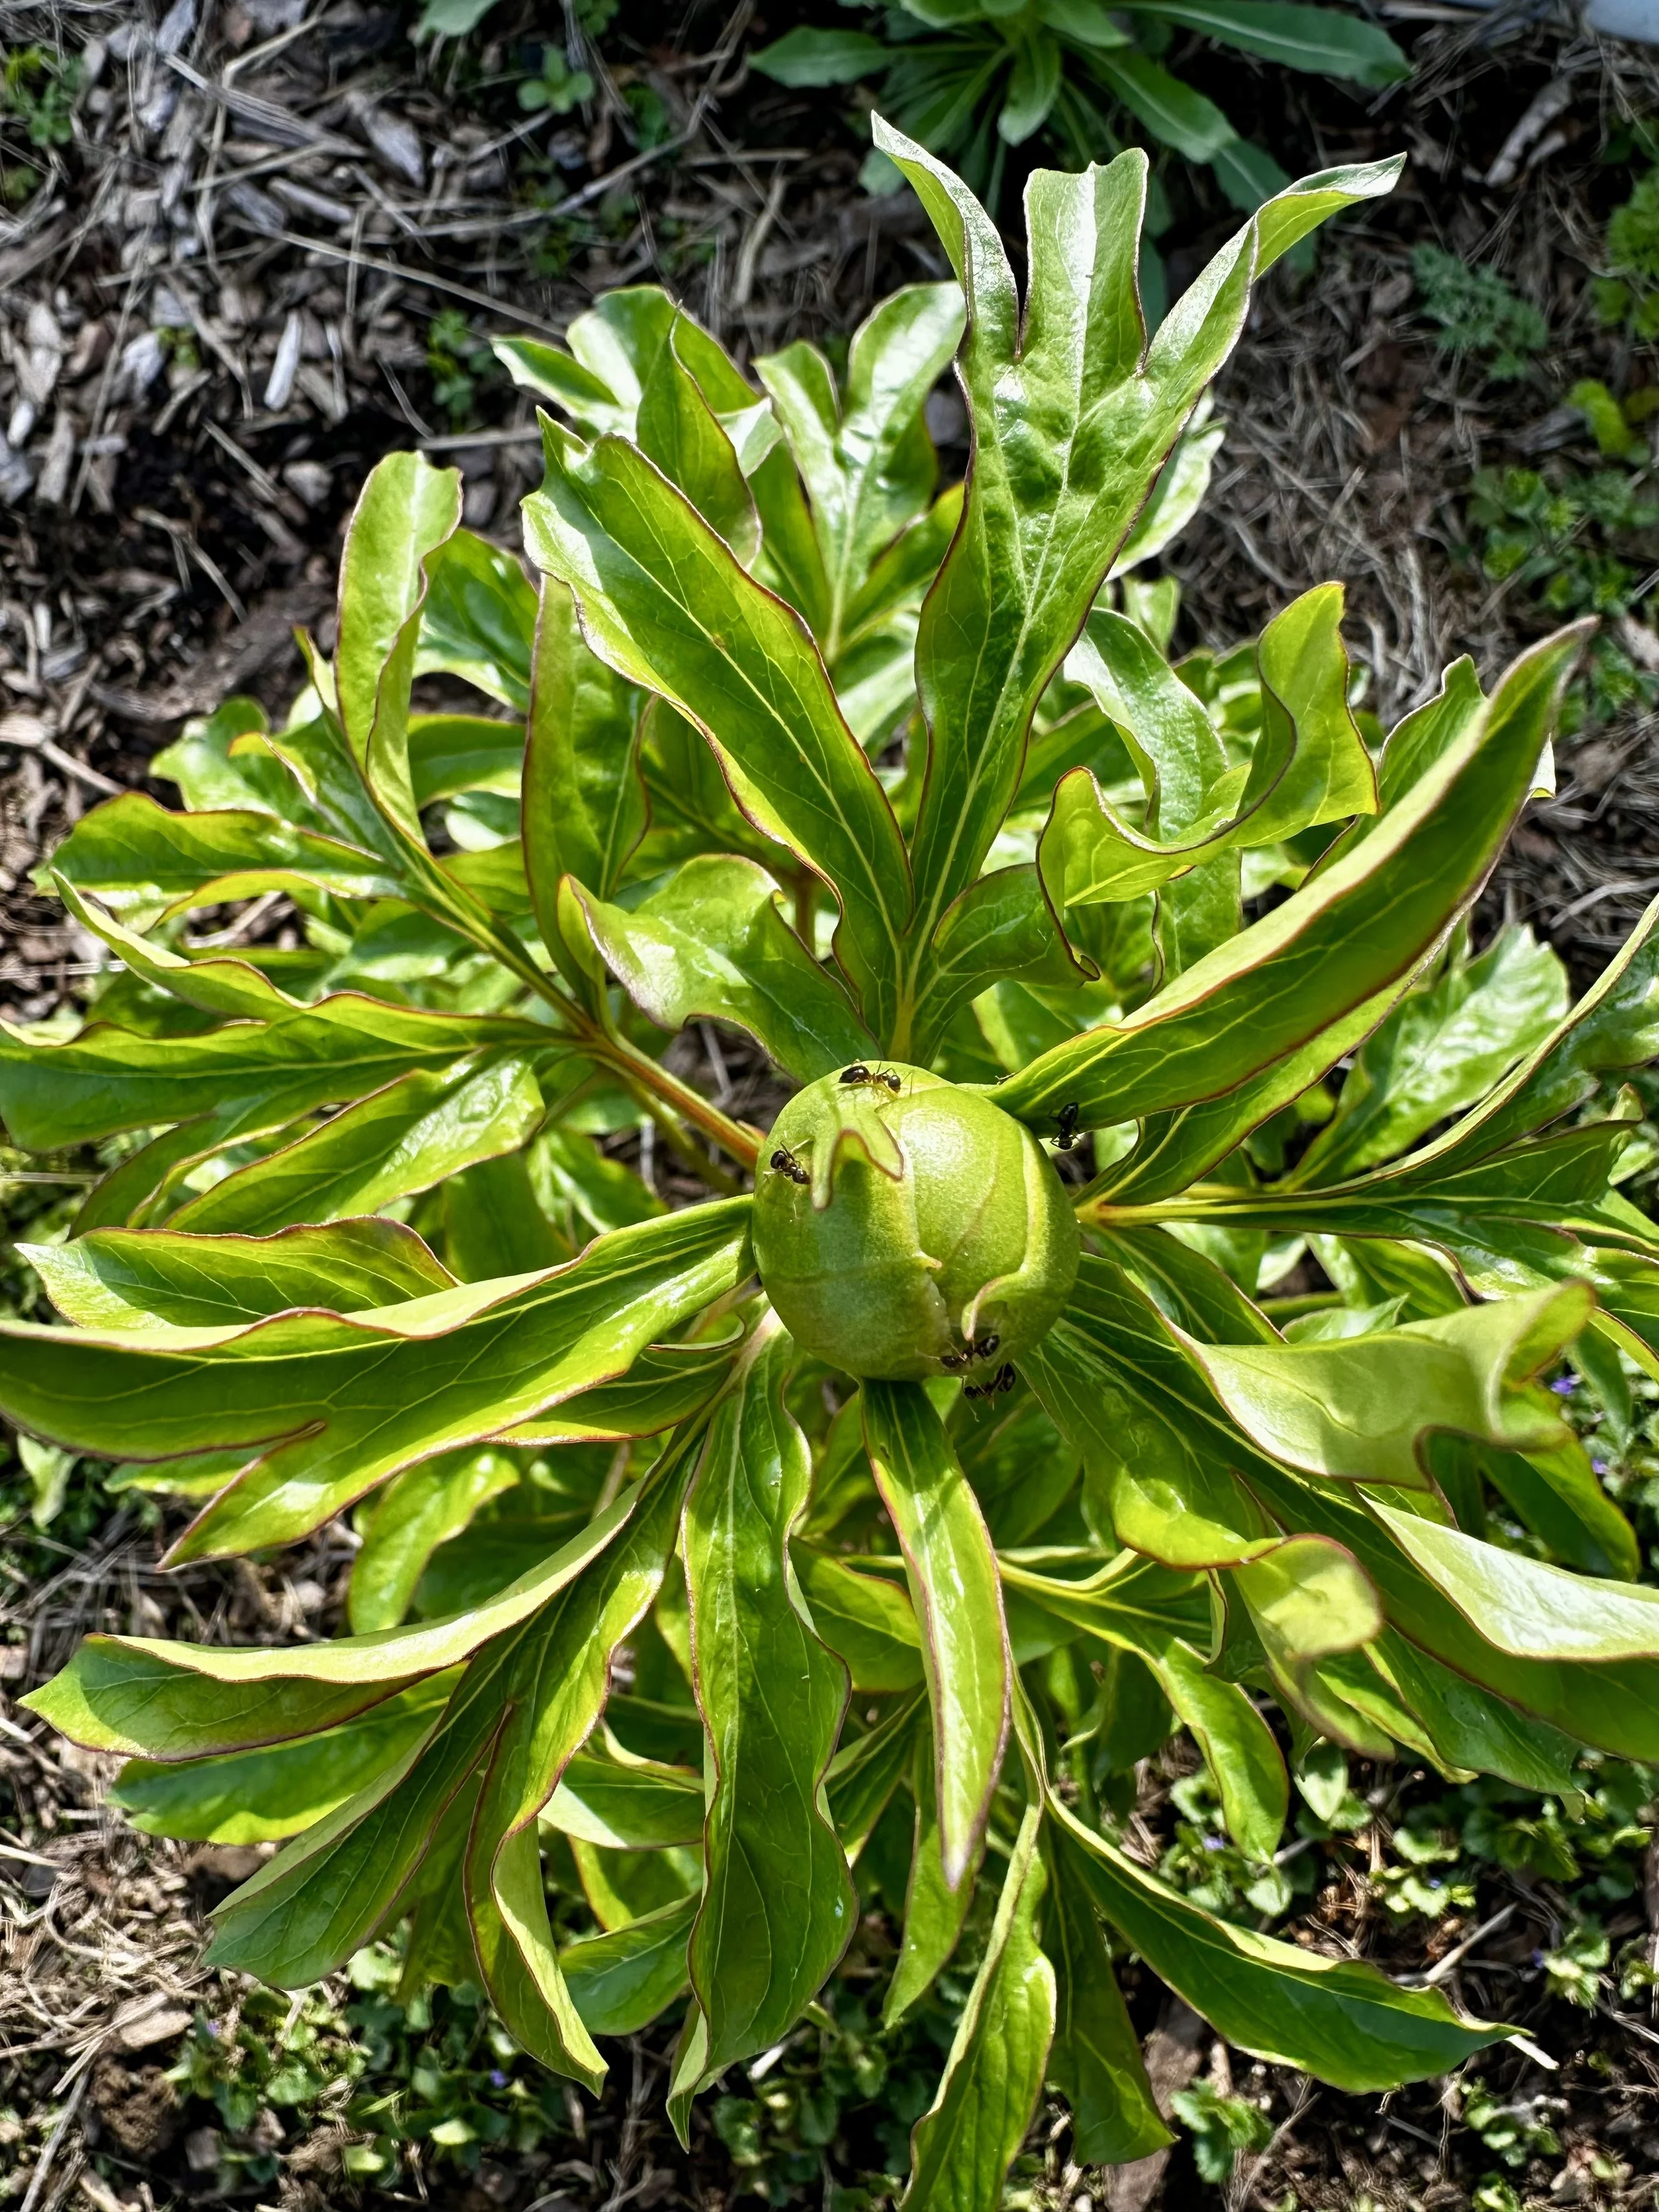
Disease Control: Beating Botrytis
If you’re seeing:
Blackened buds
Wilting stems
Gray mold or fuzzy mildew...
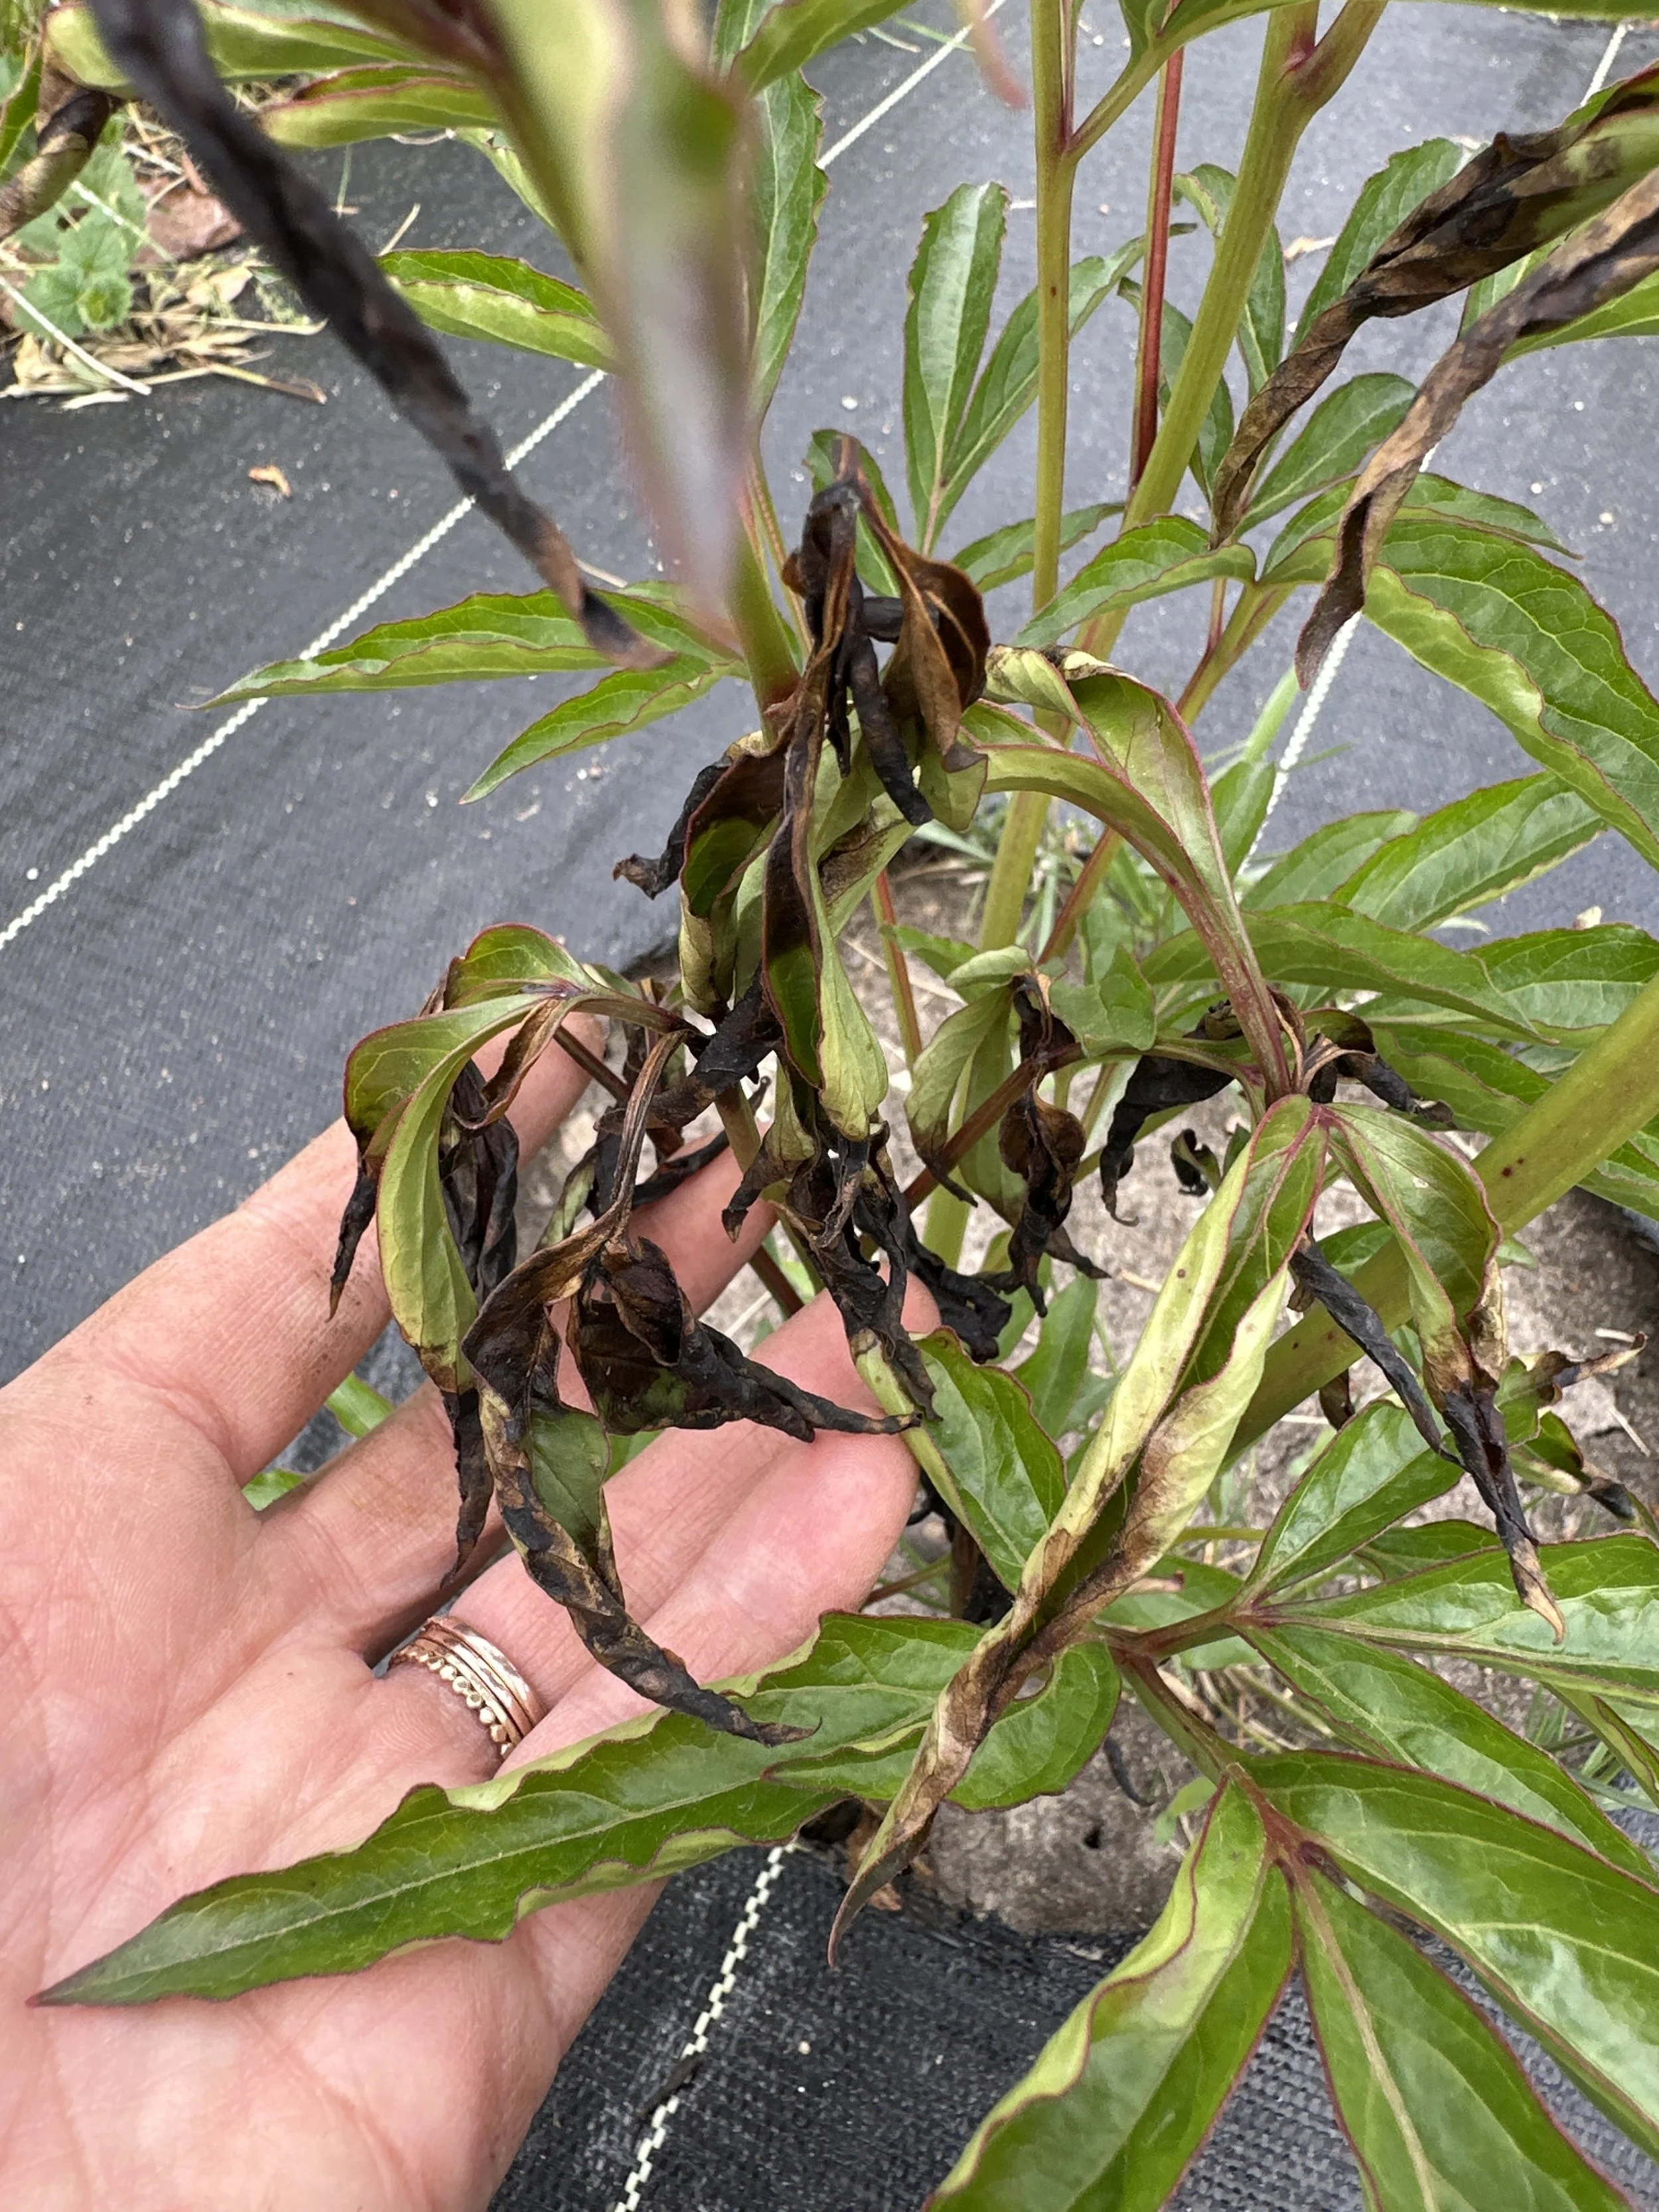


You might be dealing with botrytis blight. Here’s how I manage it:
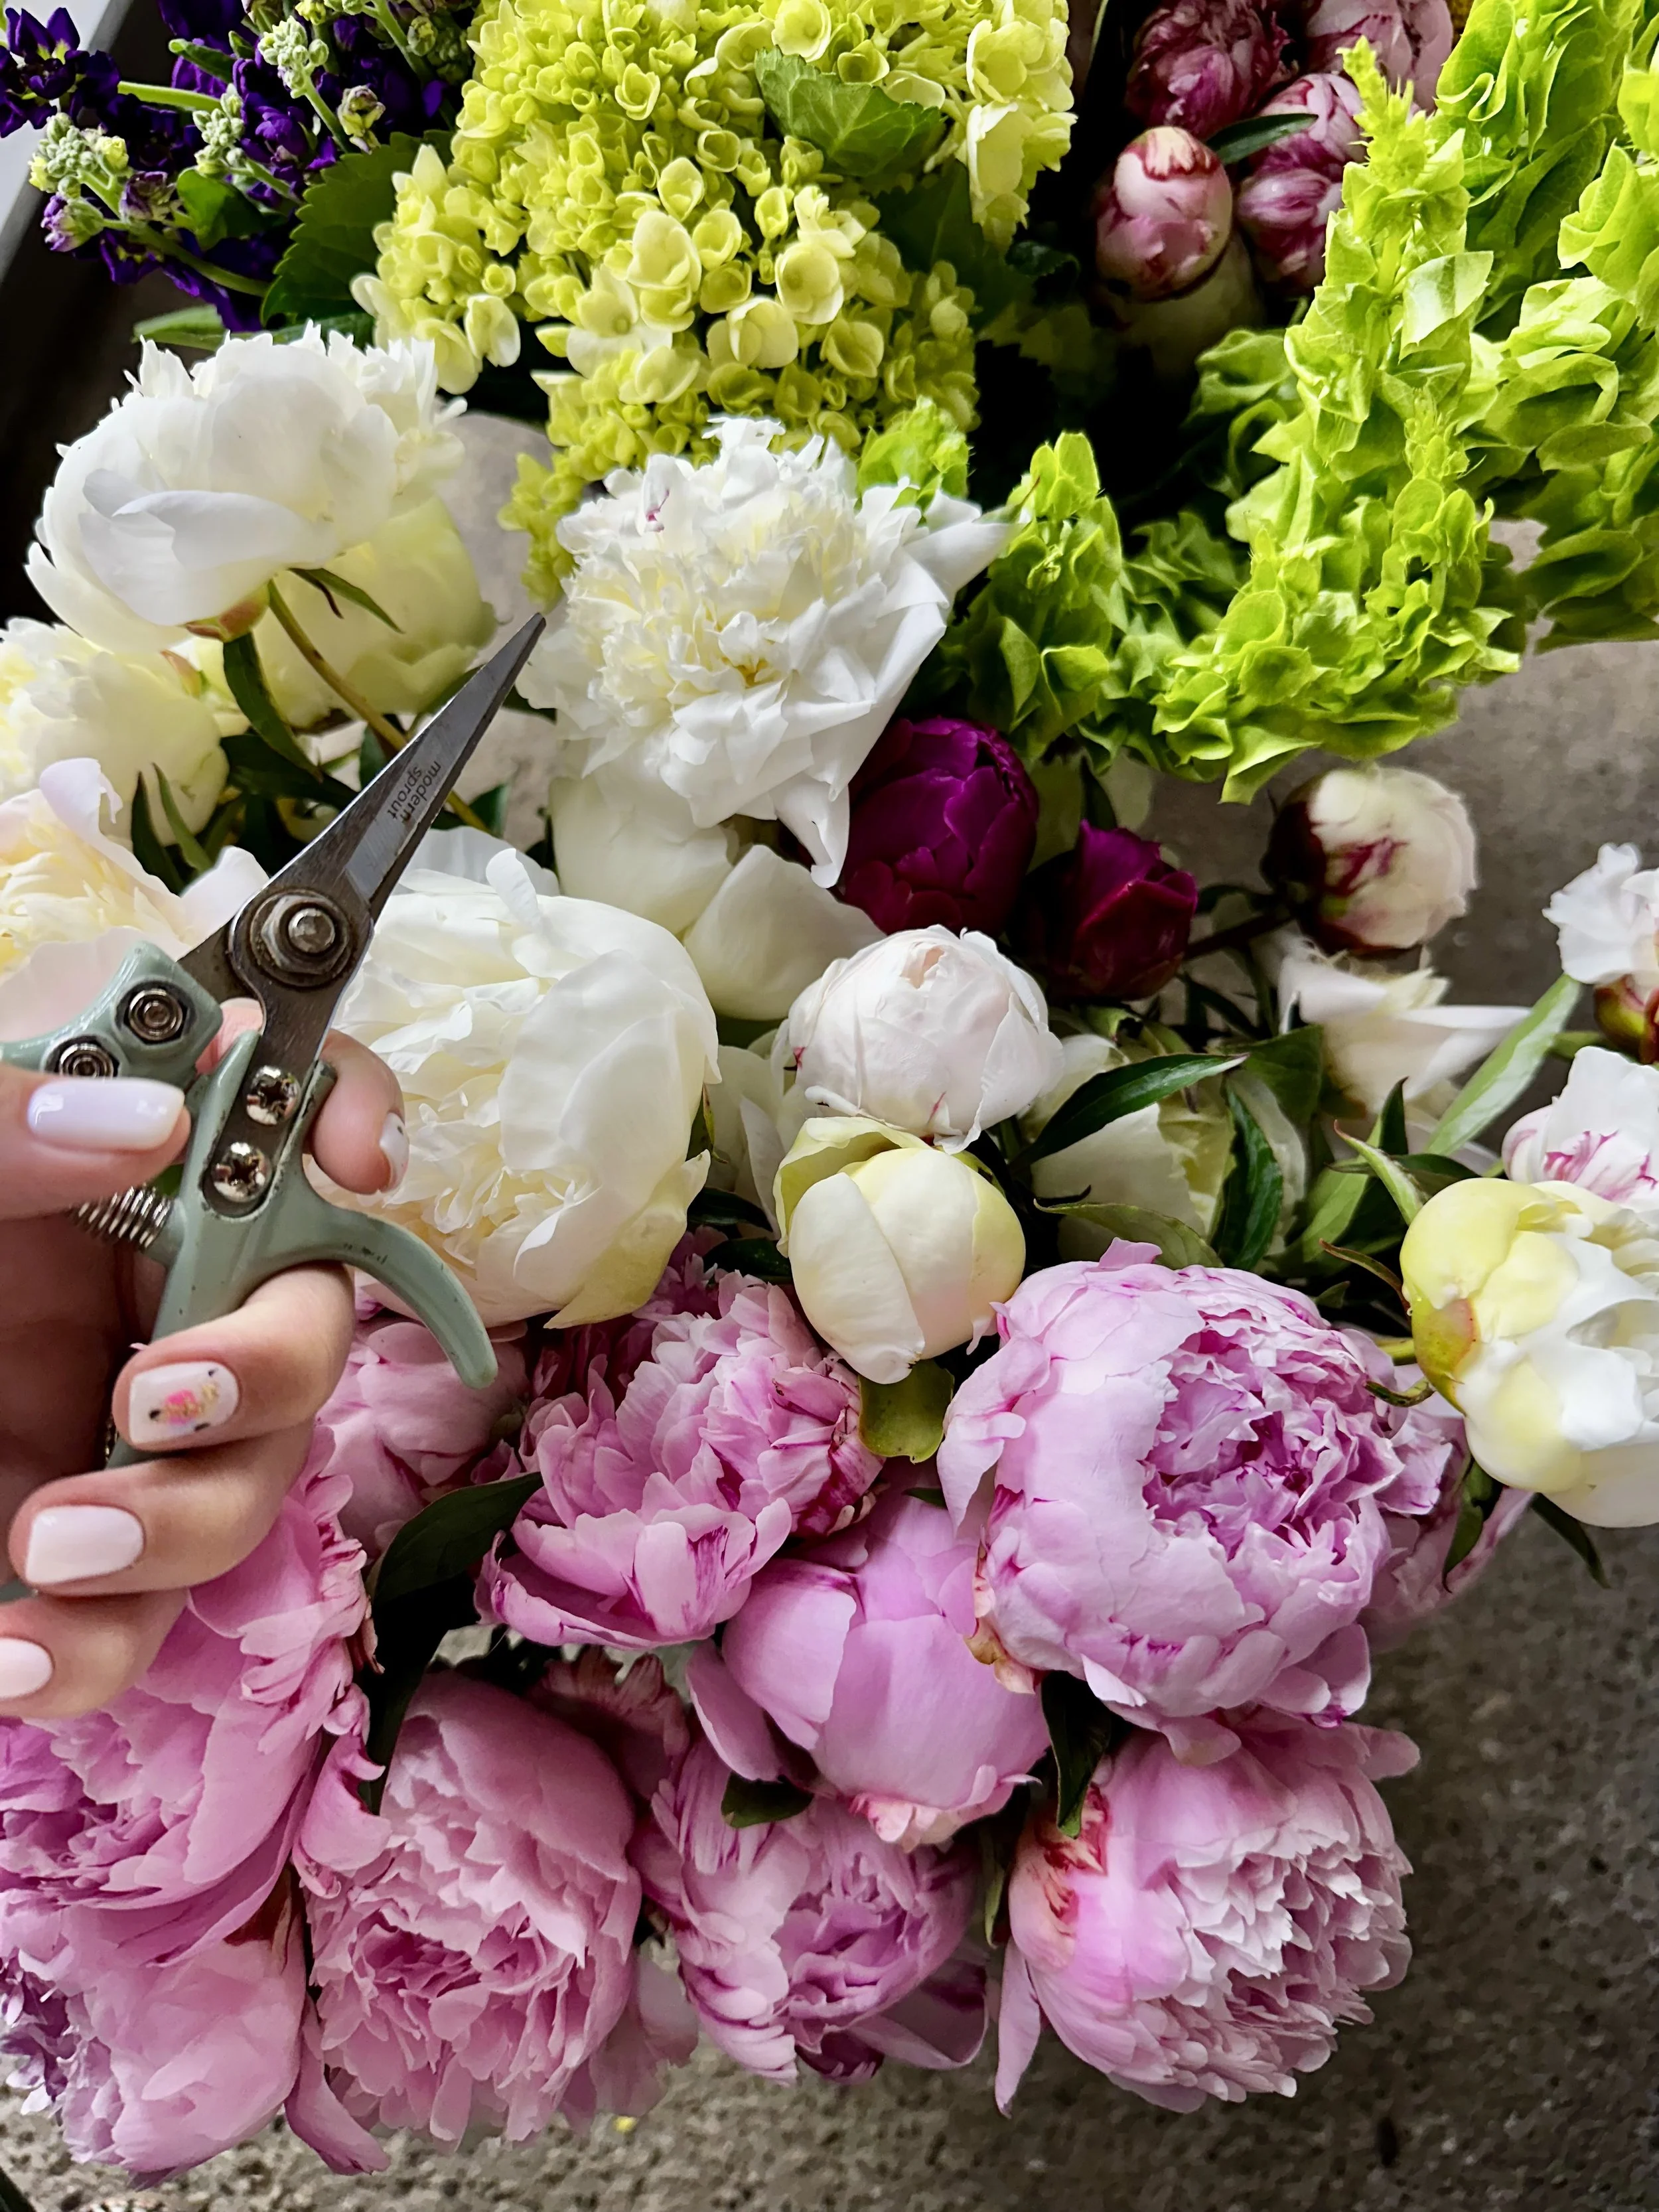
Clean up: Remove all infected plant parts and dispose—don’t compost.
Sanitize your shears using a solution of bleach or rubbing alcohol.
Treat: Use organic options like:
Serenade or Actinovate - I use this one: Trifecta Crop Control Concentrate
Improve airflow: Thin surrounding plants, avoid overcrowding.
🍂 In fall: Cut foliage to the ground after frost, and discard (do not compost) if there were disease issues. Apply compost (I love using Dairydoo + bone meal) or bulb fertilizer around the base—not on the crown—especially if your soil is lean.
🌸 Step-by-Step: How We Planted Our Peony Field (and What We’d Do Differently)
There’s no one “right” way to plant peonies, but this was our process. We learned a lot in the trenches—some wins, some lessons—and we’re sharing it all here to help your future planting go a little smoother.
Step 1: Measure Your Space First
Before you even order roots, take the time to measure your growing area. Peonies need generous spacing and good airflow, so you’ll want a clear idea of how many plants you can comfortably fit.
🌸 Spacing Guidelines by Peony Type
Herbaceous Peonies (garden peonies):
▸ 36–48 inches apart (center to center)
▸ Allows for mature clump size and good airflow to reduce disease
Intersectional (Itoh) Peonies:
▸ 36–48 inches apart
▸ These hybrids also form large, bushy plants
Tree Peonies:
▸ 48–60 inches apart
▸ These are woody shrubs that require more space and light
🌱 Why Proper Spacing Matters
Air circulation prevents fungal issues like botrytis
Root development and division potential are maximized
Ease of access for weeding, fertilizing, and harvesting
Sunlight reaches all parts of the plant, improving bloom quality
Once you know your dimensions, you can calculate how many roots to order and how much landscape fabric you'll need.
I highly recommend investing in one of these open reel measuring tapes, we have used this for so many projects around our house and in the garden.
Step 2: Source Reputable Peony Roots
We placed our order in early summer for fall delivery. A good rule of thumb? Order a flower when it’s blooming for you. That means now (while your peonies are fresh in memory) is a great time to order for fall planting.
We currently have a couple of different wholesale accounts, but during our first year of purchasing, we ordered through Alaska Perfect Peony. They connected us with the closest peony root wholesaler in our area, and I was incredibly impressed with how the roots arrived—the size and quality exceeded my expectations.
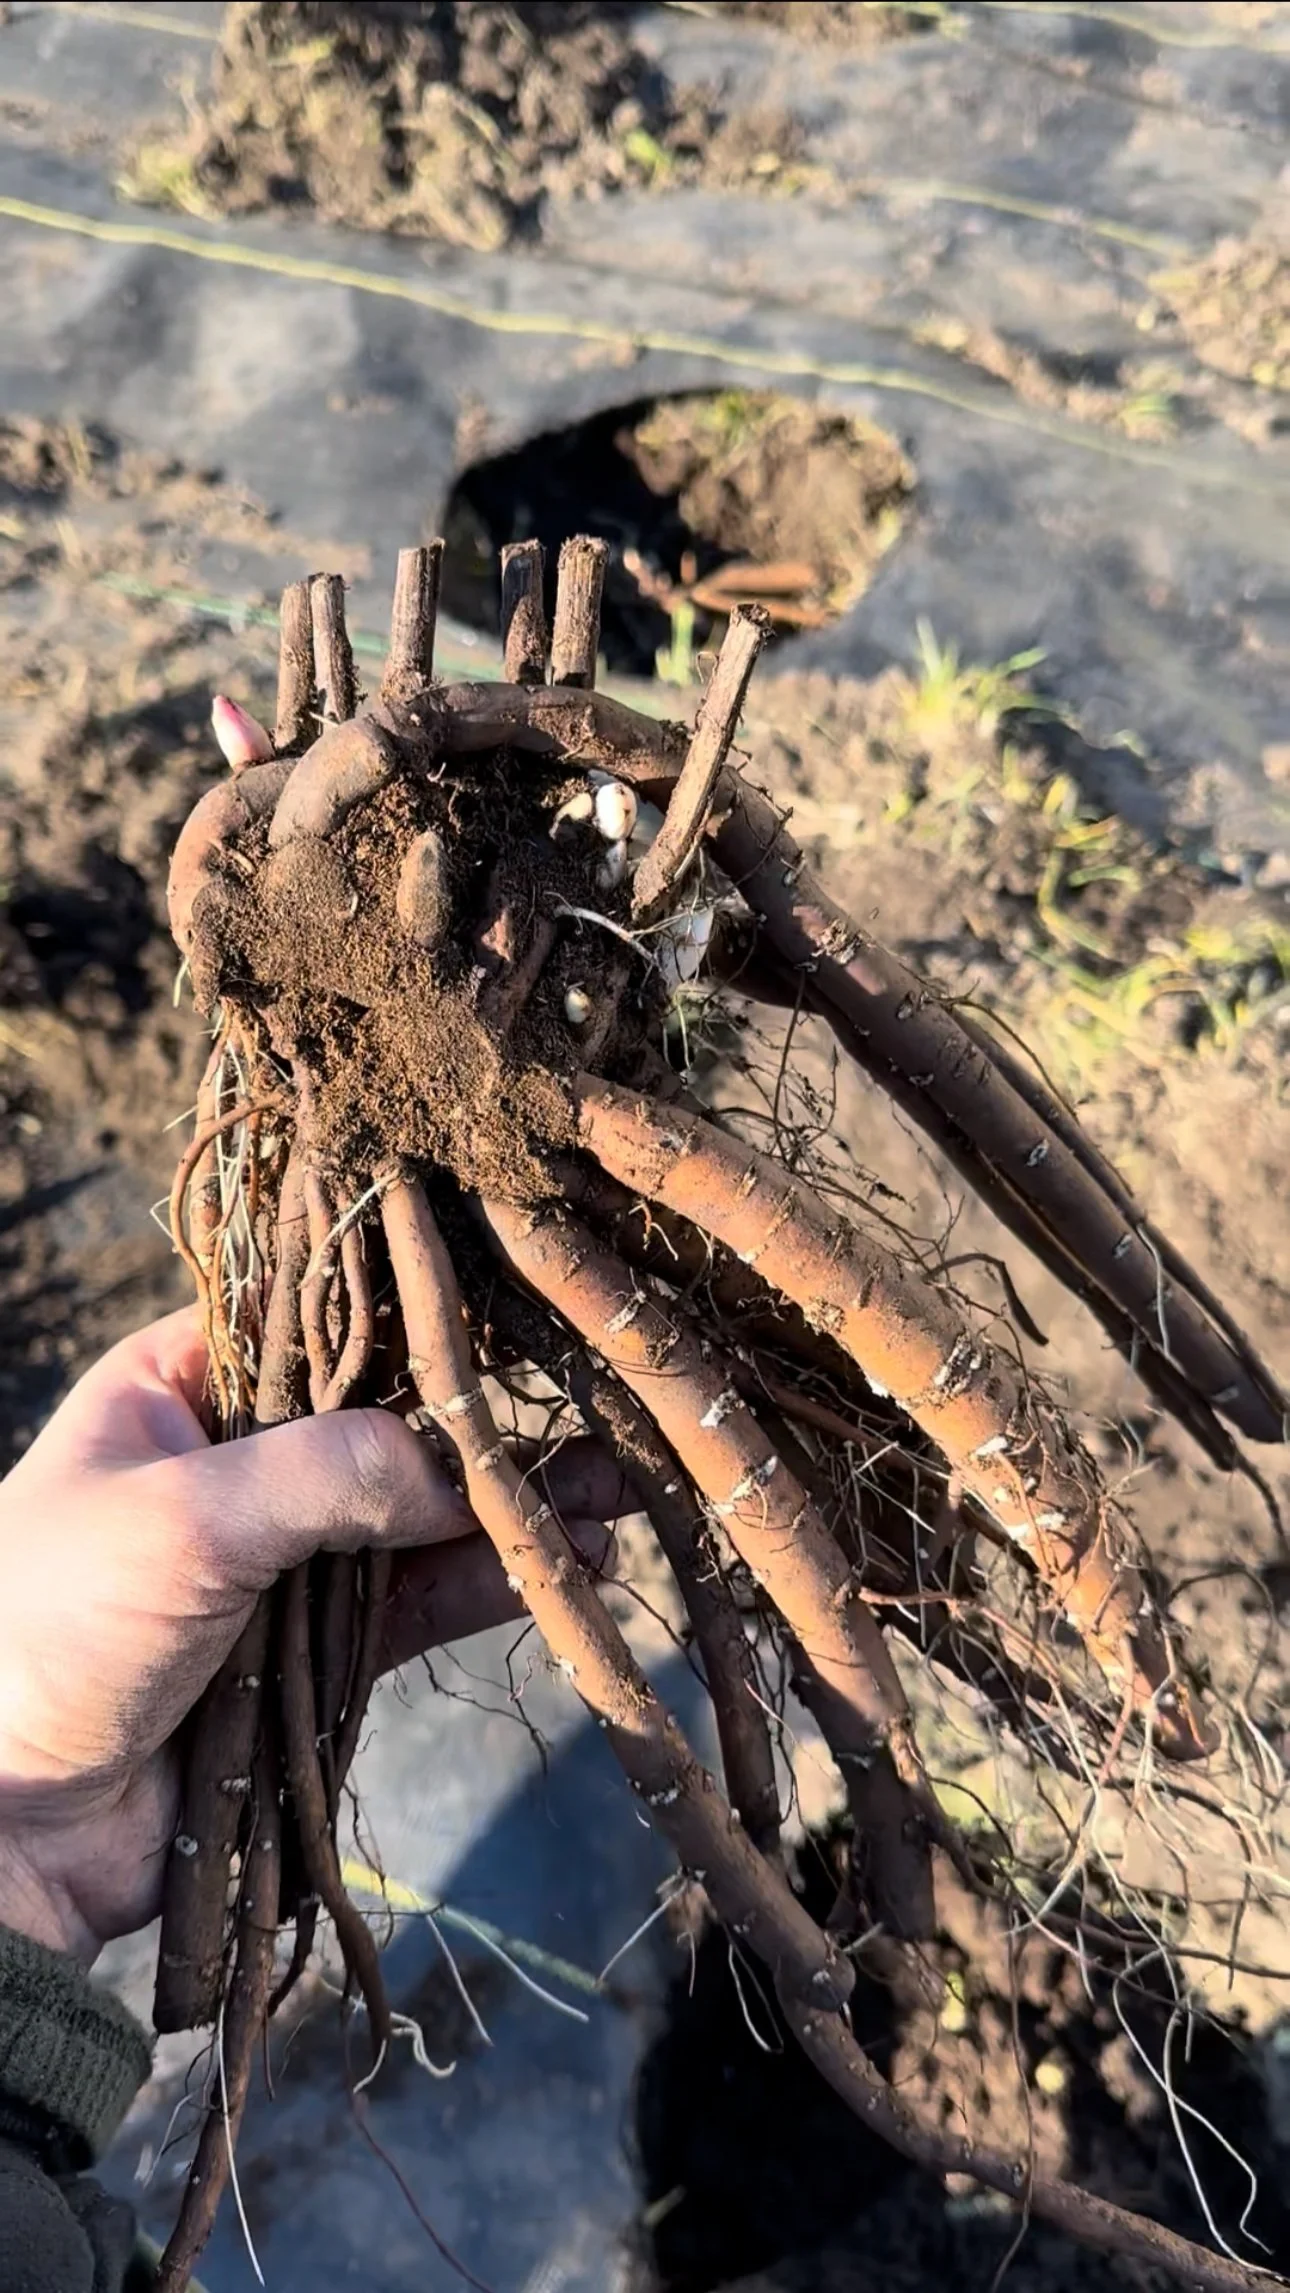
6-8 eyed Duchesse de Nemours peony root
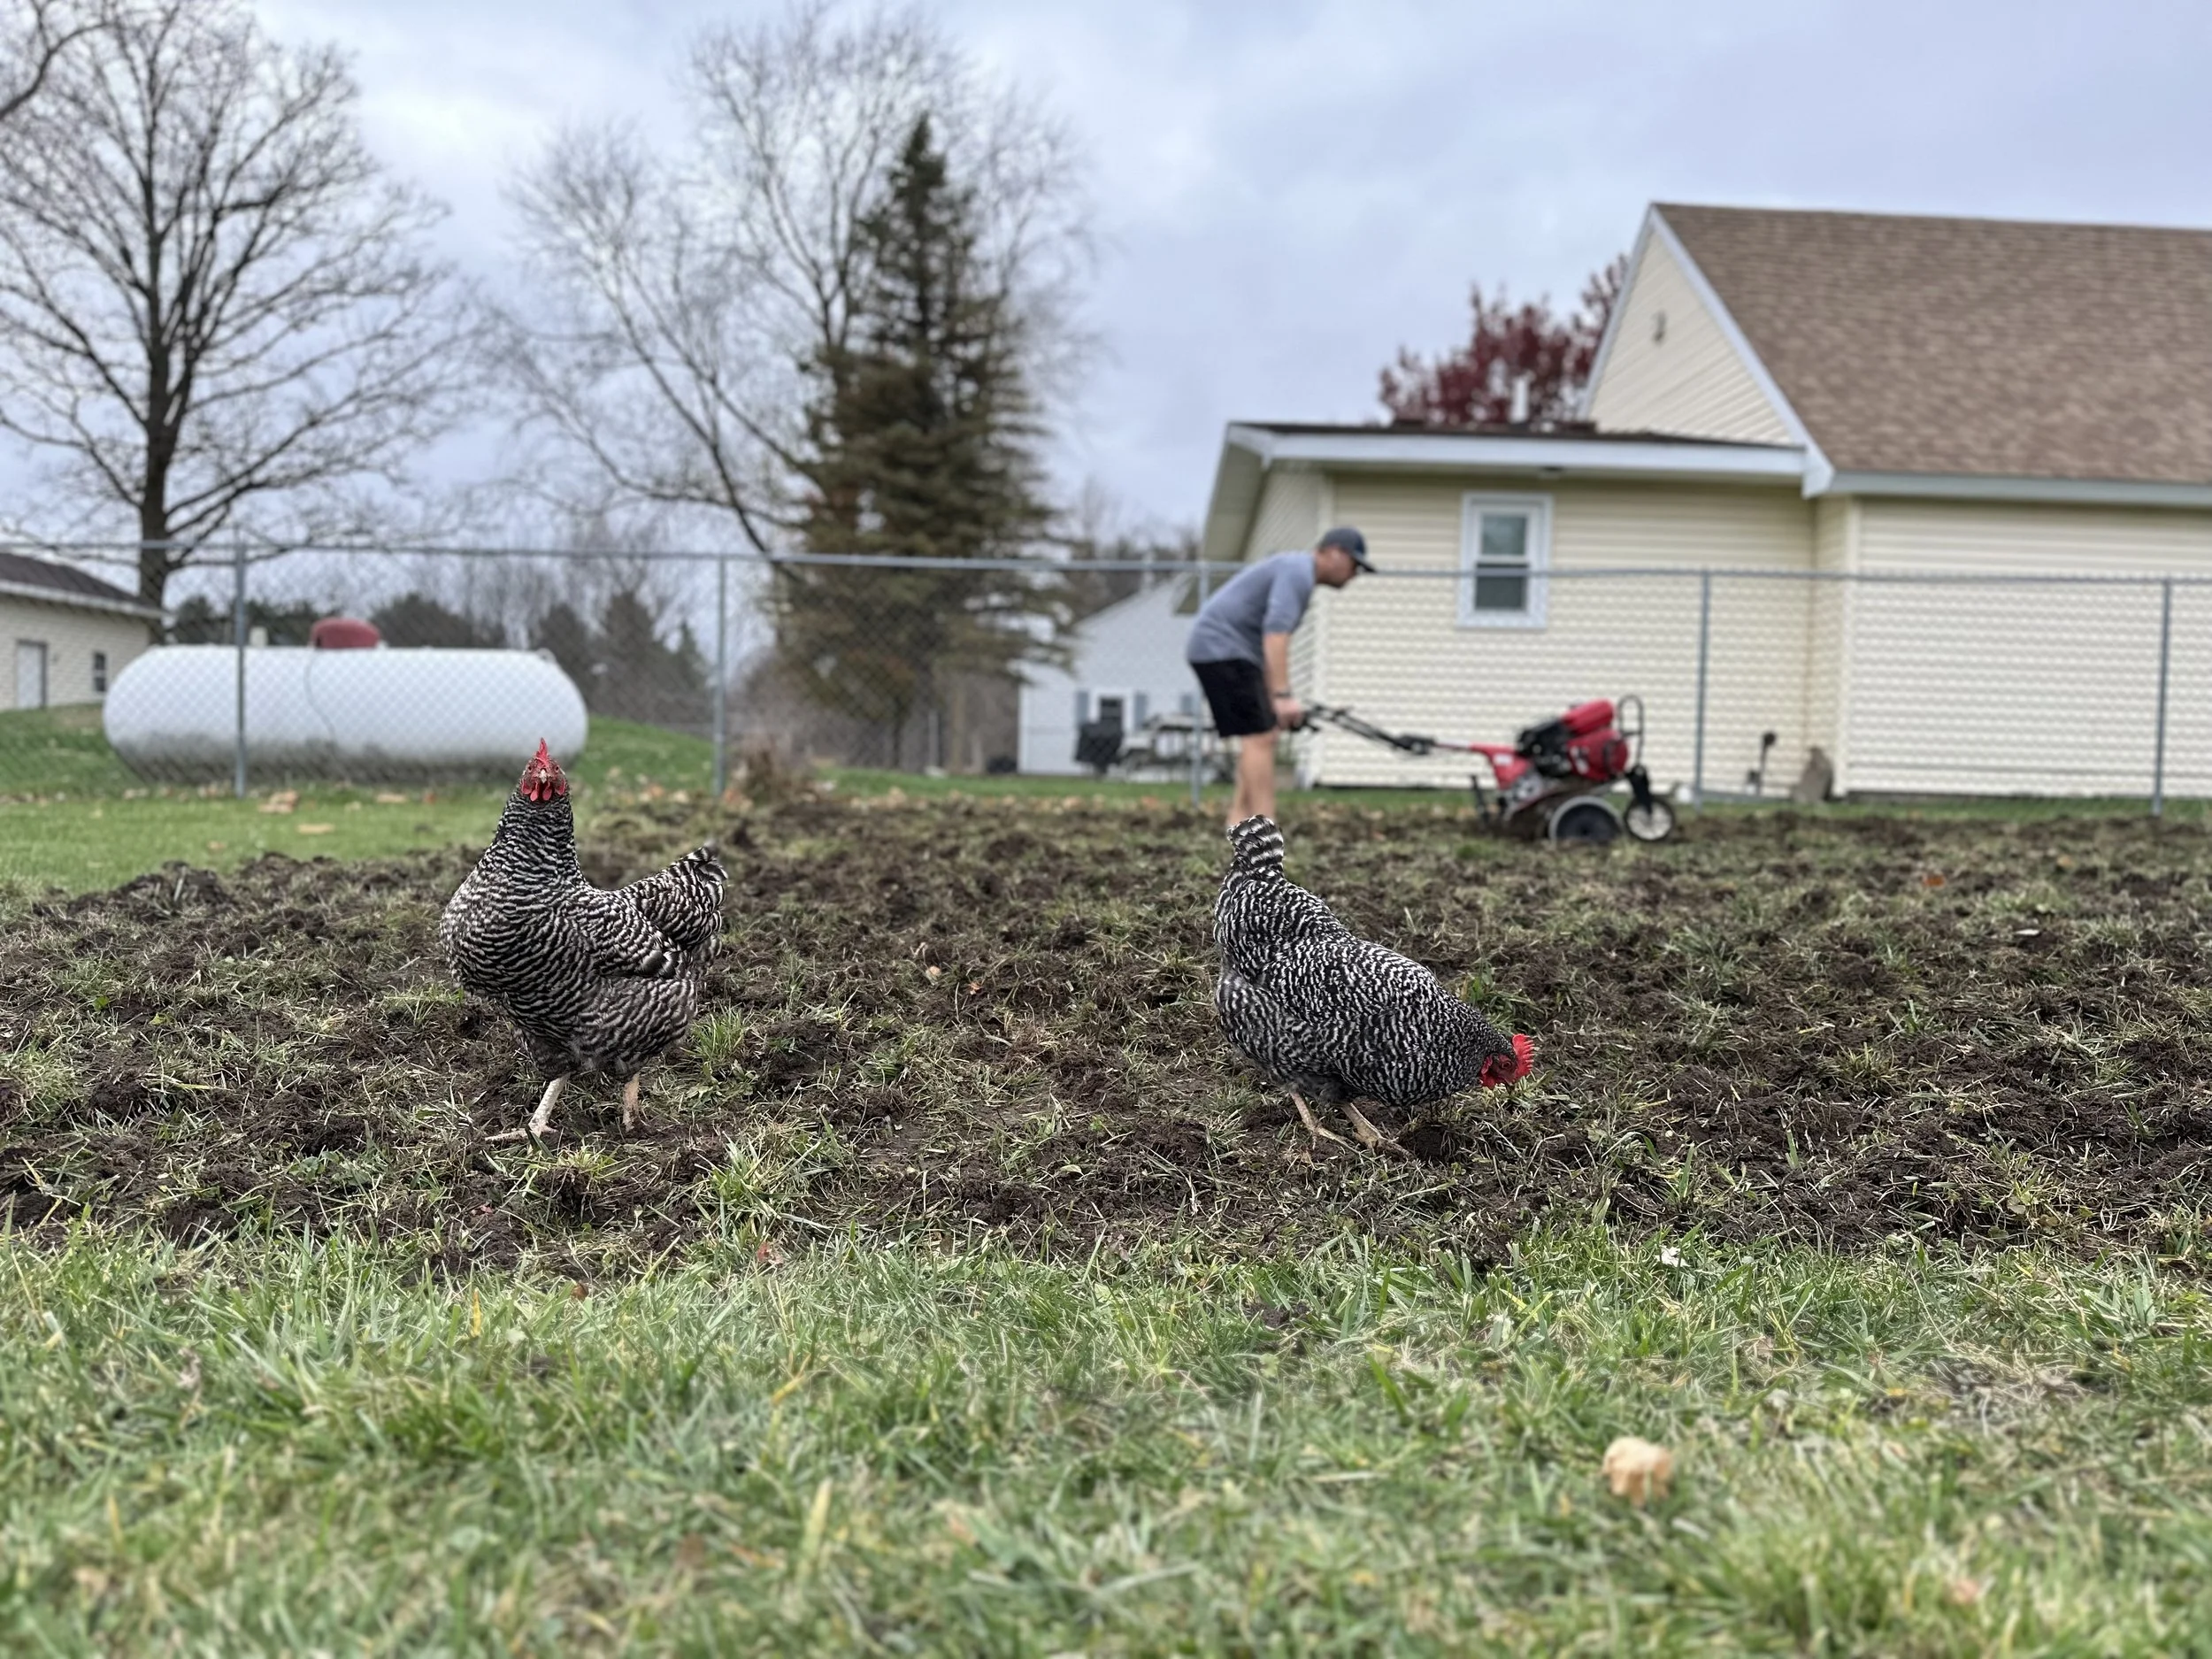
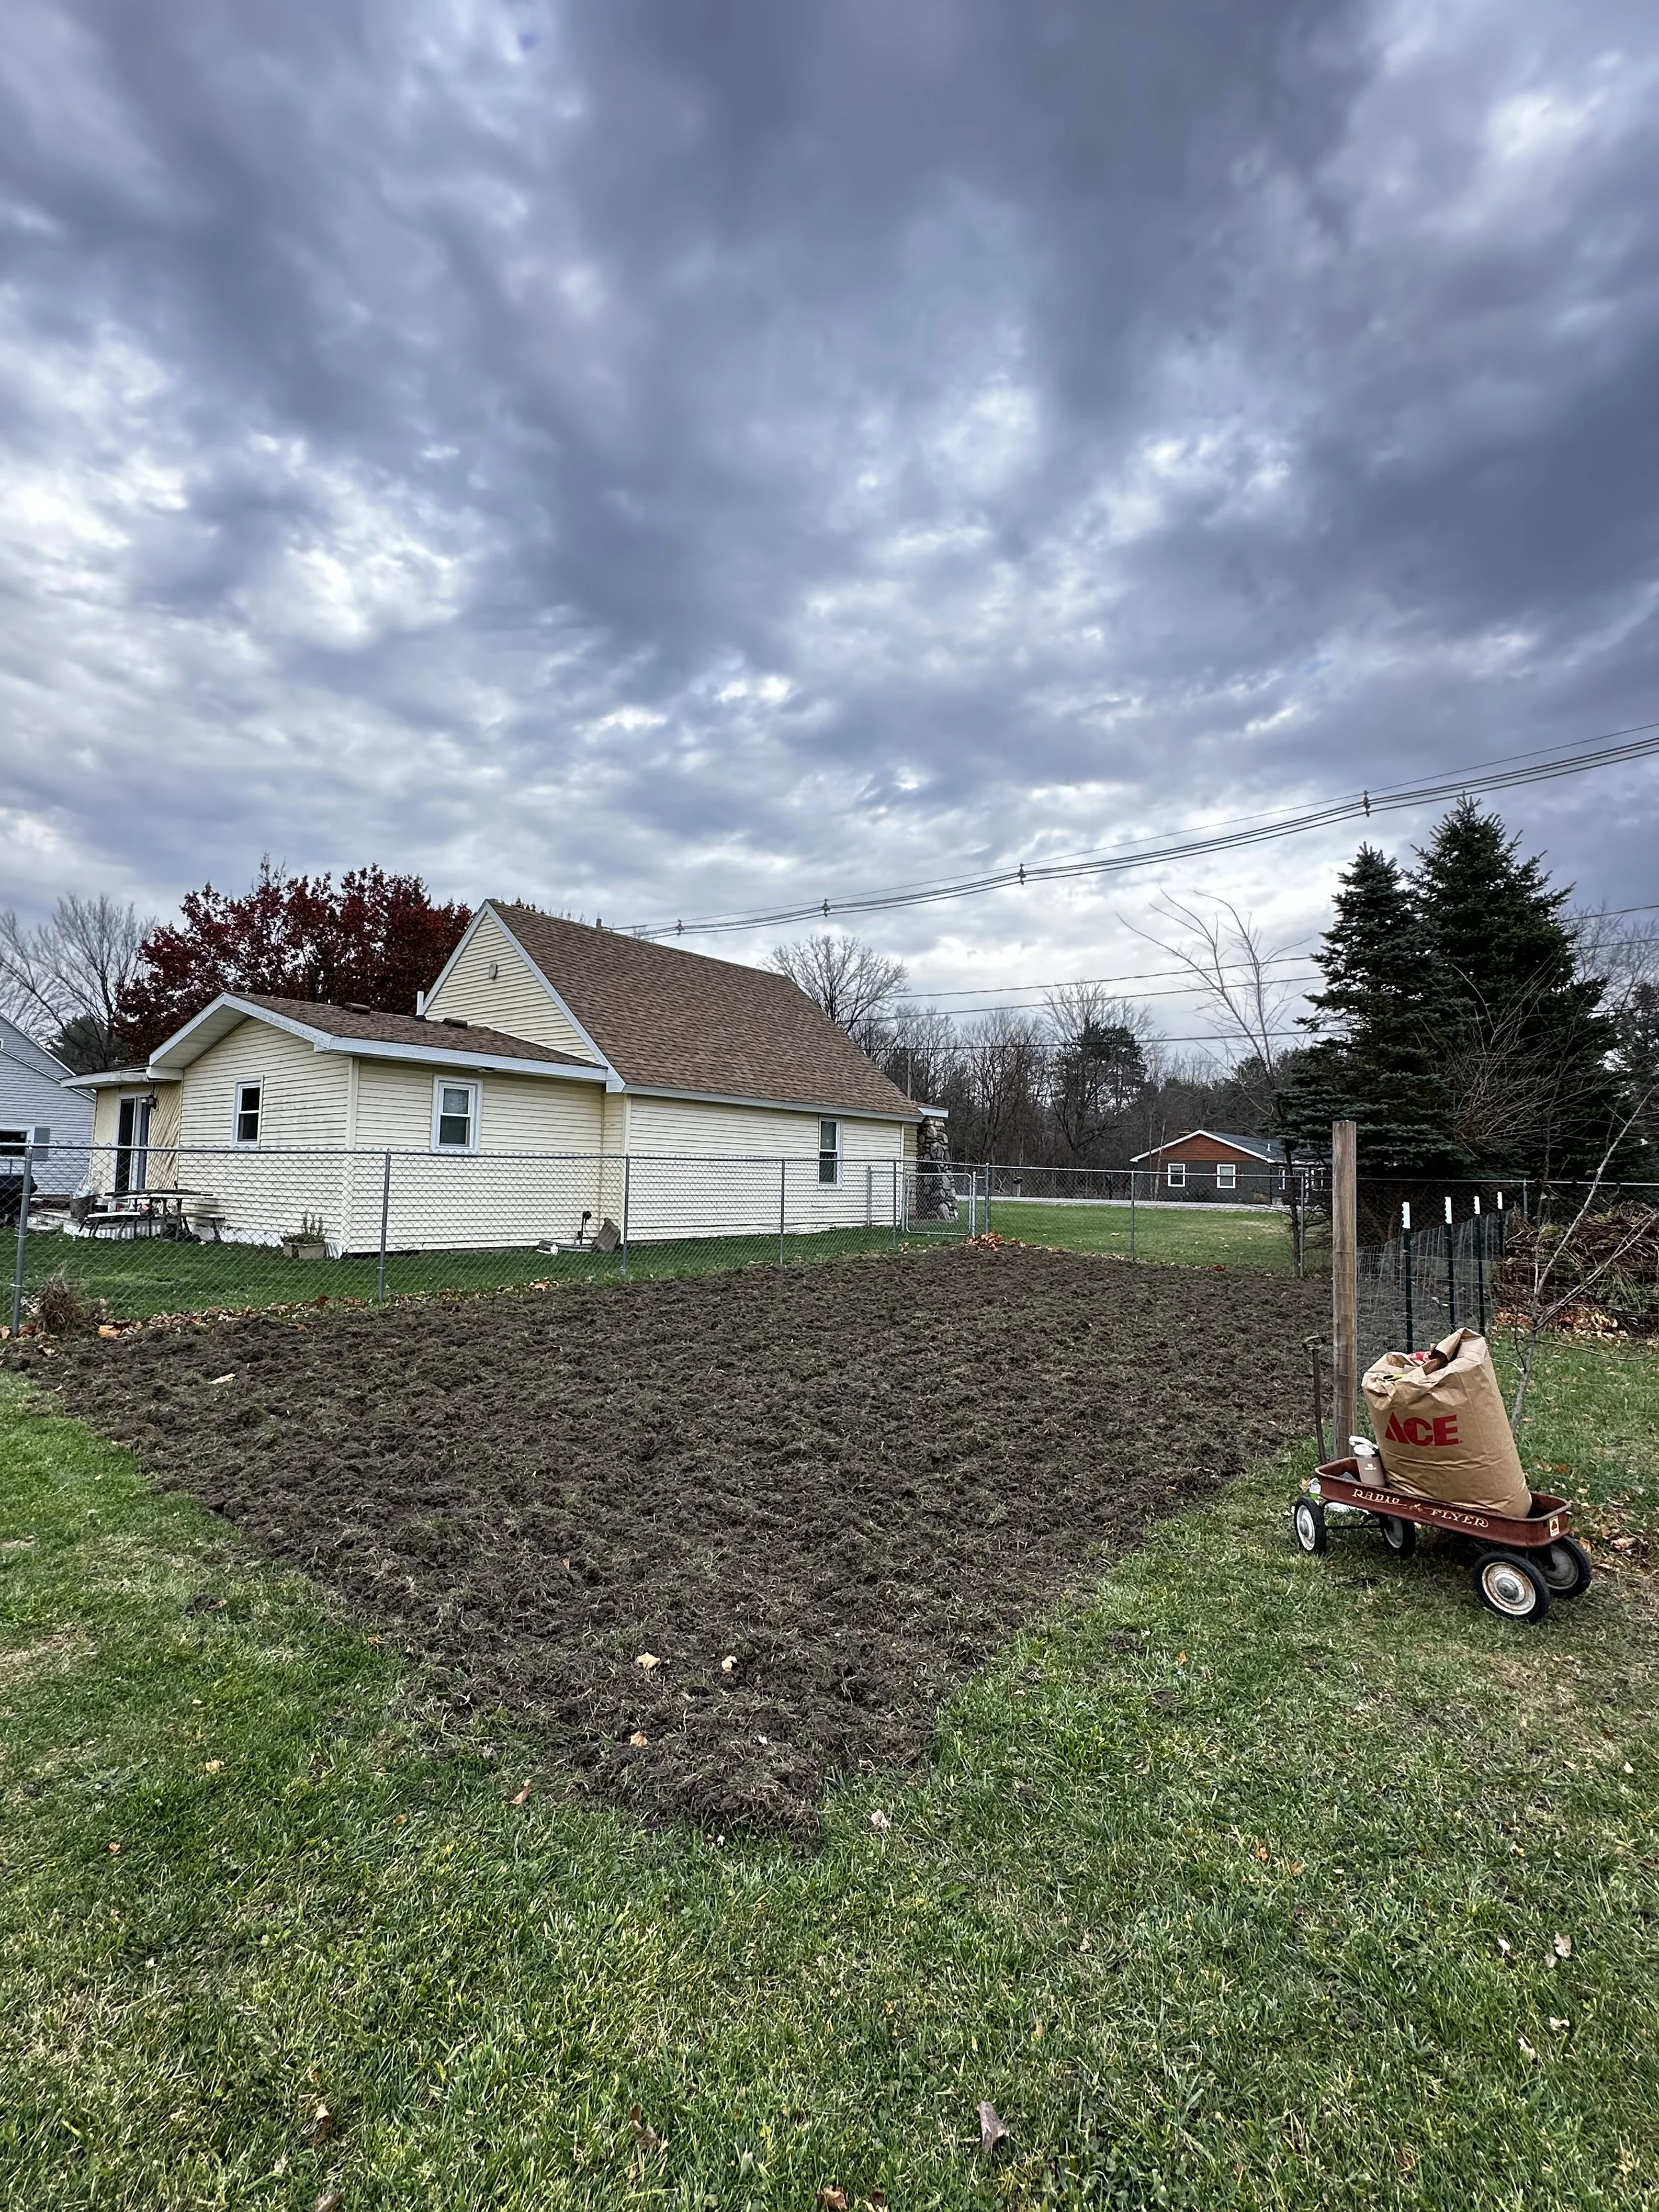
Step 3: Prep the Site
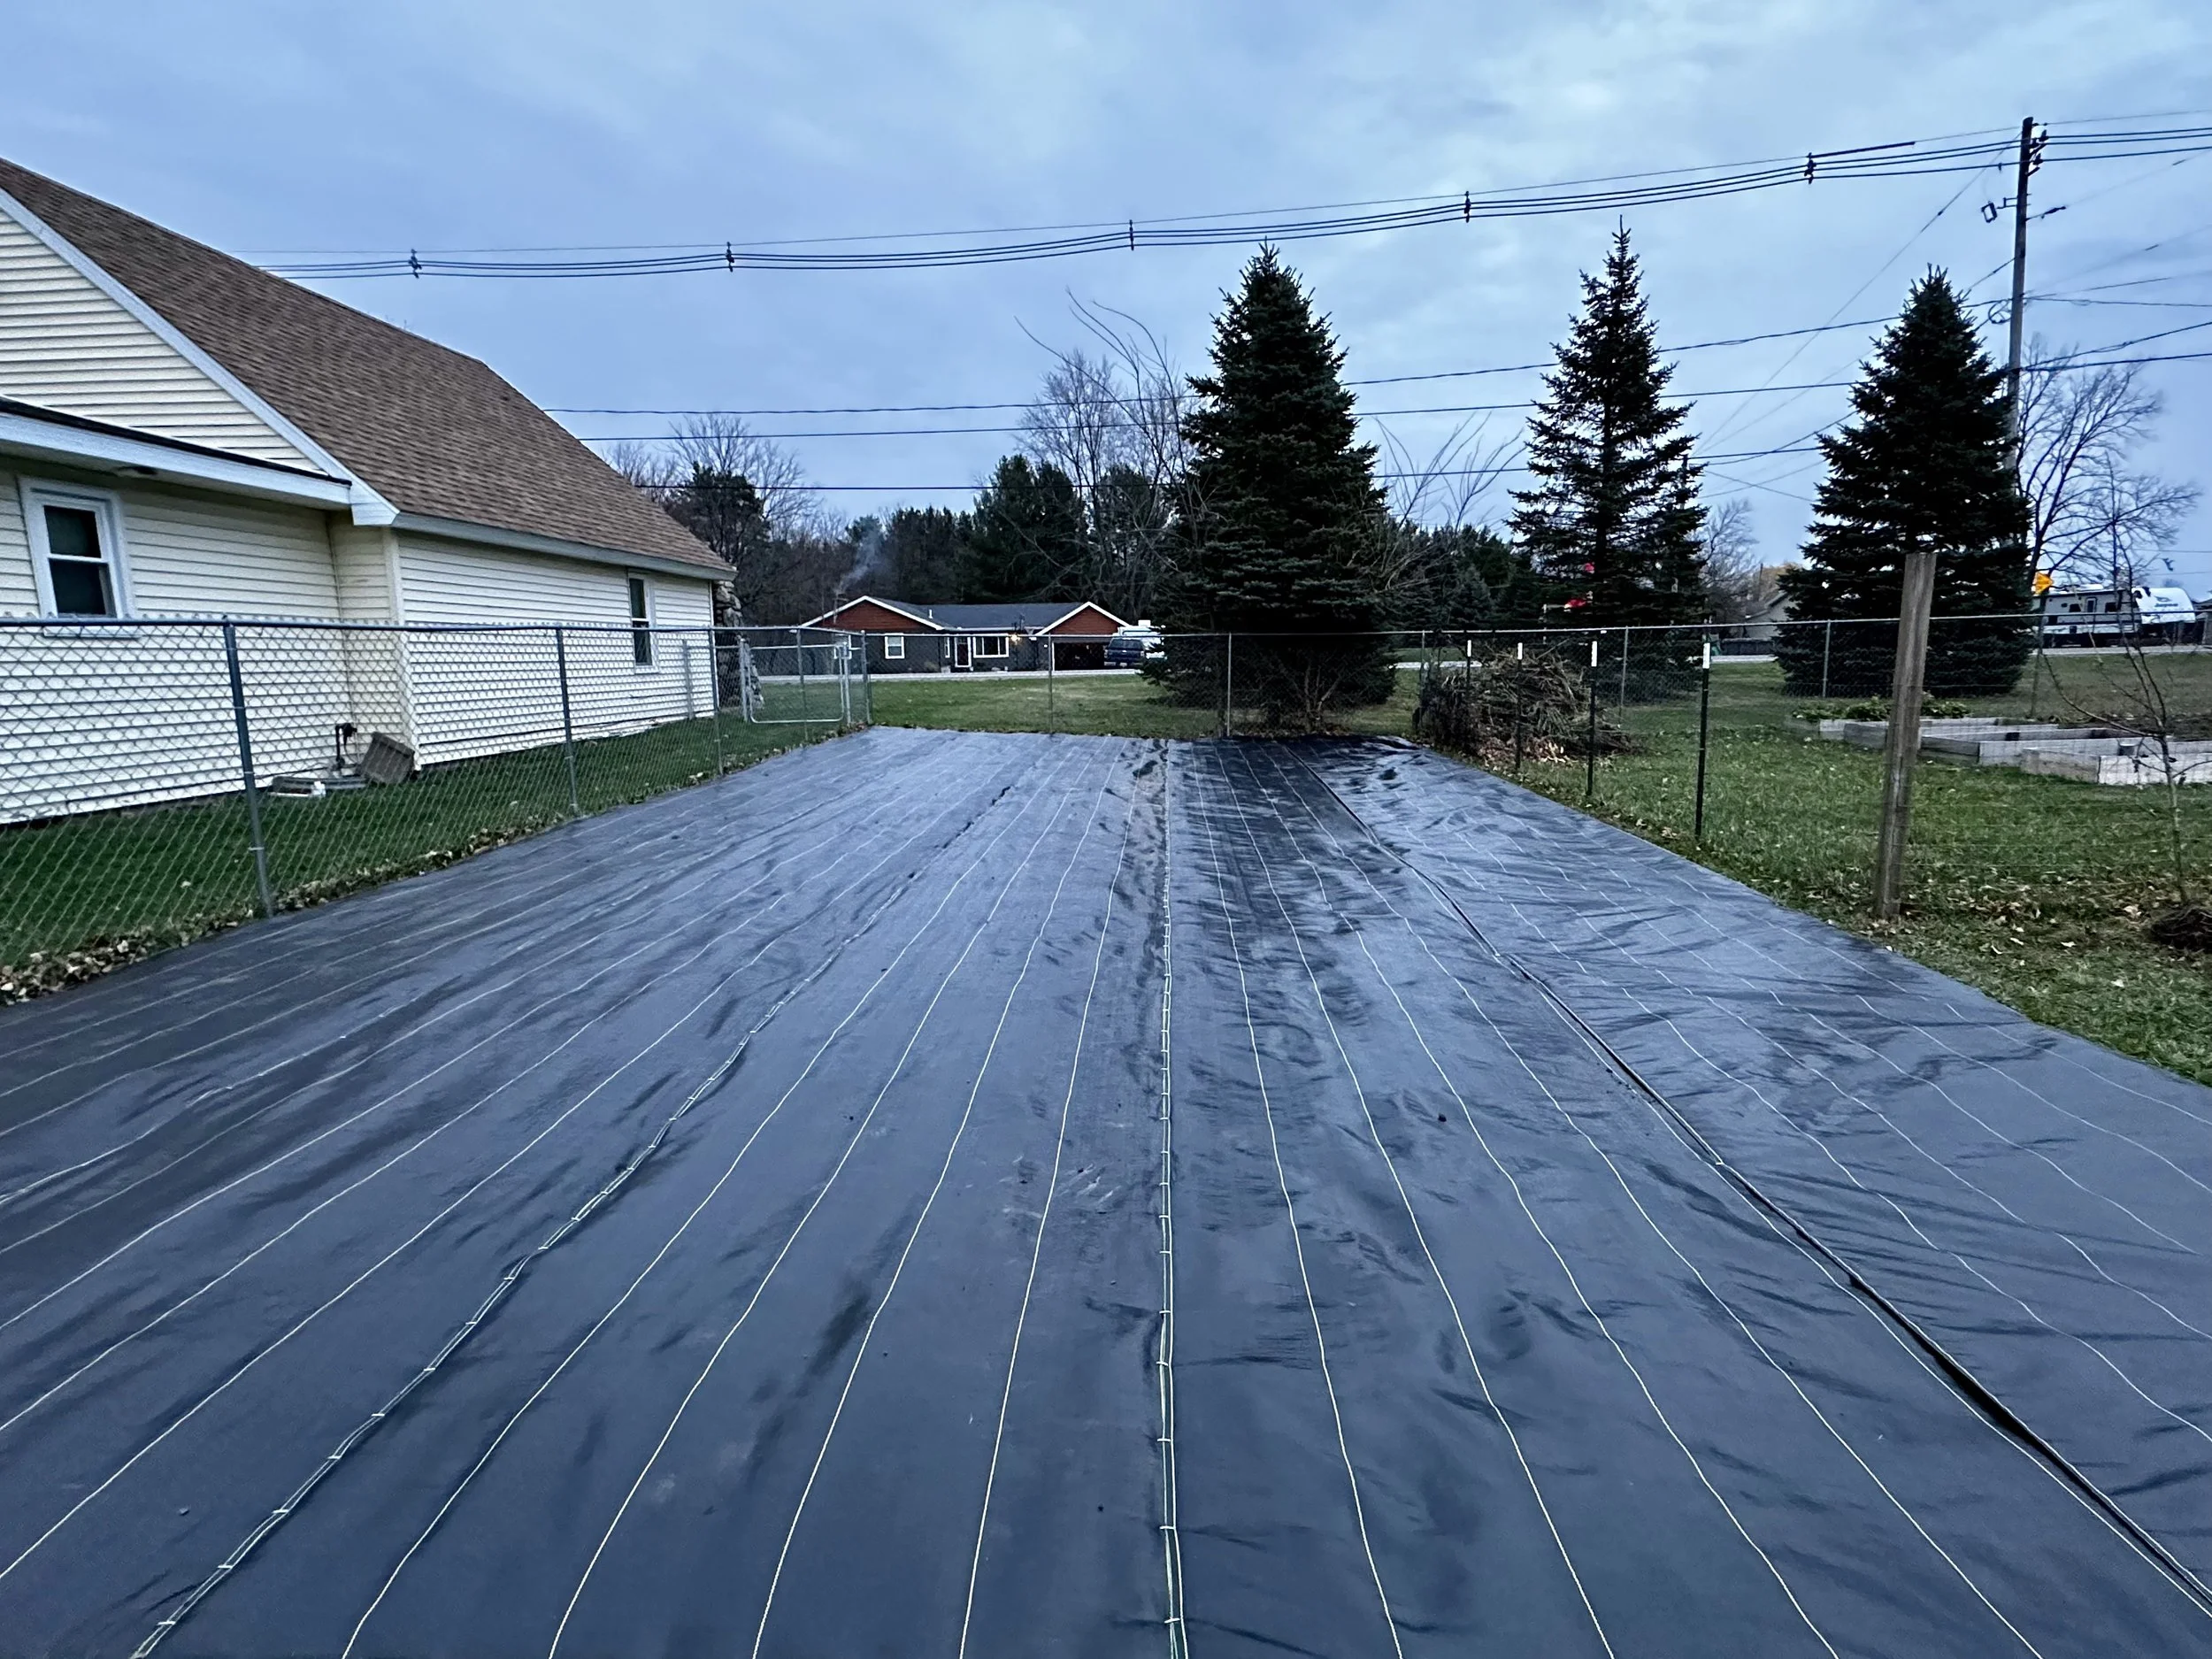
We tilled our entire planting area, but an alternative method is to cover the space with silage tarps for 4–6 weeks beforehand to kill off grass and weeds. Once prepped, we added compost to enrich the soil.


If you’re looking for a no-till option (we usually opt for the same—but we didn’t get a chance to lay our silage tarps in time.) — here is a brief breakdown of what we do:
How to Use Silage Tarps to Prep a Garden Bed:
Clear the Area (Optional): Mow or cut down any tall vegetation.
Lay the Tarp: Spread the silage tarp black side up over the area.
Secure It: Weigh down the edges with sandbags, bricks, or soil to prevent wind from lifting it.
Leave in Place: Keep the tarp on for 4–6 weeks (longer if possible) to smother weeds and warm the soil.
Remove & Plant: Take off the tarp when you're ready to plant—no tilling needed!
Tip: Be mindful of the size—if you’re moving the silage tarp by yourself, it’s best to stick to something no larger than about 50 x 50 feet. Anything bigger typically requires a tractor to handle.
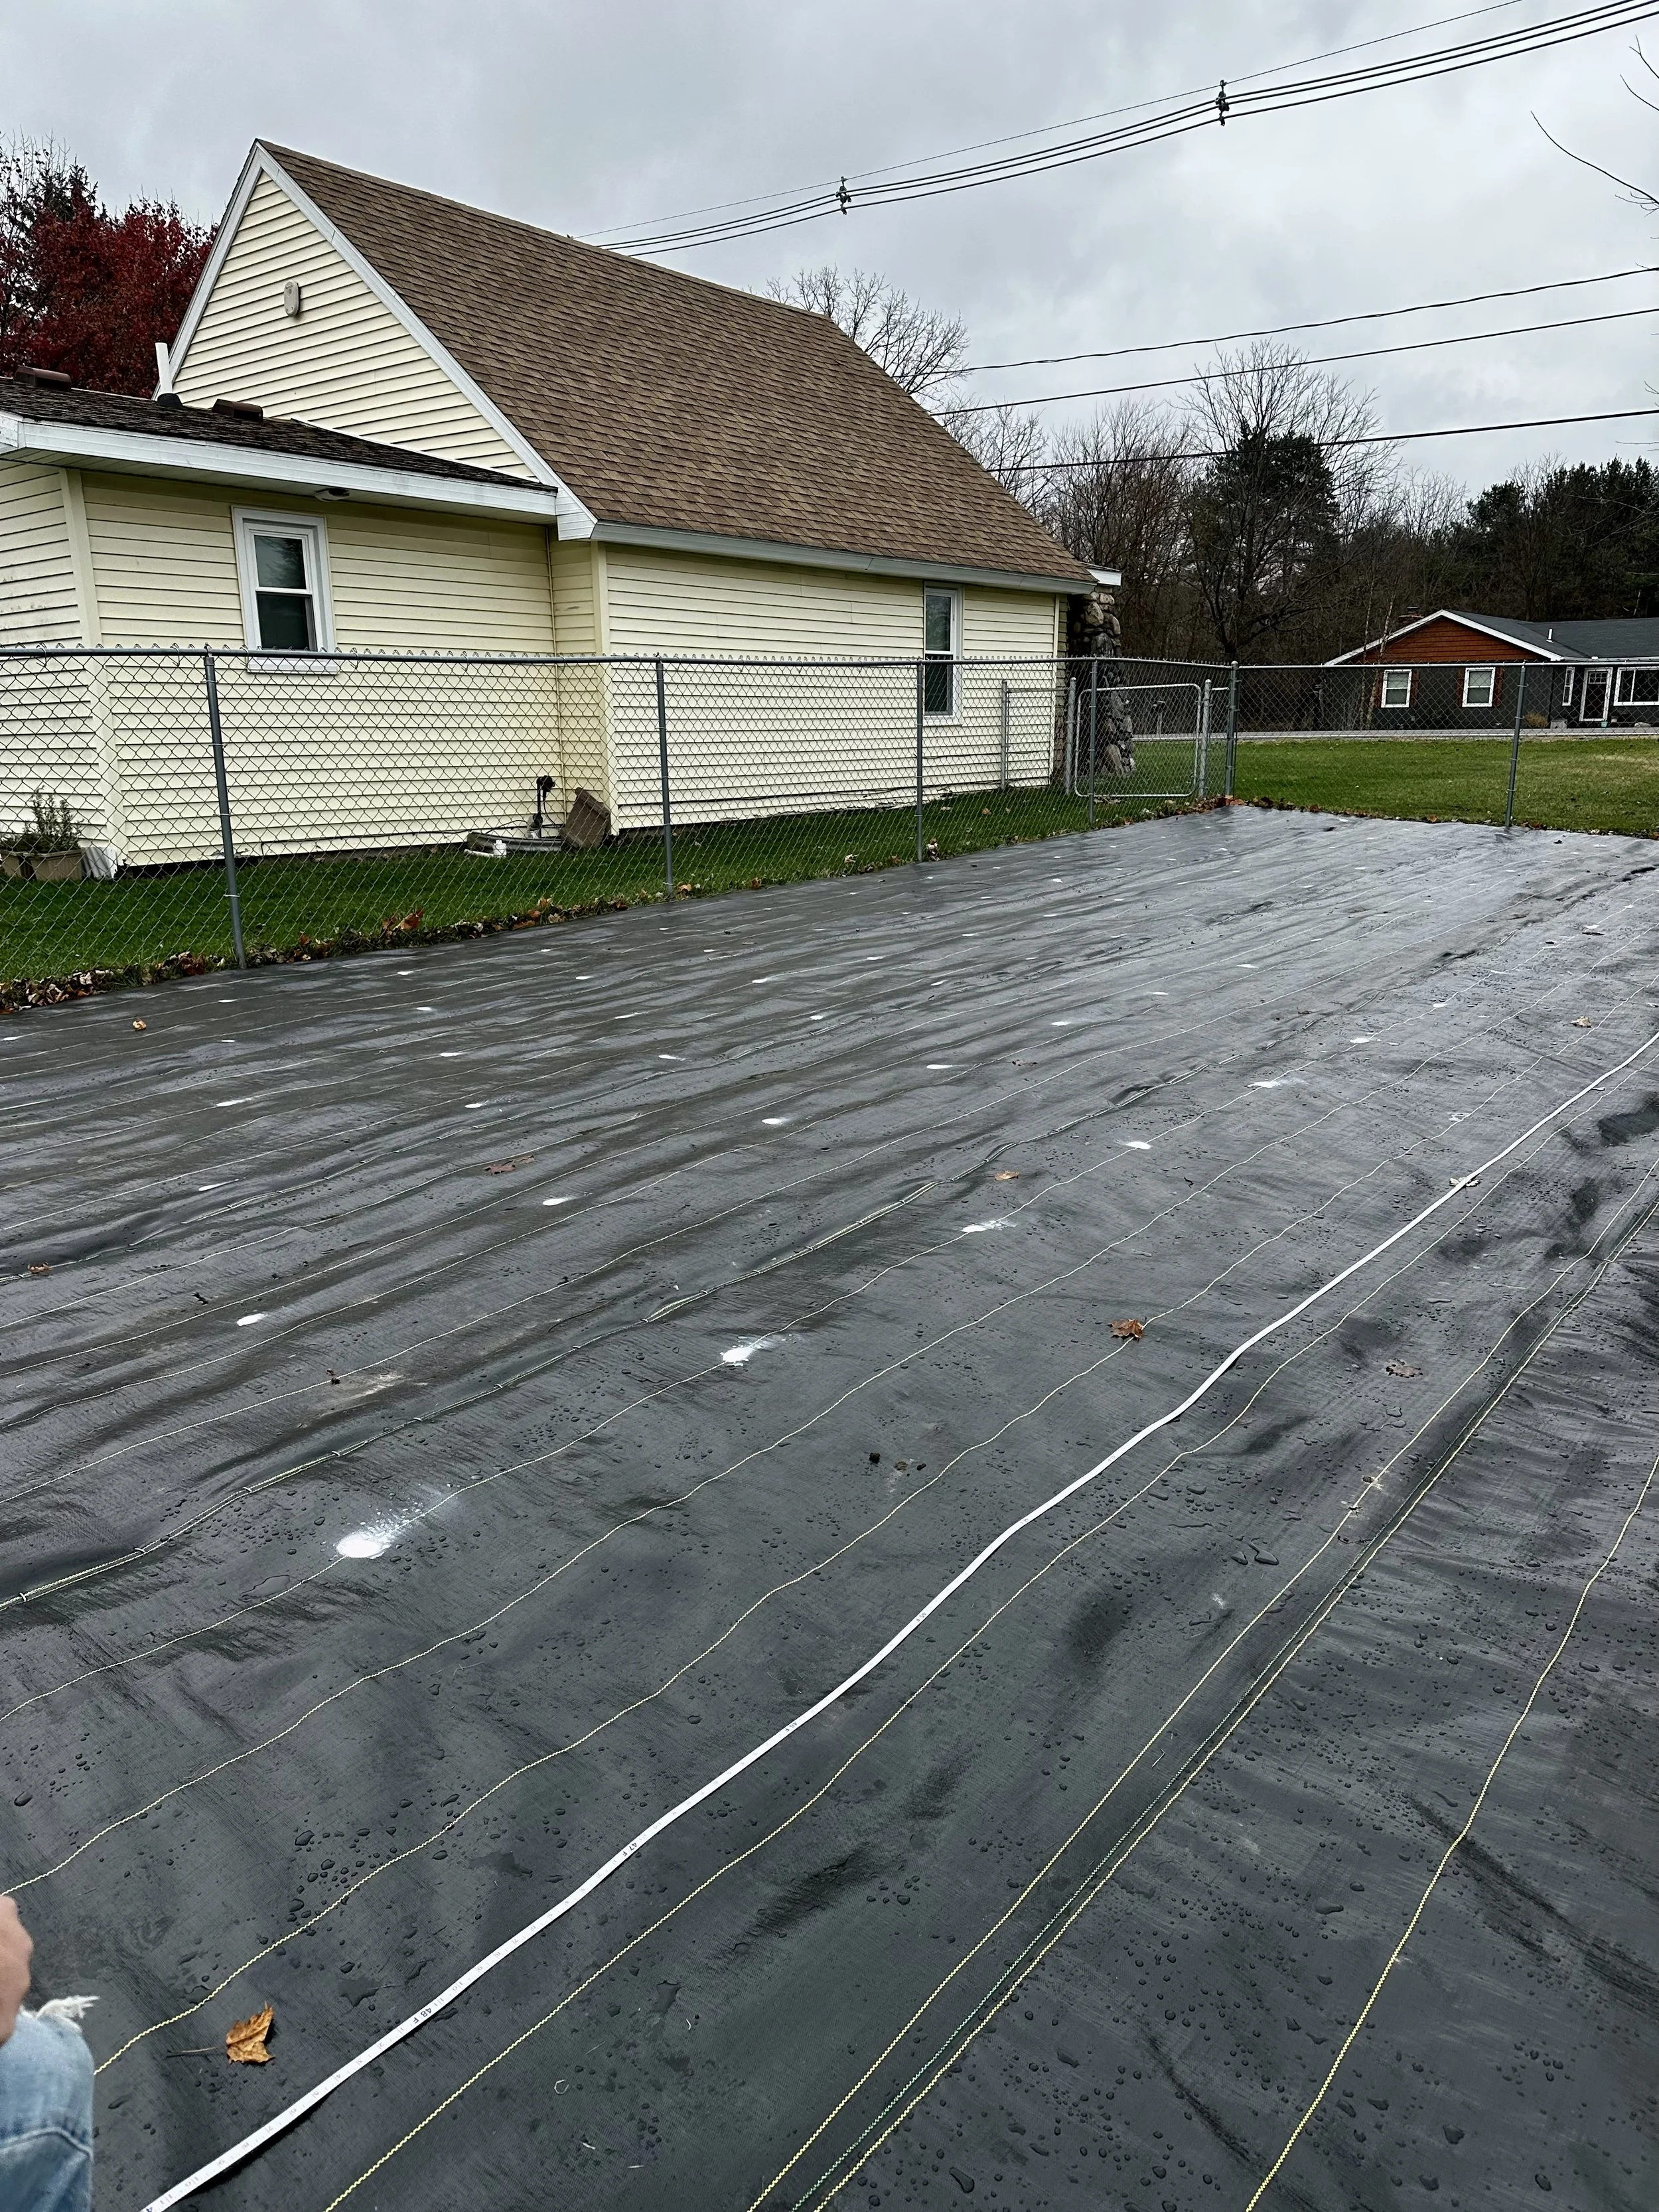
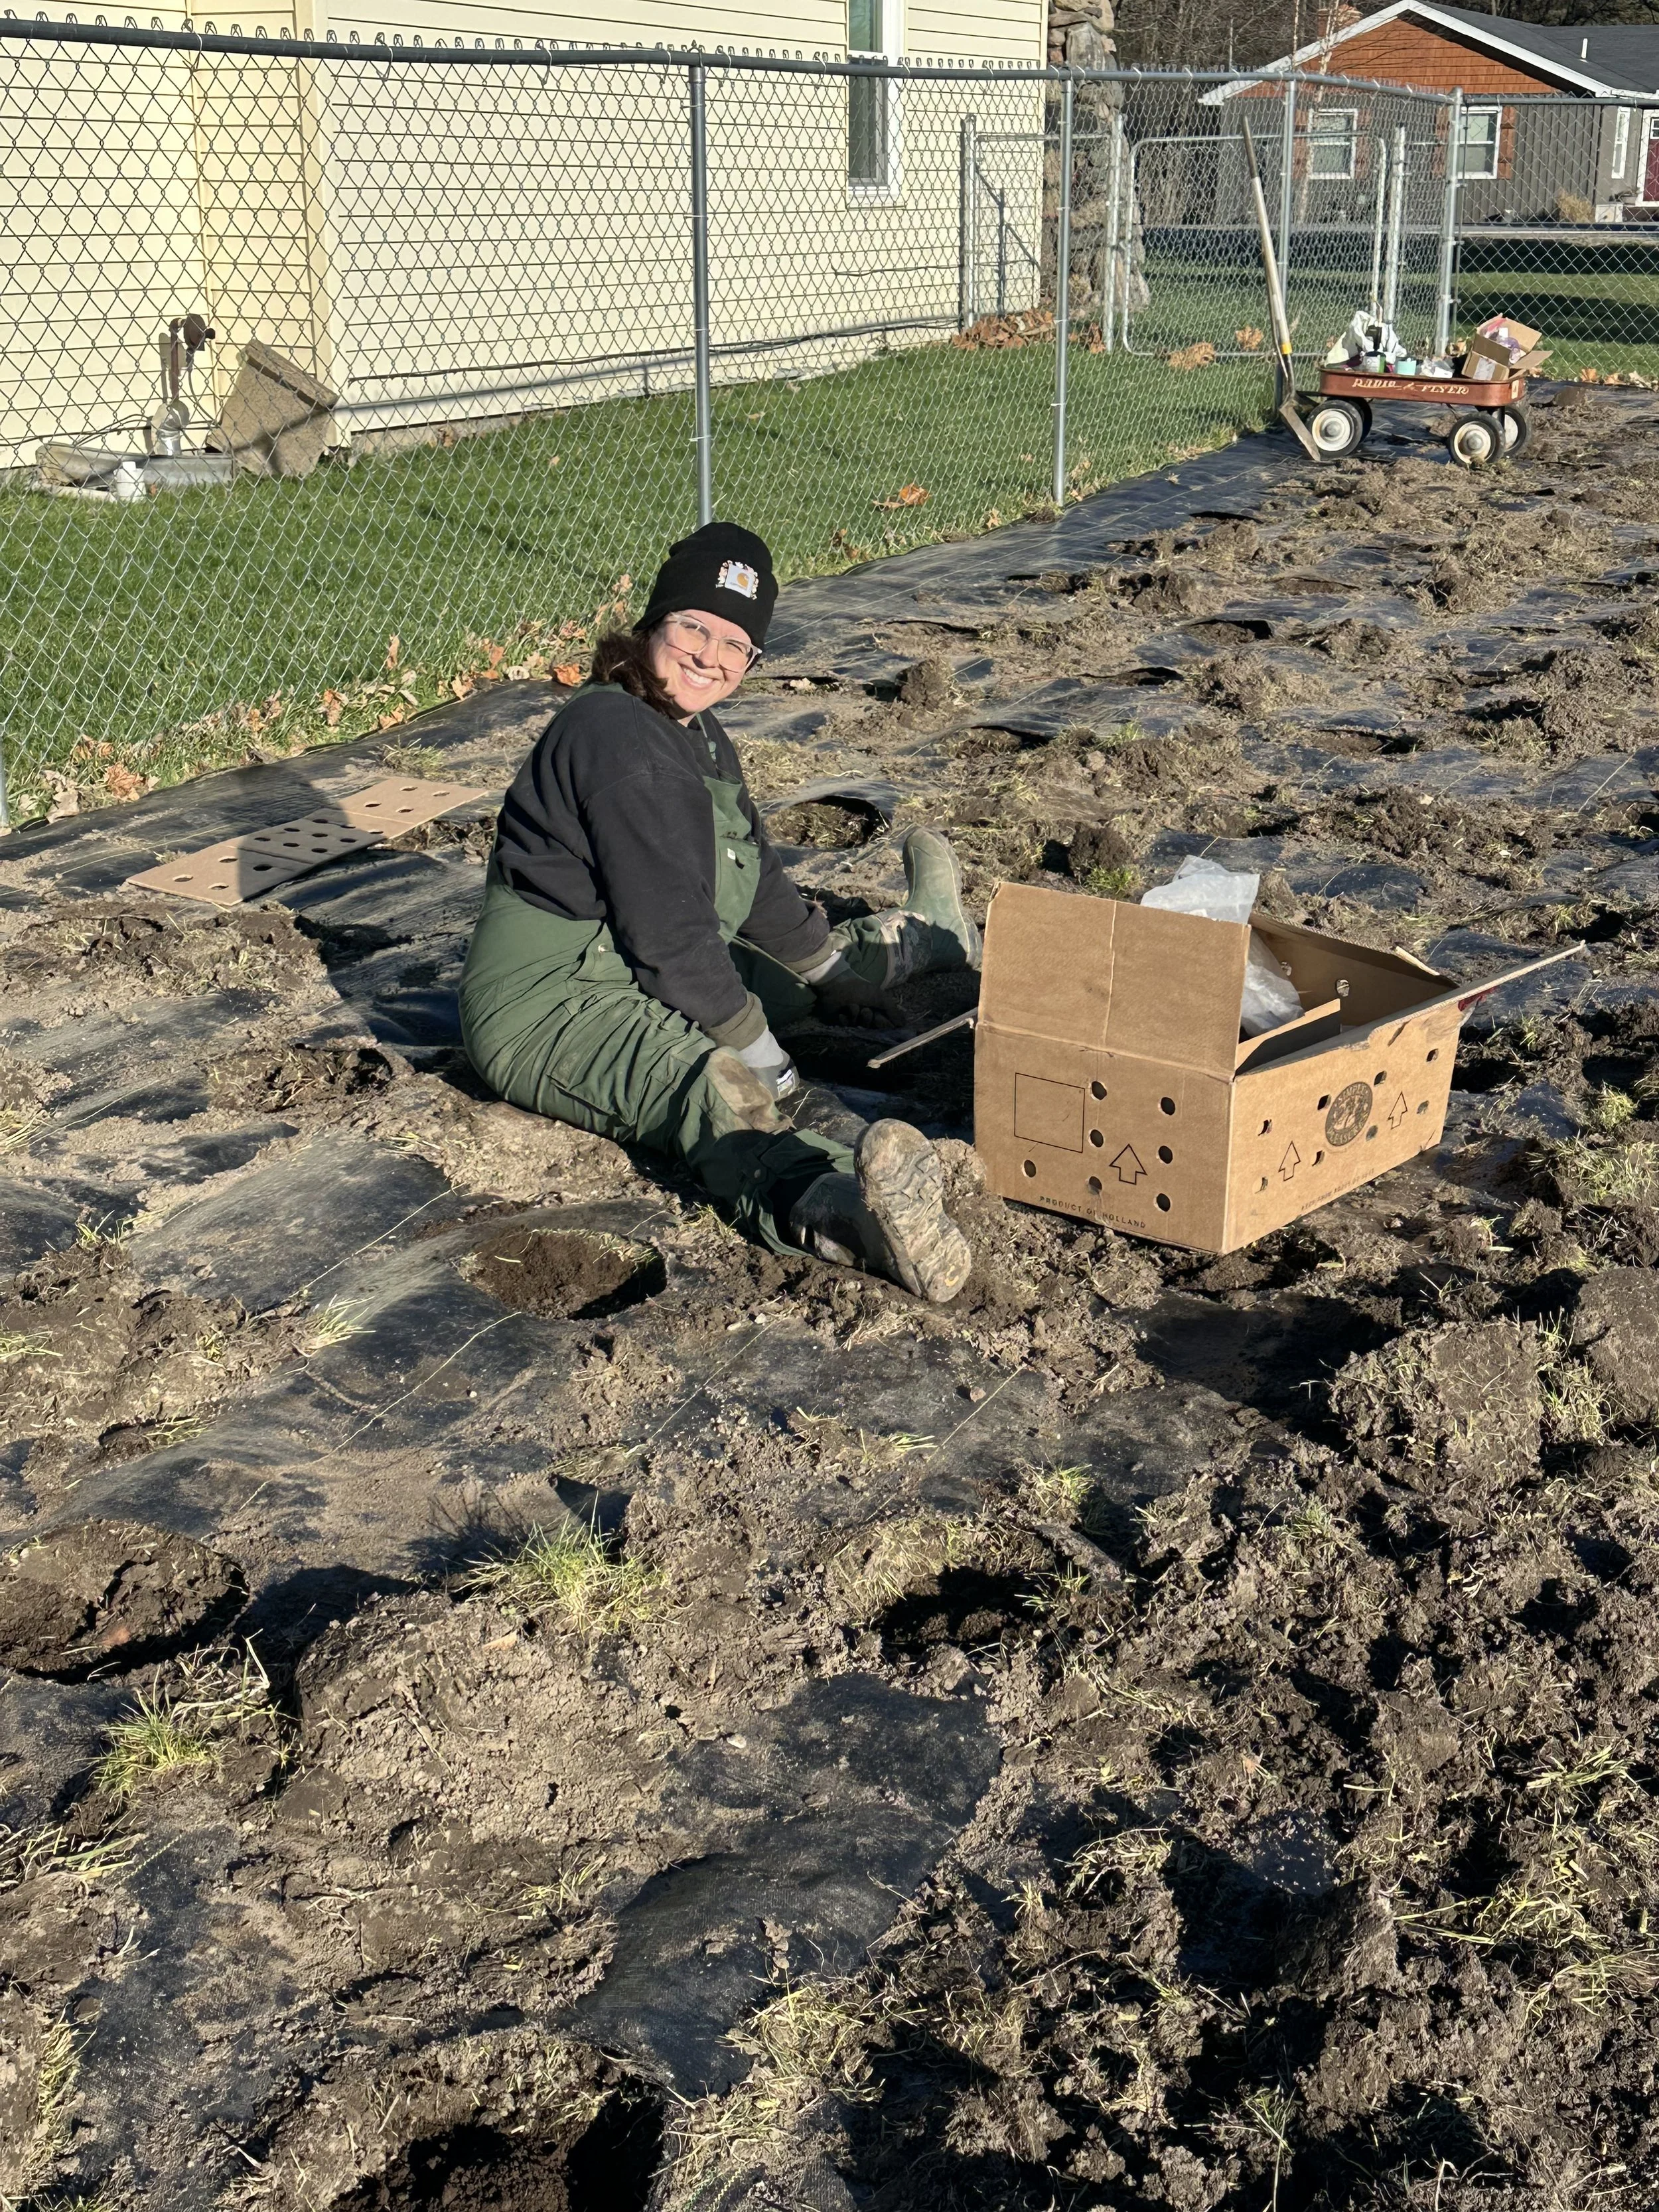
Step 4: Lay Landscape Fabric
We used Dewitt brand landscape fabric and calculated the size based on the total growing space. Supplies included:
Landscape staples (we placed them every 2–4 inches for extra durability)
Heavy-duty scissors (we’ve had these since our first season, great investment & used regularly on the farm)
While a single large piece of fabric would be ideal, cost was a factor, so we overlapped pieces by 8 inches to create continuous coverage.


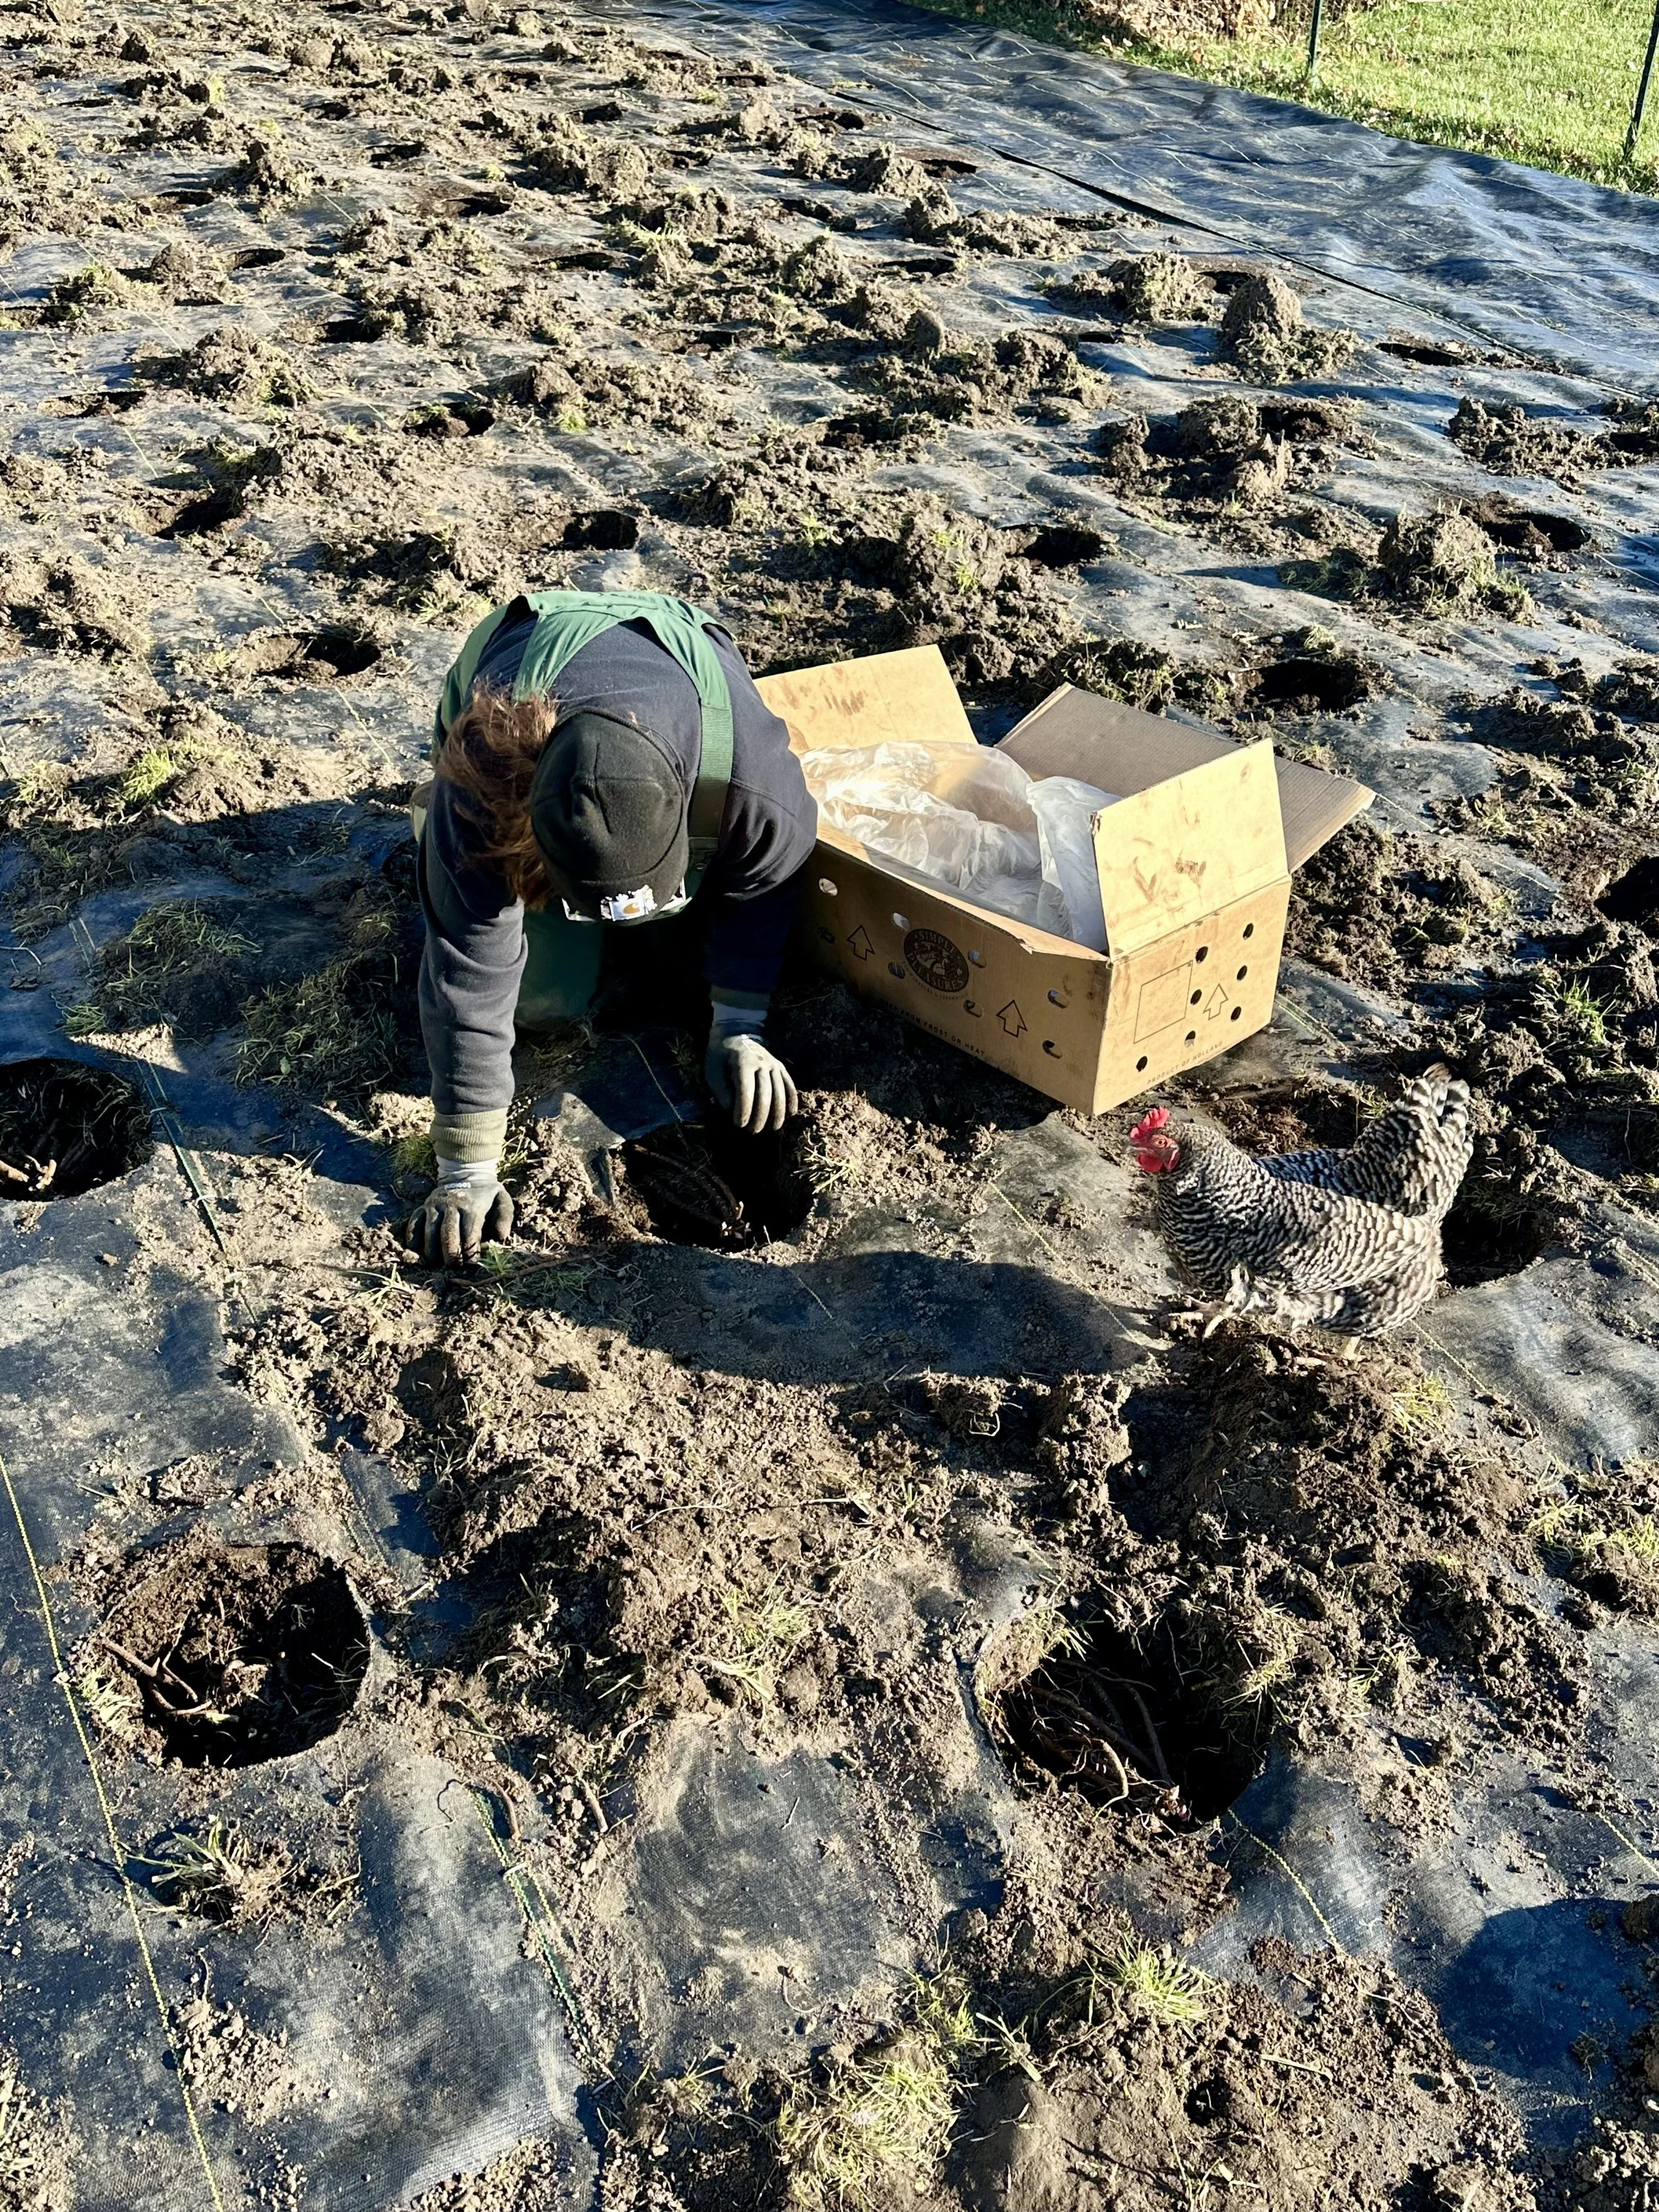
Step 5: Mark and Burn Planting Holes
Use a large measuring tape and spray paint to mark each hole, spaced 4 feet apart.
A metal planter (about 10" wide) served as our hole template.
Using a handheld torch and the metal planter, we burned clean planting holes into the fabric.
We use the Bernzomatic Trigger Start Torch and fuel it with a can of Coleman propane from our camping stove setup.


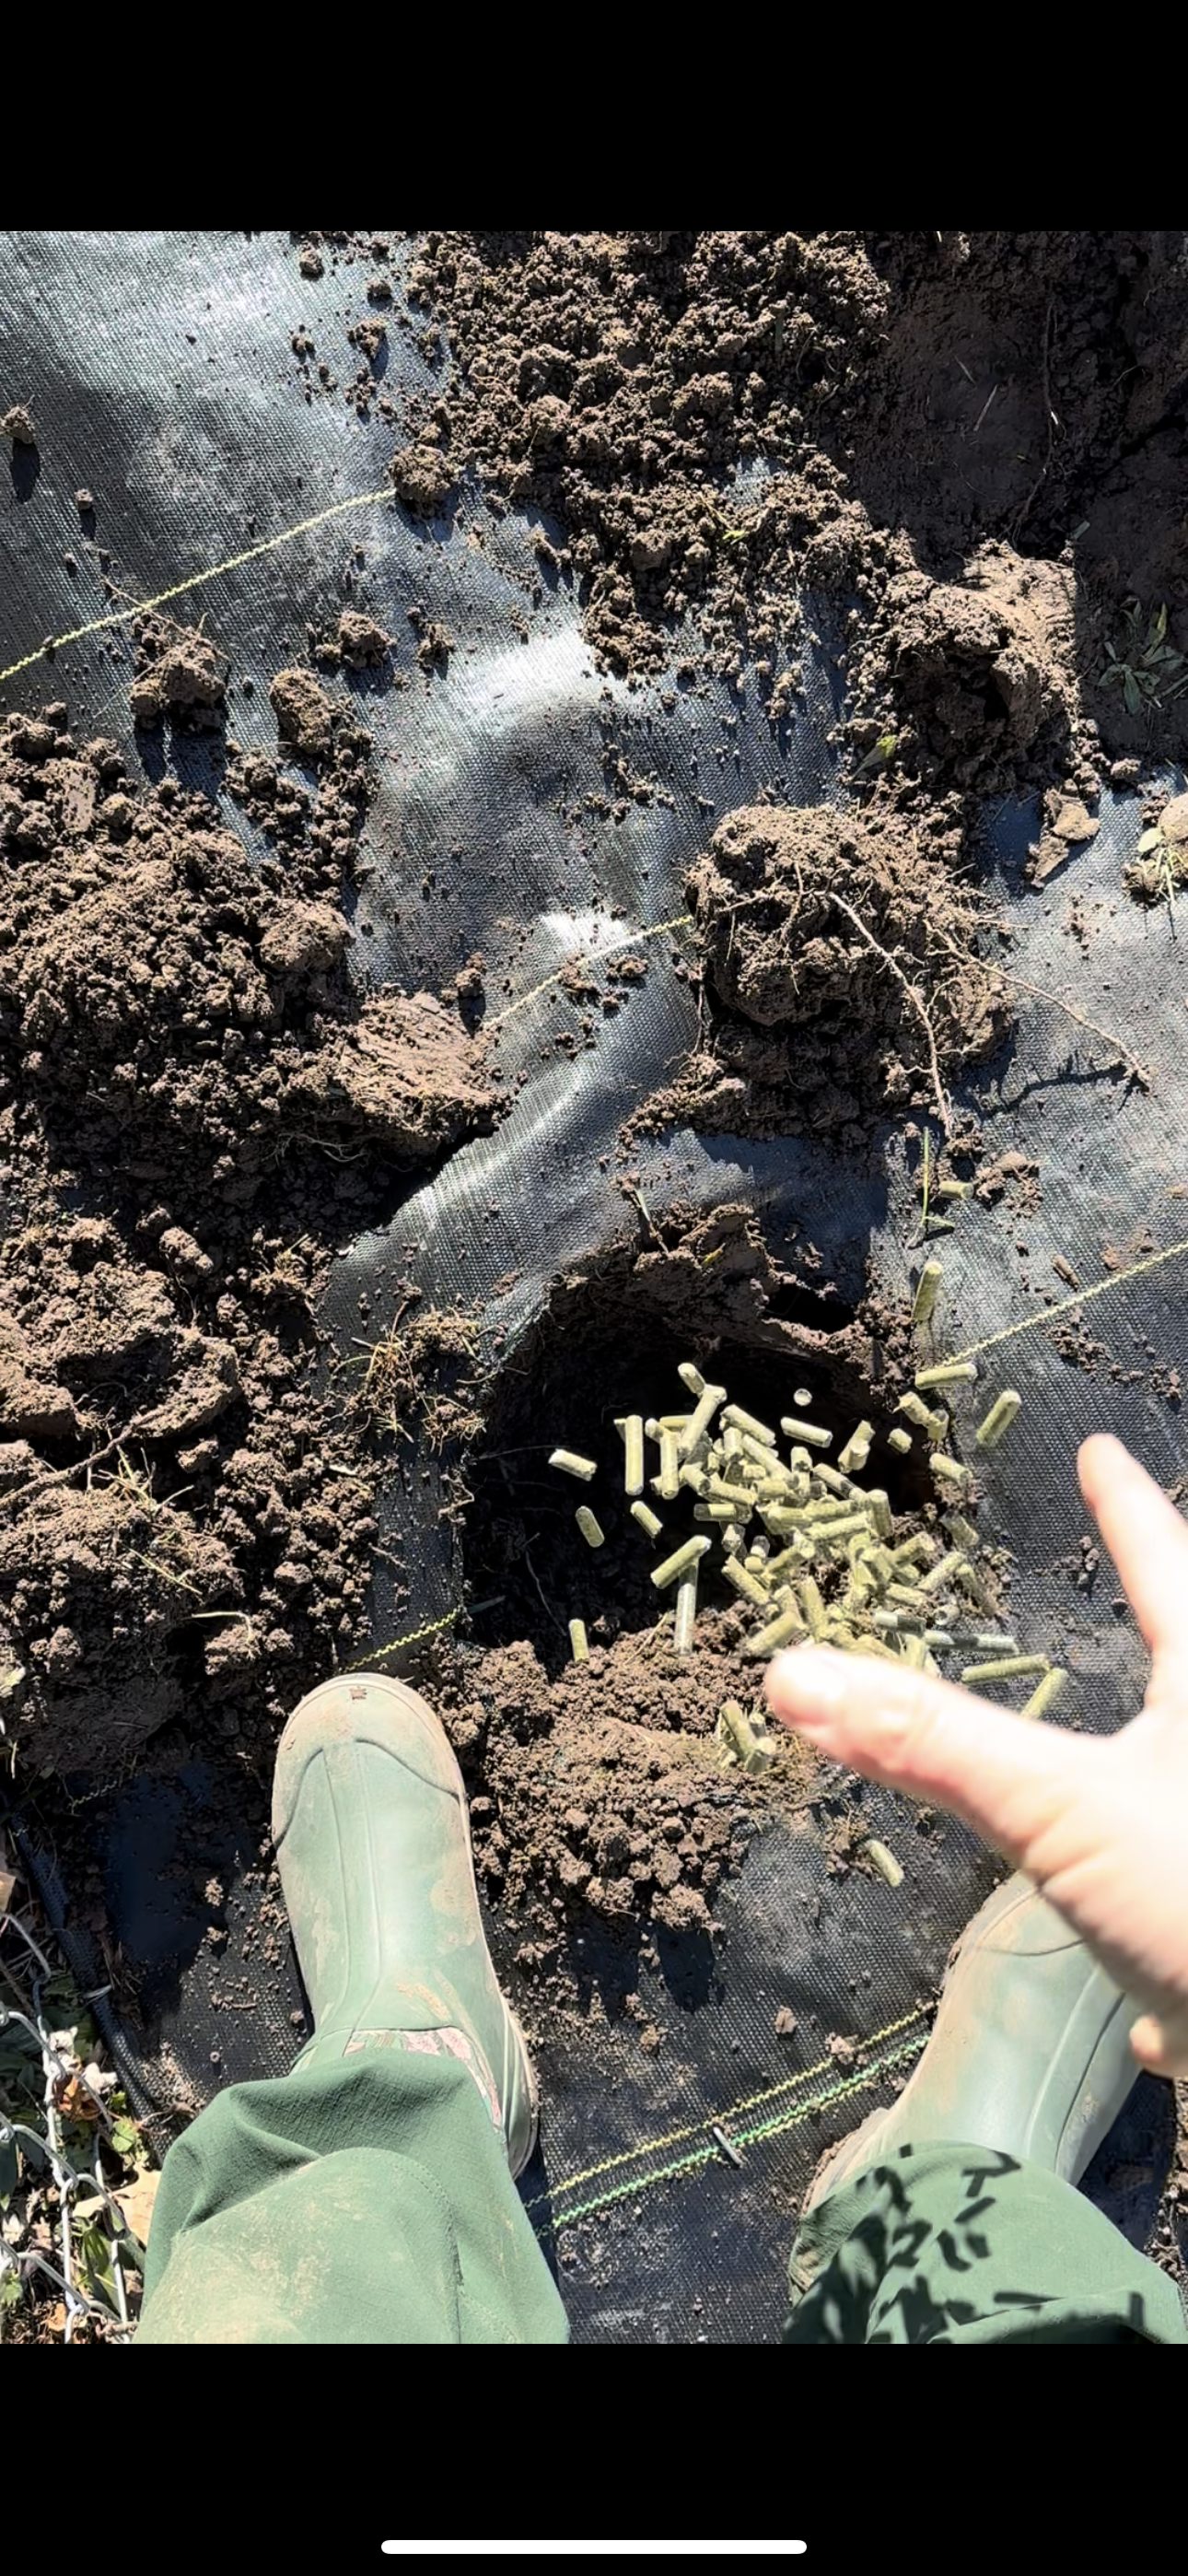
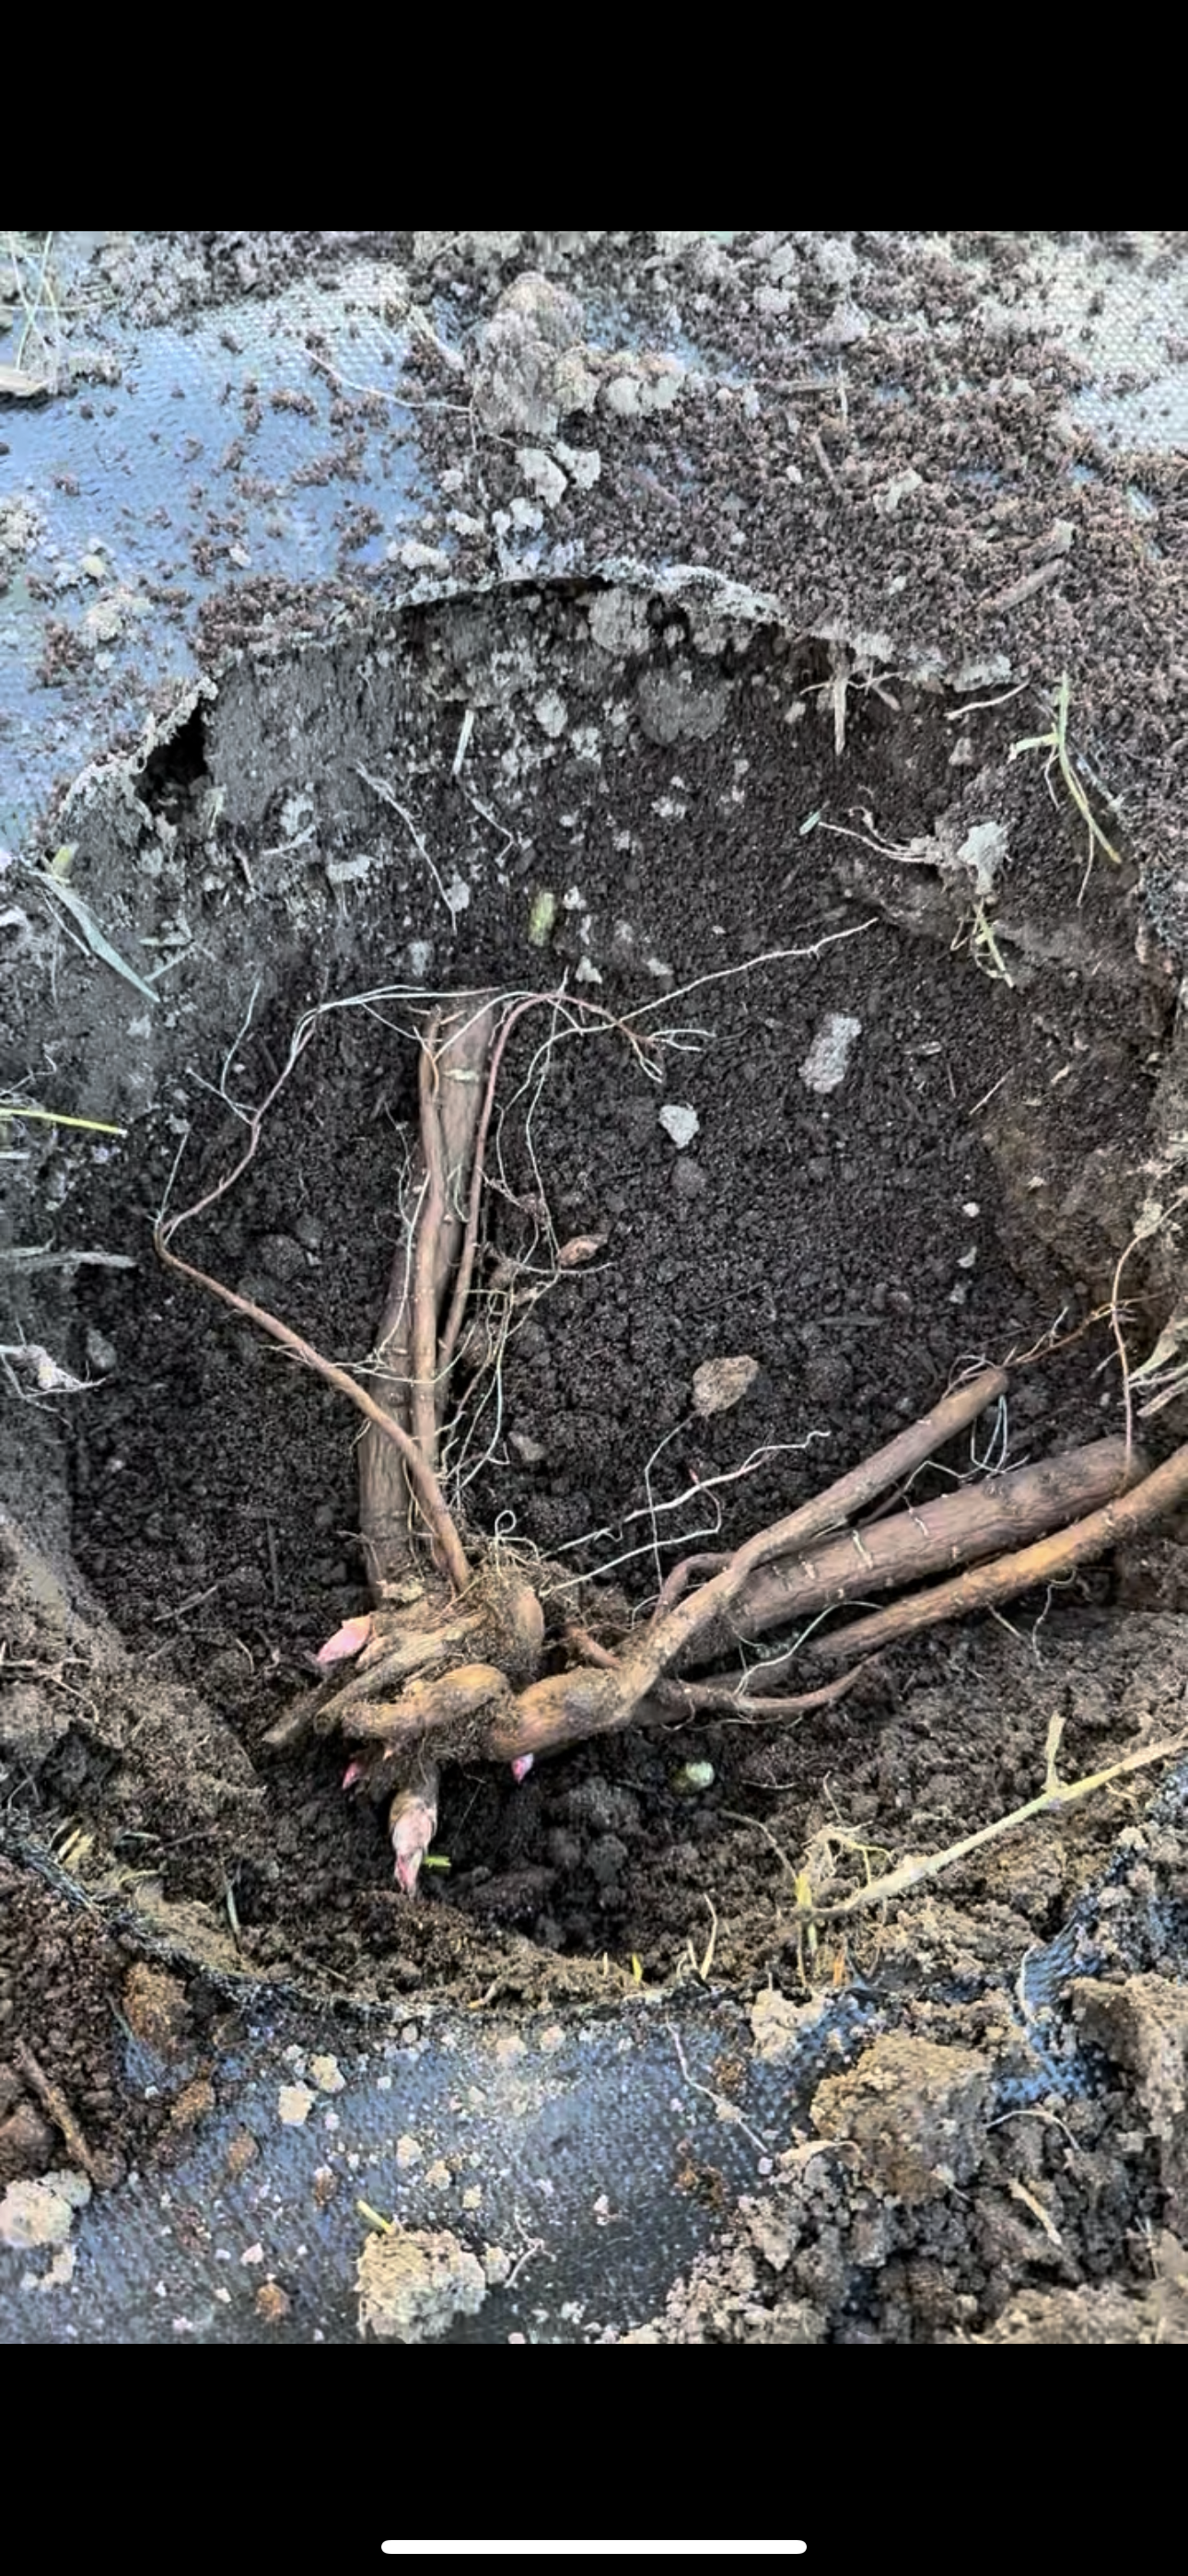
Step 6: Dig and Prep Holes
Dig about 8 inches deep, ensuring the peony crown will sit with its “eyes” (buds) no more than 2 inches below the surface.
We added alfalfa pellets to each hole for a nutrient boost—rich in nitrogen, potassium, and phosphorus.
Step 7: Plant Each Root
Depending on the size of your root, you may need to widen or shape your hole so the full root structure fits without crowding or curling. Lay the root flat with eyes facing upward.


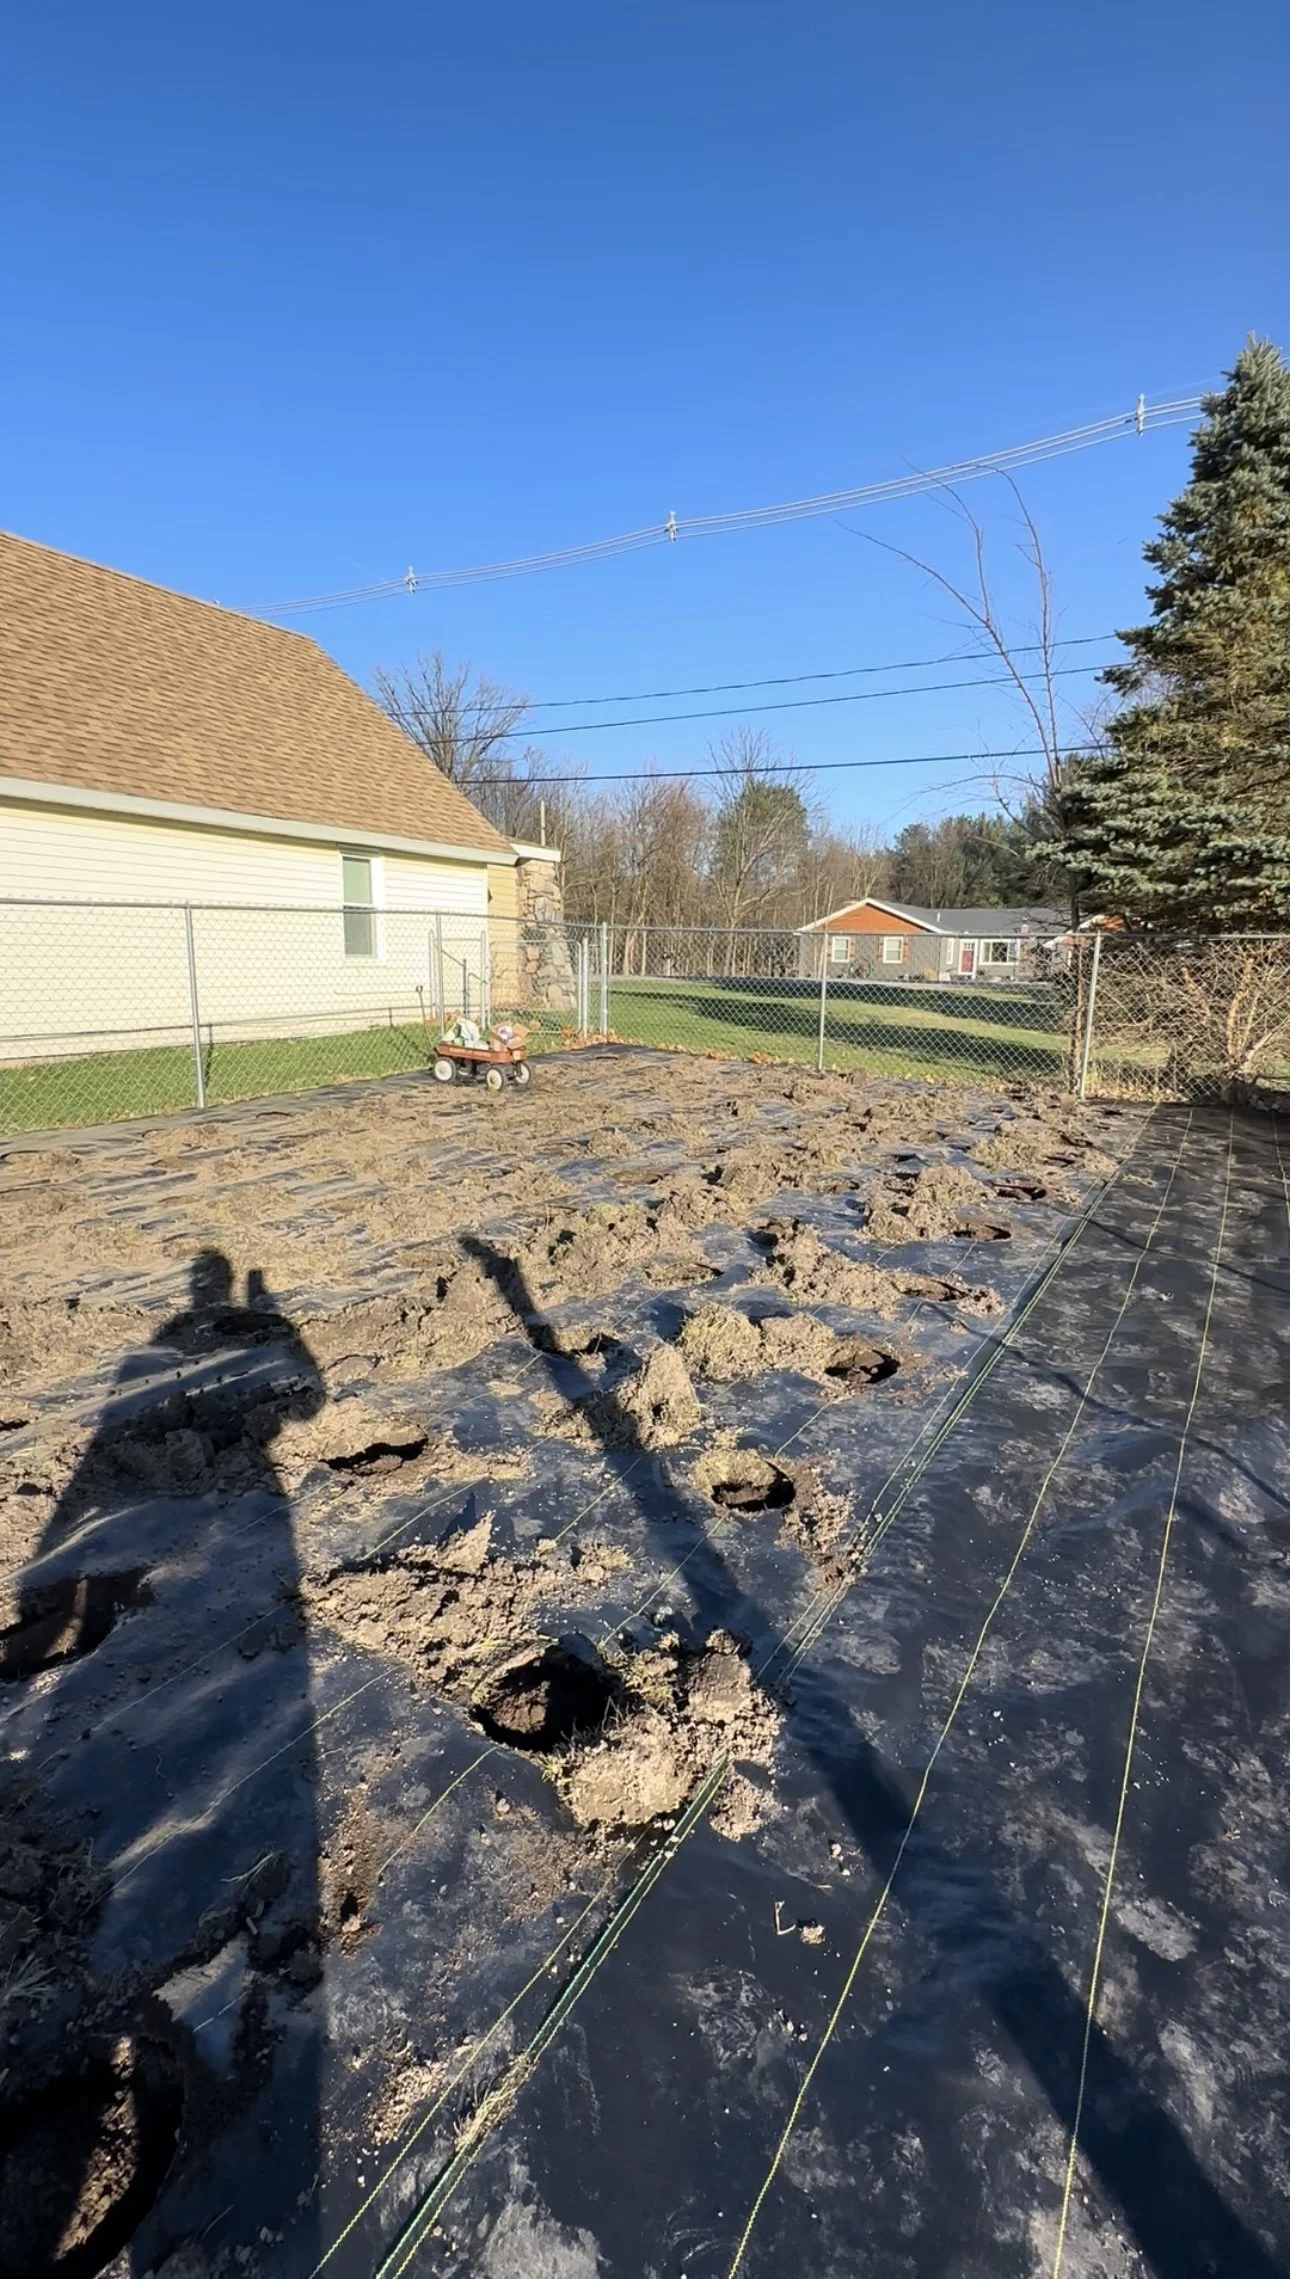


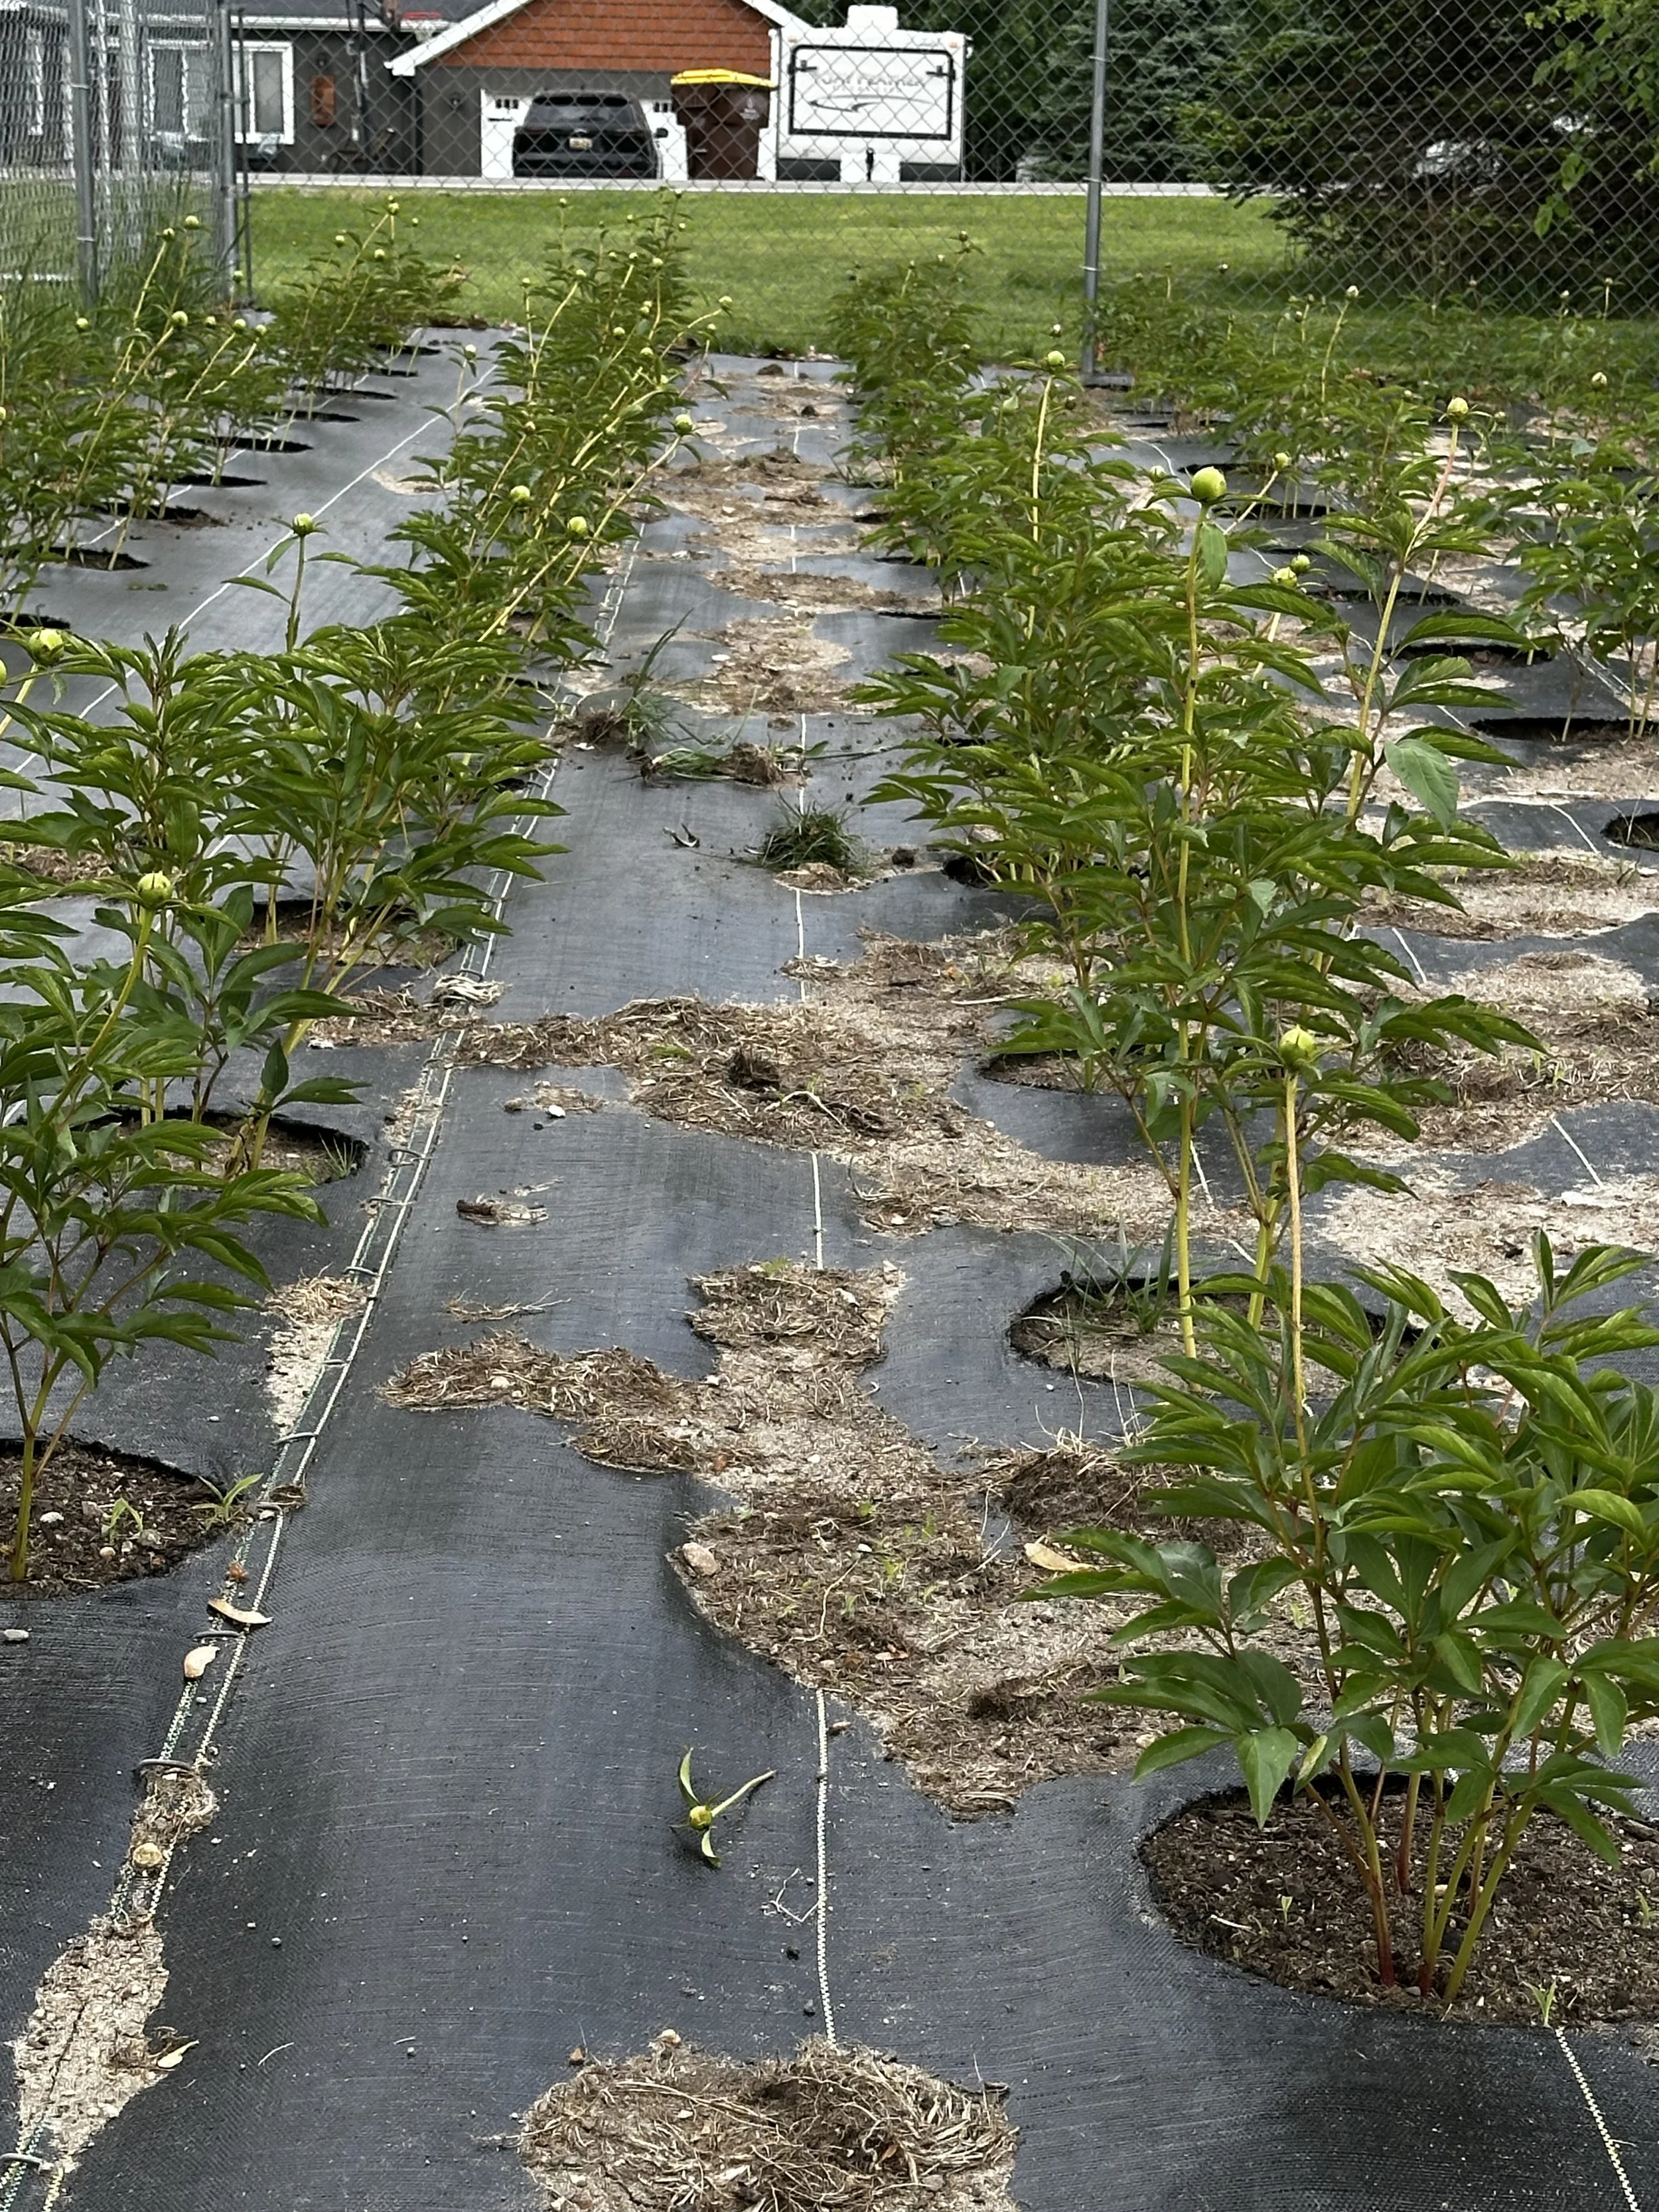
Step 8: Backfill and Sweep
Cover roots with compost and soil, gently firming it down.
Important: Sweep off any excess soil from the landscape fabric. Dirt left on fabric = weed chaos come spring.
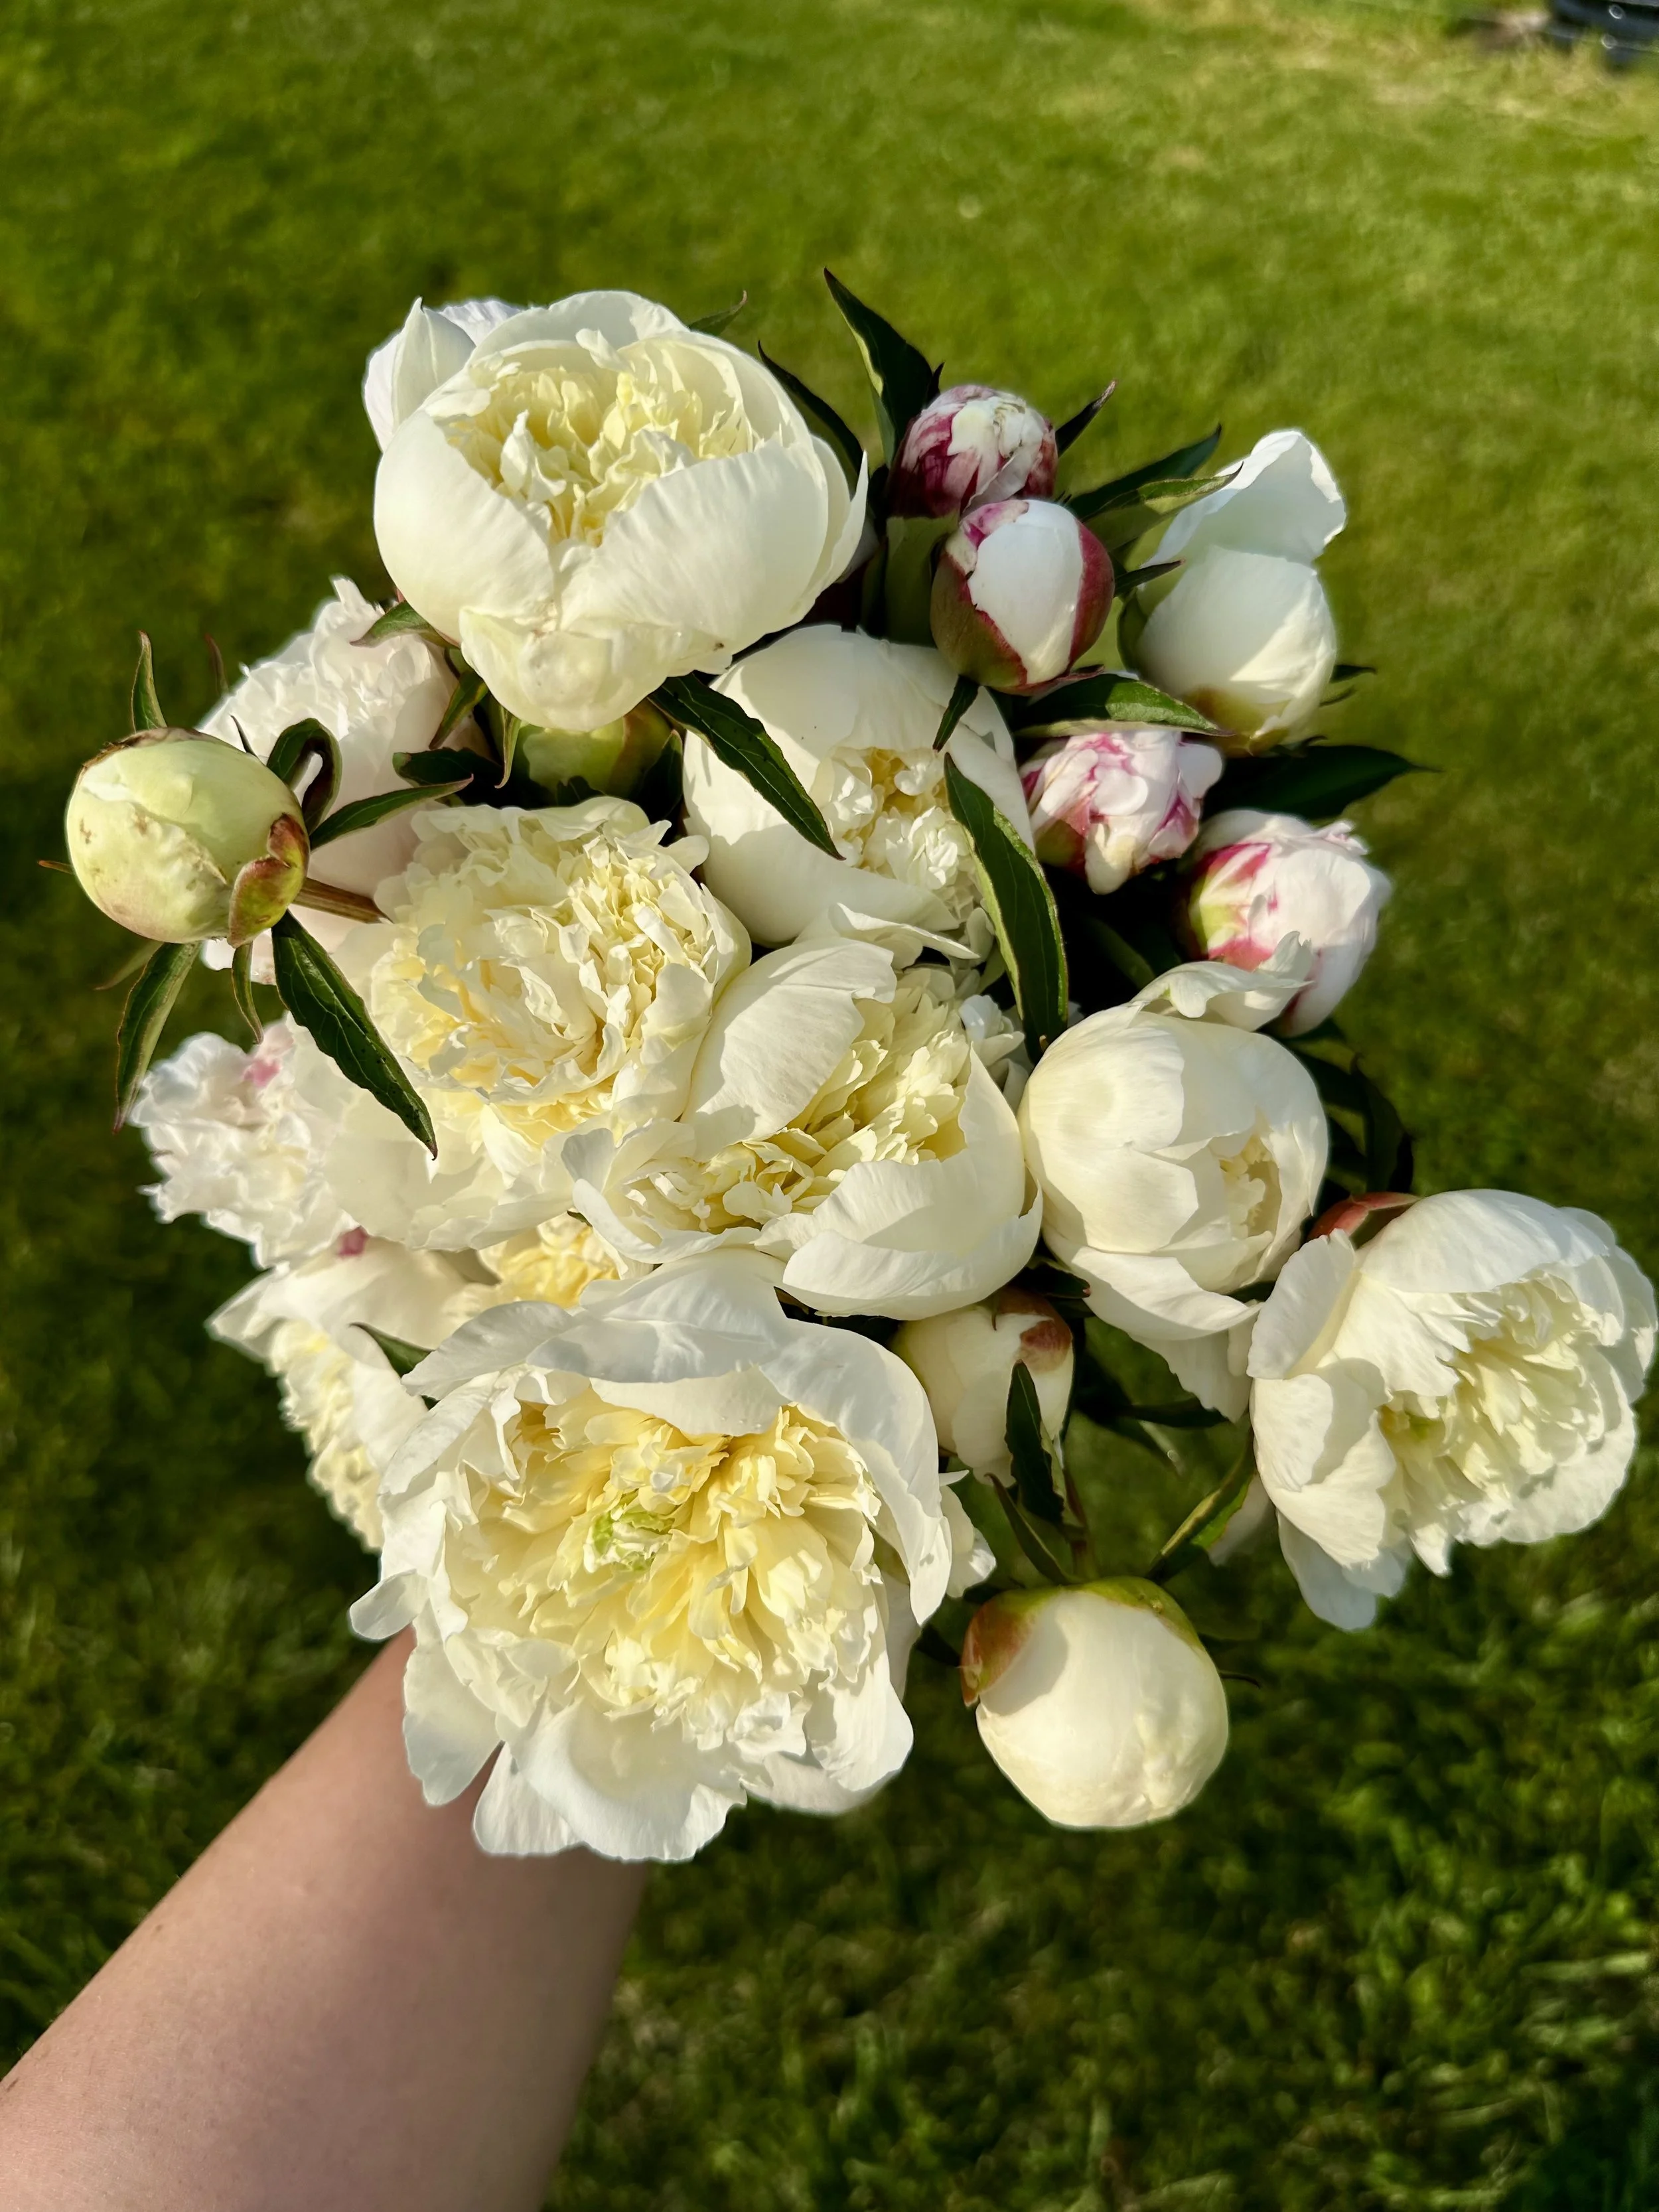
Post-Harvest: How to Store Peonies for Later Use
One of the best-kept secrets in floral work? Dry storing peonies.
You can harvest them at marshmallow stage, wrap them in newspaper, and refrigerate for up to 6 weeks for later use. It’s how many designers manage early June blooms for late July weddings.
I’ll be sharing a deeper dive on how to dry store peonies soon—sign up for the newsletter if you're curious!
Final Thoughts: Beauty That Waits for You
Planting peonies taught me a lot about slowing down, trusting the process, and investing in beauty that takes its time. These flowers ask us to think long-term—to believe in what we can’t see yet. That kind of growing is the most magical of all.
If you’re dreaming of your own patch of peonies, this fall is the time to start.
🌸 Peonies are a love story written underground. Here's to the flowers that are worth the wait.
With love and dirt under my nails,
— Alex💌 Want more growing tips and behind-the-scenes peeks at flower farming? Subscribe to the Bede’s Blooms newsletter or follow us on Instagram @bedesblooms for weekly updates from the field.

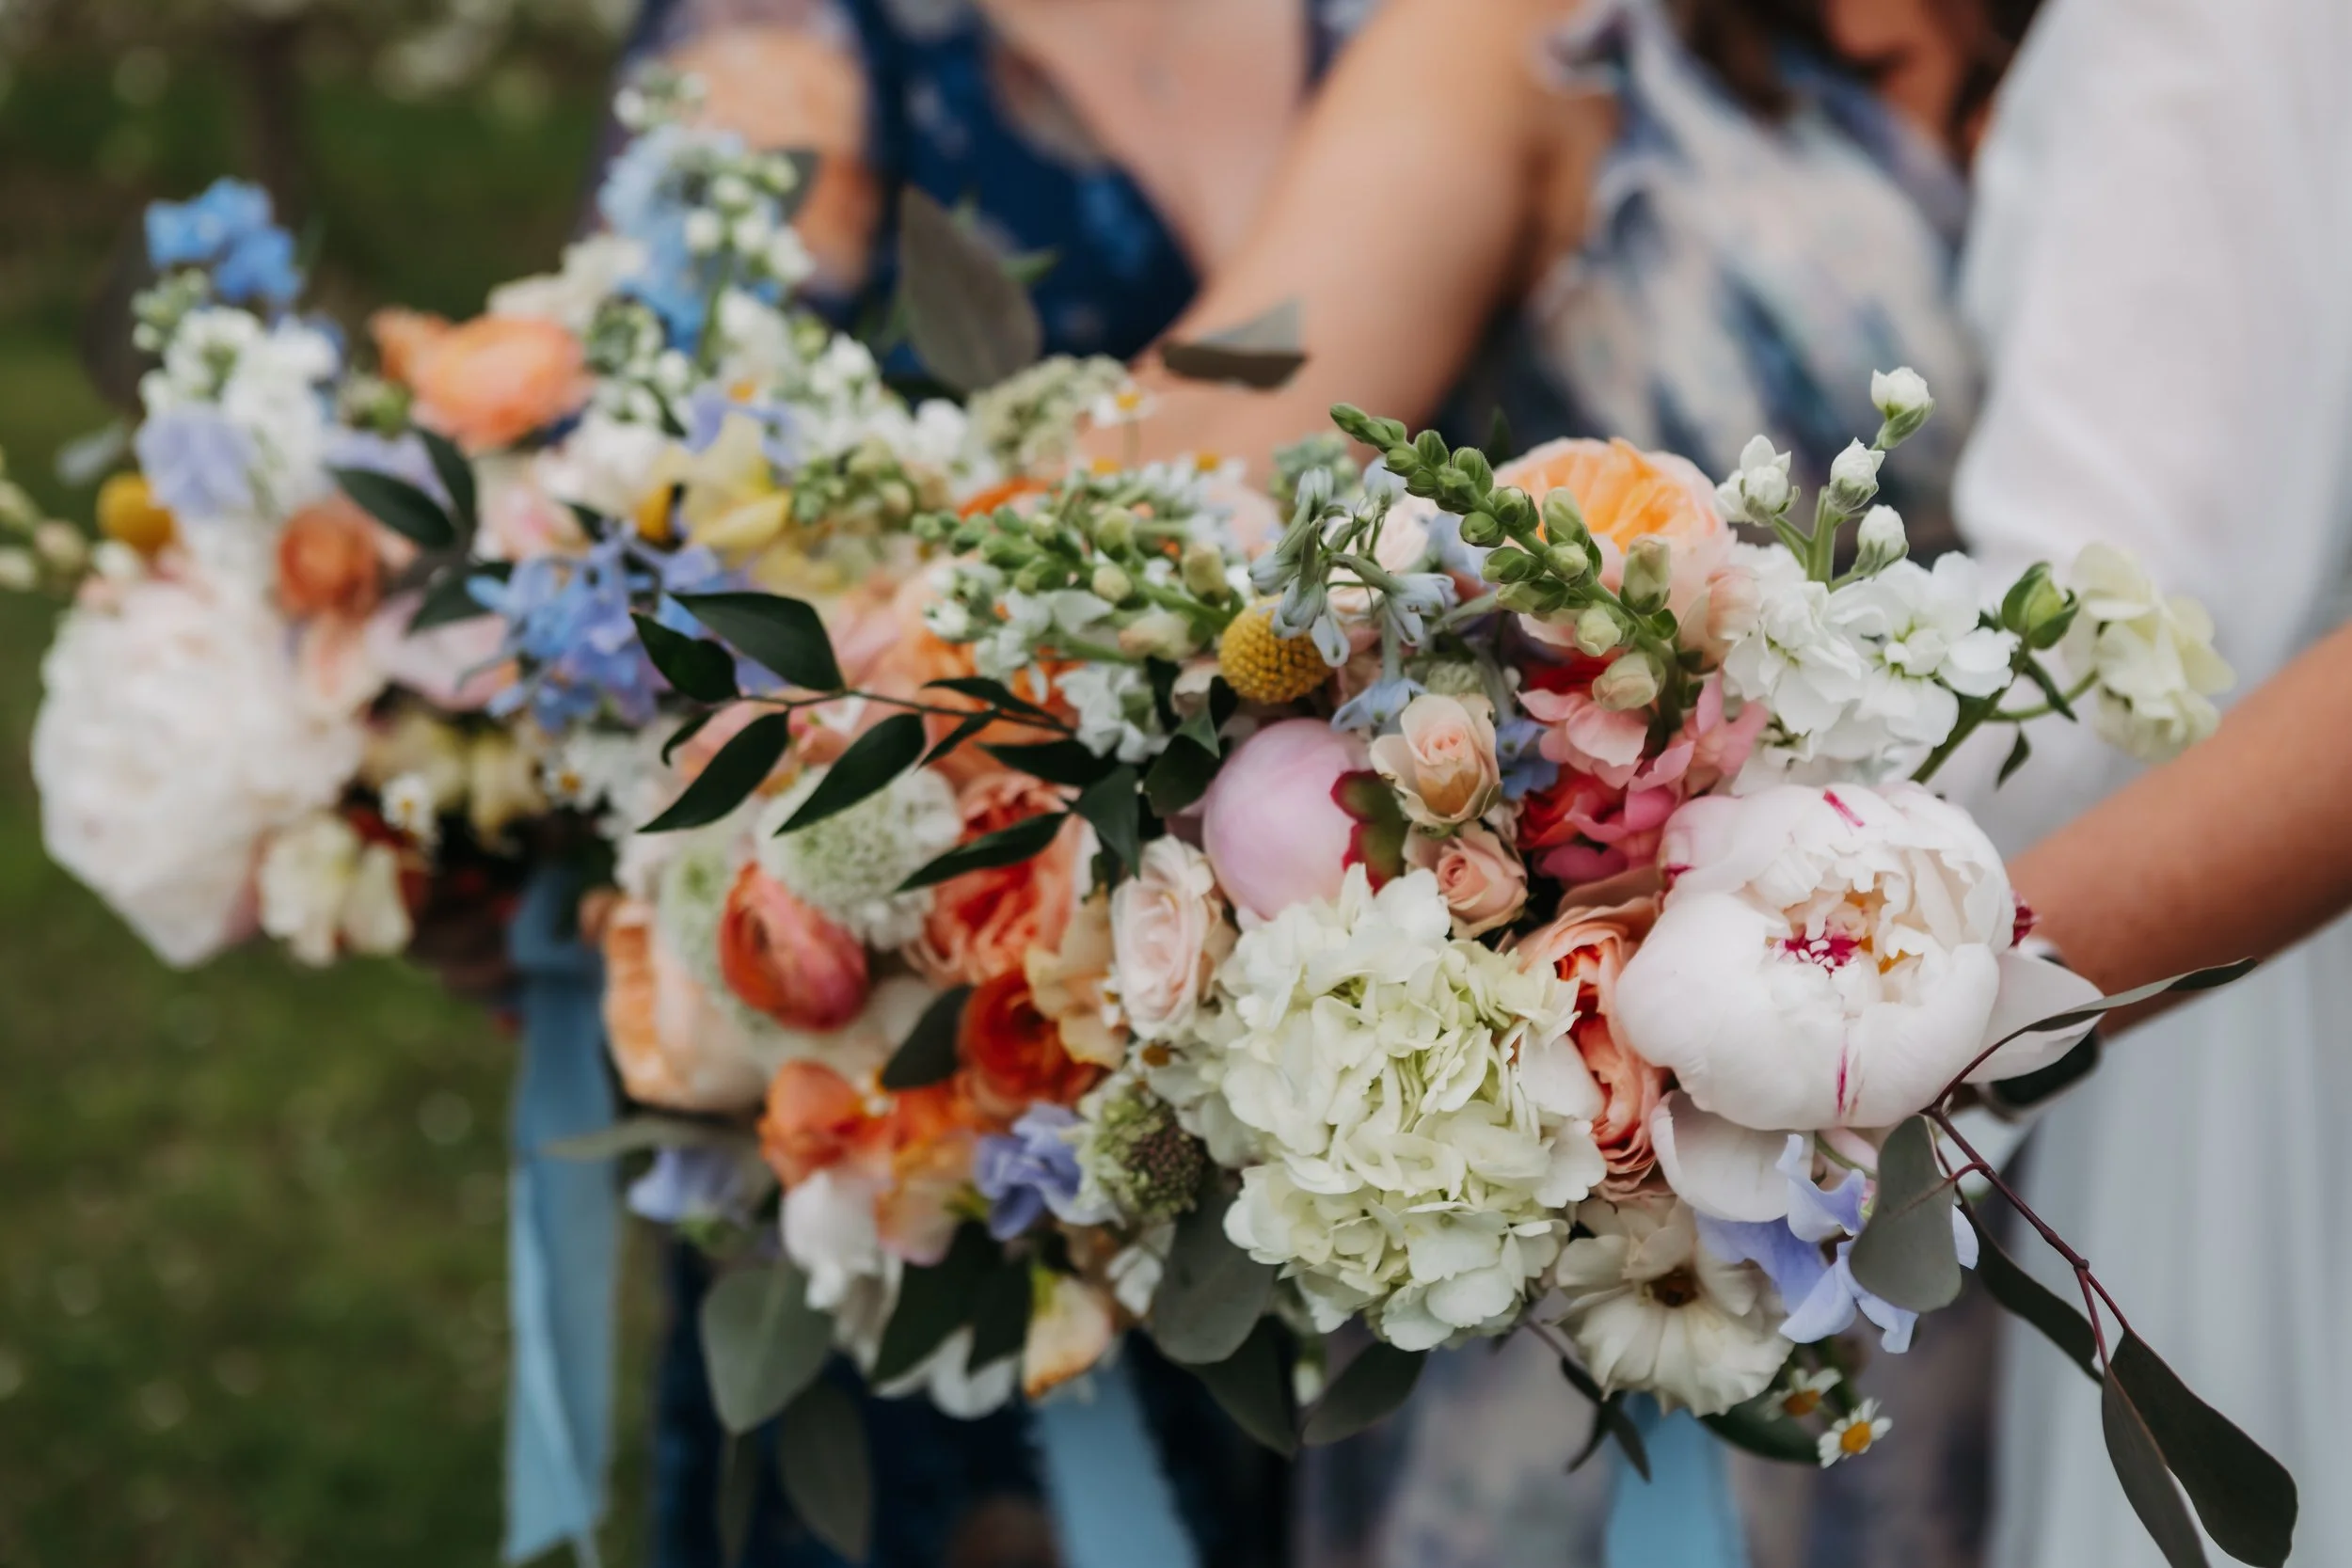
From Seed to Stem: What It Means to Grow and Design Your Wedding Flowers
When you picture your wedding flowers, you probably imagine the final moments—bouquets in hand, centerpieces glowing, petals gently lining the aisle. But behind each bloom is a story that begins long before your big day. As a farmer-florist, I don’t just design your wedding flowers—I grow them. That means every seed is planted with your love story in mind. From planning with the seasons to harvesting stems at their peak, this process is deeply personal, intentional, and rooted in place. If you’re dreaming of florals that reflect your heart, your style, and the season you’re saying “I do,” this blog is for you.
When couples think about wedding flowers, most envision the end result: bouquets in hand, centerpieces on tables, petals scattered down the aisle. What they don’t often see is the year-long journey those blooms can take to get there—especially when your florist is also your flower farmer.
As a farmer-florist, I don’t just design your wedding florals. I often grow them, too. And that adds a whole new layer of care, complexity, and intention to the process.
Photo: Nicole Jenrow, Details and Daydreams
Planning Begins With the Seasons
Unlike traditional florists who order flowers from wholesalers, I plan your florals around what the land and seasons can offer. That means conversations about your wedding flowers often start a year (or more!) in advance to align your vision with bloom times, planting schedules, and growing conditions.
If you're dreaming of lush peonies or delicate sweet peas, we need to make sure your wedding date lines up with when those flowers naturally bloom here in Michigan. Sometimes I can time successions or lean on tunnels to extend bloom periods, but Mother Nature always has the final say.
Why a Color Palette > Specific Flowers
One of the best ways to work with a farmer-florist is to approach your florals with an open mind and a flexible heart.
Rather than requesting a specific variety ("I want white anemones and only white anemones"), I always encourage couples to start with a color palette and vibe. Think: romantic and soft in blush and ivory, or sunset and bright with coral, gold, and raspberry.
This flexibility allows me to:
Harvest at peak beauty: Choosing stems that are actually blooming their best that week
Avoid disappointment: If a crop fails (hello, unexpected hailstorms), I have a plan B (and usually a plan C)
Design more creatively: Using what the field gives me, not just what's on a wholesale order sheet

The Local Advantage: Sourcing From the Soil
When I can, I grow everything I design with. But I also supplement with other trusted local growers and small-scale wholesalers. Why?
To ensure you have enough volume for your design needs
To support fellow Michigan flower farmers
To get the freshest, most sustainable blooms possible
Local flowers are picked just days—sometimes even hours—before your wedding. They’re not flown in from overseas or packed in boxes for weeks. That freshness is evident in the vibrancy, scent, and presence of every single stem.
That said, I do occasionally source wholesale blooms when needed. For example, in mid-May, Michigan’s floral availability can be limited and unpredictable—so for a recent wedding, I supplemented with carefully chosen wholesale stems to ensure the couple’s vision came to life beautifully.
More Than Just Flowers—It’s a Relationship
When you work with a farmer-florist, you're not just hiring a vendor—you're building a relationship. I learn your story, your style, and your priorities. I walk the rows thinking of your bouquet. I sow seeds with your celebration in mind.
It’s personal. And that’s what makes it so special.
Behind the Blooms: The Work You Don’t See
Every petal in your bouquet carries intention. Long before your wedding day, I’m pouring over seed catalogs, sketching mockups in my notebook, and standing out in the field at golden hour imagining how a just-budding dahlia might play into your tablescape.
There are early mornings sowing seeds in silence, late nights under grow lights checking trays, and months of nurturing tender stems through unpredictable Michigan weather. I spend my seasons not only growing flowers—but growing your flowers.
When I say your bouquet is personal, I mean it. I walk the rows and think about your love story. I hand-select blooms based on what I’ve learned about you—your warmth, your softness, your spark. I might add one stem for sentiment, one for memory, one just because it reminds me of the way you spoke about your person.
There’s a reason your bouquet feels different when it’s placed in your hands. It’s because it is.
It’s not just about matching your color palette—it’s about evoking emotion. Nostalgia. Joy. Connection. Every design choice is meant to mirror the one-of-a-kind story you and your partner are writing together.

Setting Expectations: The Realities of Growing & Designing
This approach isn’t always for everyone—and that’s okay. It requires:
Trust in the process, and in me as both your grower and your designer
Flexibility with the exact blooms used, even when your heart is set on one particular flower
Understanding that nature has a hand in everything I do—from sudden frosts to surprise windstorms
Working with a farmer-florist means letting go of some control in exchange for something more meaningful: a design that is seasonal, sustainable, and alive with intention.
It’s not about perfection—it’s about connection. About honoring the moment you’re getting married in and the land we’re growing from. When you’re open to that process, magic happens. Your flowers will feel like they belong to your story, not just your Pinterest board.
Why I Do It
Yes, it’s harder. It’s riskier. It’s less predictable. But it’s also deeply rewarding. Watching something go from a tiny seed to a centerpiece at someone’s wedding? That never gets old.
So if you're planning a wedding and want your flowers to be more than just decorations—to truly reflect a sense of season, place, and story—consider working with a farmer-florist. We grow with heart, design with soul, and show up with muddy boots and a whole lot of love.

Photo: Nicole Jenrow, Details and Daydreams
🌿 Ready to Begin Your Flower Story?
Every couple has a unique story—and I believe your wedding flowers should tell it. Whether you’re drawn to soft romance or bold whimsy, my goal is to craft florals that don’t just decorate your day, but reflect your love and evoke real feeling.
If you’re dreaming of wedding flowers that are rooted in season, grown with intention, and designed with soul, I’d love to hear from you.
Let’s begin planting the seeds for something beautiful—together.
Start your floral journey here → [Event Florals Inquiry]
With soil under my nails and petals in my hands,
Alex
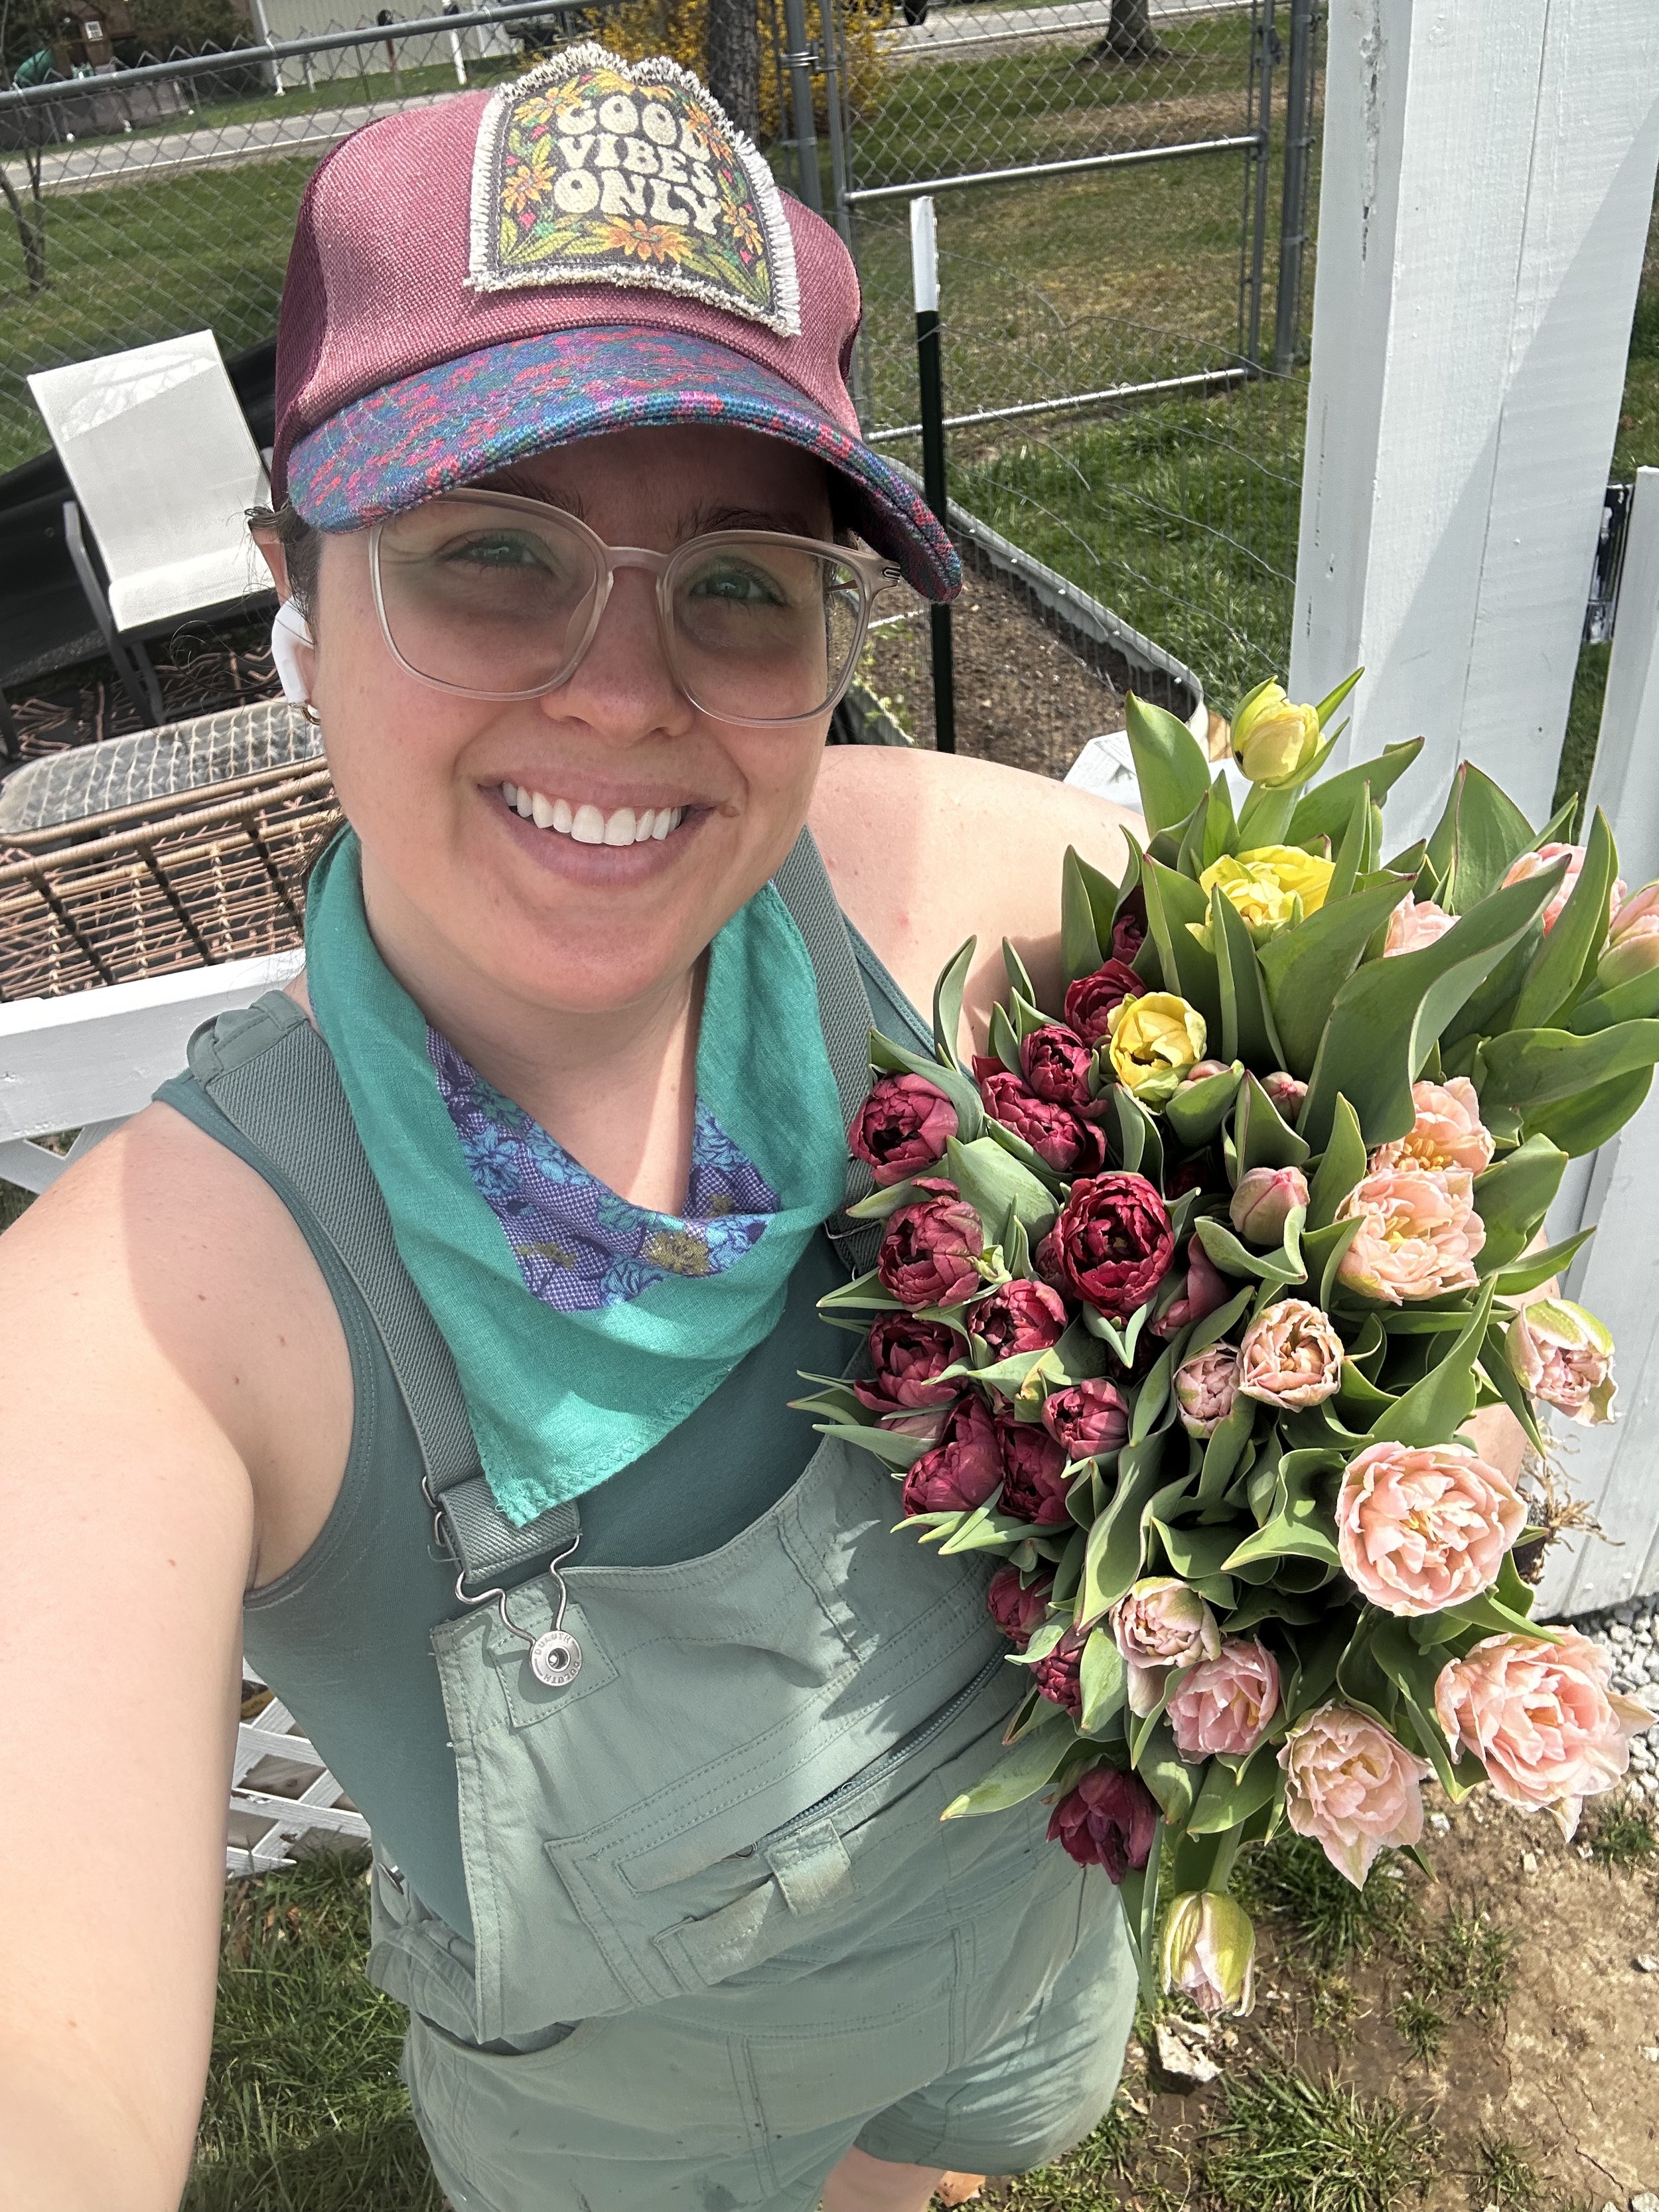

Blooms and Boundaries: Rebuilding After a Busy Season🌸
In the whirlwind of planting season, it’s easy to lose yourself in the to-do lists, long days, and endless weeds. In this post, I’m reflecting on the importance of boundaries—both in the garden and in life—and how I’m learning to nurture not just my flowers, but myself, too. This is a behind-the-scenes look at what’s blooming at Bede’s Blooms, and the intentional choices I’m making to protect peace and purpose this season.
This post may contain affiliate links. As an Amazon Associate, I earn from qualifying purchases.
Phew. May was a whirlwind.
It was filled with highs, lows, and everything in between — a month of major growth, both for the flowers and for me personally. The shift from winter into spring always hits like a freight train, but this year it came faster and harder than ever before.
One moment, I felt on top of it all — my seed trays were organized, seedlings thriving, my beds prepped, and I was ready for the season. And then, like clockwork, the floodgates opened. Suddenly, I was buried under a wave of tasks, Mother’s Day prep, crop failures, unexpected detours, and endless to-do lists. I blinked, and I went from “on track” to “completely behind” in what felt like a matter of minutes.
Mother’s Day Mayhem
The start of Mother’s Day weekend didn’t go as planned. Between a health scare, disappointing turnout, and the last-minute loss of crops, things felt heavy. But we pivoted — because that’s what flower farmers do — and we ended the weekend strong.
Still, the grueling late nights, early mornings, and long days added up. And when the dust settled, the return didn’t quite match the effort. That was a hard truth to sit with. One of the biggest lessons I learned? We don’t need to leave home to sell our flowers. Local is where the magic happens — and if the cost is my health, it’s simply not worth it.
Wedding Whirlwind
Just two days after Mother’s Day, I hit the road for a wedding in Ludington. No rest. No pause. Normally, florists take at least a day or two off after a big event — I didn’t have that luxury.
But here’s the thing: the wedding was beautiful. It was my best friend’s big day, and I had the honor of designing her flowers and standing beside her as matron of honor. It was a juggle, for sure. And though the timing was brutal, I would do it again in a heartbeat. From the first flower pickup with her mom (my trusty sidekick for the day) to assembling each bouquet, I cried happy tears more times than I can count. It was a labor of love I’ll treasure forever.

Photo: Nicole Jenrow - Details and Daydreams Photography (she’s amazing!)
Flowers: Bede’s Blooms + Co.
When the Body Says Stop
All of this — the constant go, go, go — came at a cost. My health.
The physical toll of early mornings and late nights, the emotional load of balancing work, family, and creative output, the guilt of missing time with my toddler… it hit me hard. Burnout crept in fast, and I knew I had to make a change. I couldn’t ignore what my body was telling me any longer.
The Signs Were Clear
Even now, weeks later, I’m still recovering. I’m still processing everything that May threw at me — while trying to stay on top of my responsibilities, spend quality time with my son, and somehow get all the summer annuals planted (which I feel behind on). Usually, I’m in the garden the weekend after Mother’s Day planting away. This year, I was still wedding-recovering.
But then came the rainy days — a full week of them. And honestly? It felt like a divine gift. I was forced to slow down. I had no choice but to rest. And I desperately needed it.
🌿 Why Self-Care and Boundaries Matter
In creative entrepreneurship and farming, boundaries and self-care aren’t luxuries. They’re lifelines. Here’s what I’m learning:
🌱 1. Your business depends on your well-being.
You’re the engine behind everything — from growing to designing to delivering. When you burn out, the whole operation slows. Self-care isn’t selfish; it’s necessary.
🧠 2. Creativity needs breathing room.
To be inspired, you have to make space. Boundaries protect your ability to think clearly, create joyfully, and stay connected to your purpose.
⏳ 3. Without boundaries, there’s no off switch.
This work is deeply personal, and the line between home and business is blurry. Boundaries — like time off, screen-free evenings, or simply saying no — keep you from running yourself into the ground.
💪 4. The work is intense.
Farming is physically exhausting. Running a business is emotionally draining. Doing both? It demands rest, recovery, and resilience.
💸 5. Boundaries guard against overcommitment.
It’s easy to say yes to everything when you’re passionate. But that leads to depletion. I’m learning to say yes more selectively.
❤️ 6. You model what sustainable success looks like.
When you care for yourself, you show your community — and your family — that success doesn’t have to come at the cost of health, joy, or connection.
Things I Like to Do to Shift, Rest, and Recharge After Burnout
When I hit a point of burnout, I’ve learned not to push through, but to pause—and intentionally create space to heal. Here are a few things that help me shift, rest, and recharge:
1. Nourishment + Hydration
I consciously focus on my water intake and nutrition. I up my electrolytes, sip herbal teas throughout the day, and take time to actually sit and enjoy my morning mushroom coffee (or matcha) instead of rushing through it.
This also means getting back on track with my supplements—especially when life gets busy (which is exactly when I need them most). I tend to forget them in the chaos, but they’re part of what keeps me steady. My go-to lineup includes:
Electrolytes - Redmond Re-lyte is our go-to (plain water just doesn’t cut it—throw in some Himalayan salt or dive into the hydration rabbit hole!)
Beef organs or beef liver supplements - Taking beef liver regularly has truly been a game changer for me—no exaggeration. Since adding it to my routine, I’ve had noticeably more energy, no postpartum hair loss, and just feel better overall. It’s made such a difference! Go-to’s Paleo Valley Organ Complex, Perfect Supplements Desicated Beef liver, Ancestral Supplements Beef Organs and or Ancestral Supplements Beef Liver
Adrenal support, like Just Ingredients Adrenal Complex or Jigsaw’s Adrenal Cocktail
Magnesium (we like MegaFood) and we also use Earthley Wellnesses Good Night Lotion
L-Methyl Folate (I use this one - it helps w/ my ADD)
Vitamin D with K2 ) (I use Perfect supplements drops or MegaFood)
Probiotics - I try to get mine through food whenever possible. My go-to sources are kombucha and sauerkraut, but I’ll also supplement when needed to help support gut health. If supplementing, entegro healths flourish probiotic, Dr.Ohhira’s , or seed.
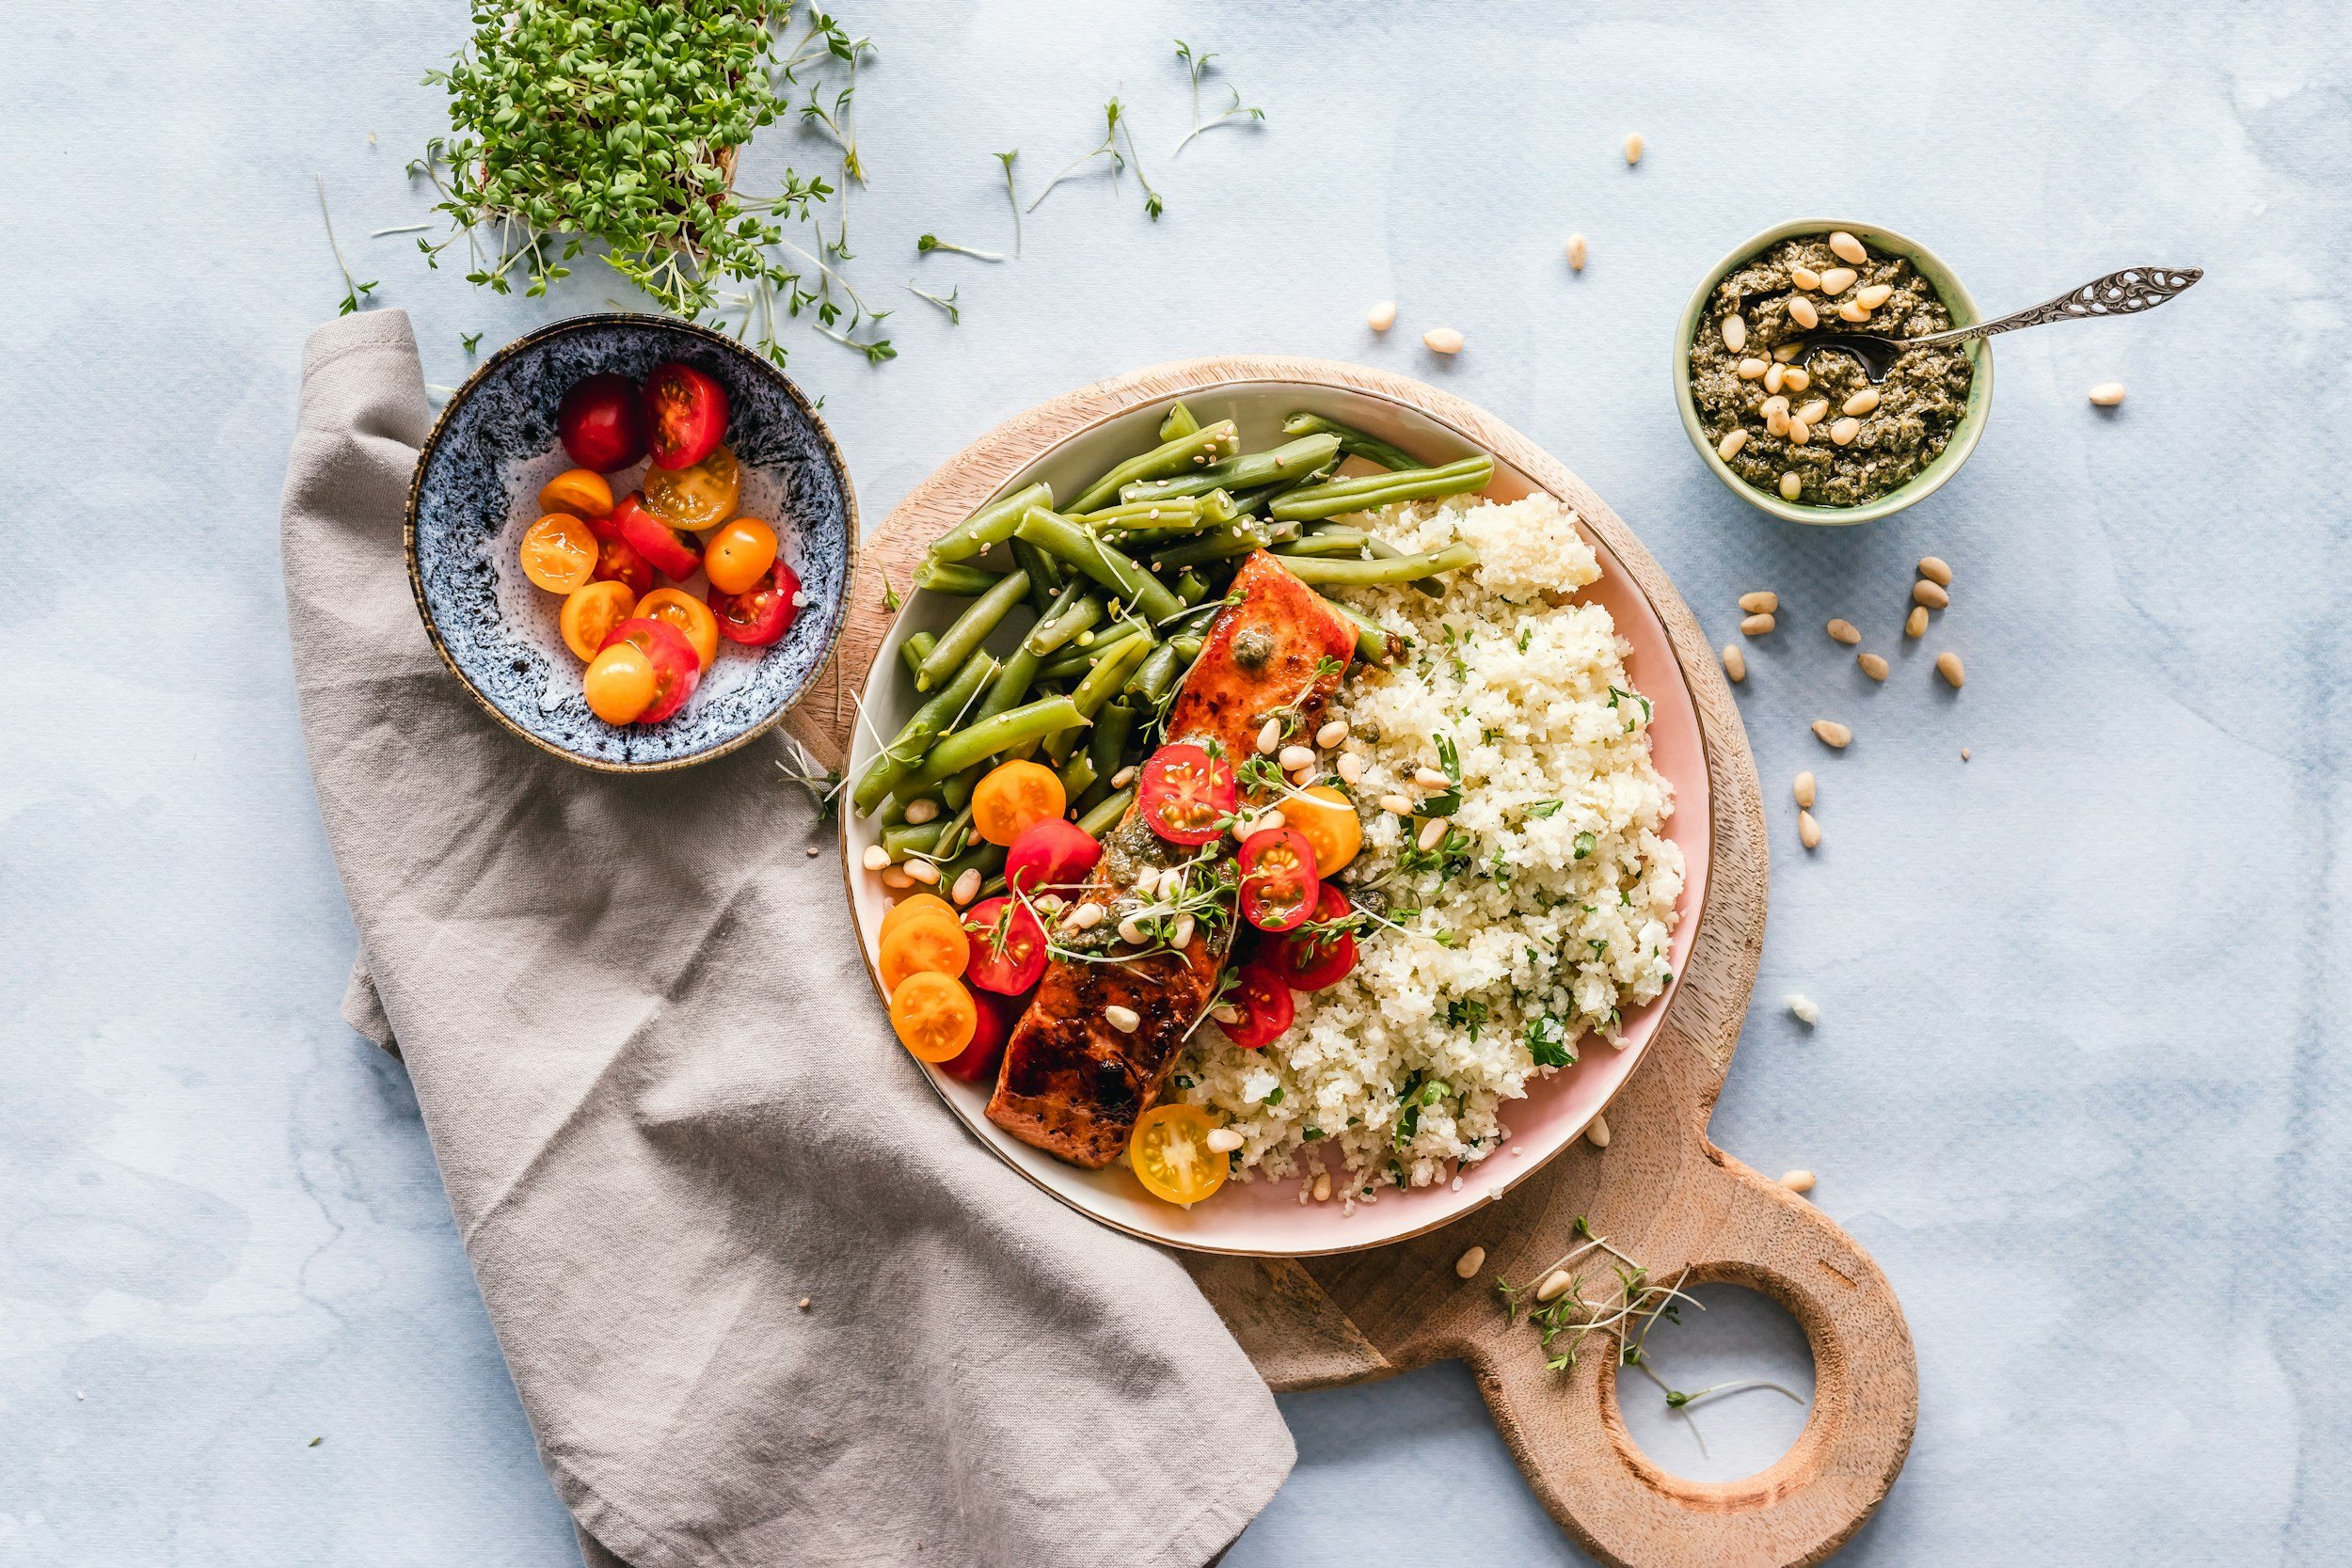
I also make a conscious effort to increase my daily protein intake. One of my favorite ways to do this is by adding Perfect Supplements Hydrolyzed Collagen to milk or my coffee—it tastes like chocolate milk, and even the kids love it! I aim to include about 30 grams of protein in each meal—and even before I have my coffee. I also focus on high-protein recipes, drink bone broth hot chocolate (FOND is my go-to bone broth if I don’t have time to make it myself), and supplement with clean, high-quality protein powders. Some of my favorites are Equip Protein, FlavCity’s All-In-One Protein Smoothie, and Paleo Valley’s Bone Broth Protein (chocolate is my fav!).
These aren't just checkboxes—they’re tools that support my energy, mood, and overall resilience. When I stay consistent, I feel the difference.

Wellness from the Inside Out
How I Support My Body Through Busy Seasons

Stillness Before the Bloom
Resting Isn’t Quitting—It’s Recharging
2. Extra Time With Jesus
That coffee or matcha moment becomes sacred when I pair it with quiet time with Jesus. I write out my thoughts, reflect, breathe deeply, and reconnect to peace and perspective. It grounds me.
3. Baths + Body Care
Baths are a love language to myself. I love Flewd bath soaks—they help my nervous system reset and feel like a hug for my body. I let myself fully unwind.
When I don’t have a flewd bath soak handy, a regulated used item in our house is Ancient Minerals Magnesium Flakes (PS: great for little ones to help them sleep!)
I also stay consistent with my chiropractic care—regular visits make such a difference. We go to Volz Family Chiropractic in Holt, and Dr. Volz and her team are truly amazing!
4. Gentle Movement
Exercise becomes a way to reconnect with my body, not punish it. Long walks (sometimes with my weighted vest - game changer!), light weight training, a spin session, or my favorite: Pilates. Even 15 minutes of movement or stretching shifts my energy. If I’m really depleted, I rest first—sometimes for days—before easing into intentional, slow movement.
5. Saying No
When I’m in a season of recovery, I intentionally reel back. I admit my limits. That often means saying no—to events, orders, obligations—so I can be home more, breathe deeper, and return to alignment with my priorities. It’s not always easy, but it’s necessary.
6. Tidy Spaces = Tidy Mind
One of the most grounding things I do when I’m coming out of burnout is slowly working through neglected corners of my home. I’ll throw on an audiobook or a podcast and start tackling the laundry pile that’s been haunting me, the cluttered workshop corner, or that cabinet I’ve been meaning to purge for weeks. It’s not about perfection—it’s about creating breathing room. Deep cleaning, organizing, and simplifying my space gives me a sense of control and calm. You feel so much better once it’s done.
7. Deep Rest + Stillness
Rest is medicine. I curl up with a book, let myself enjoy the stillness, and resist the urge to write out a new to-do list. I let the slow moments stretch out.
And finally—when I feel ready—I gradually get back into the soil. There’s something so healing in its presence. It reminds me why I love what I do, and that growth often starts in quiet, unseen places.
Bonus – 8. Resparking Your Creativity
Sometimes, the best thing I can do for my soul is to reconnect with beauty and creativity—without the pressure to produce. That might look like flipping through flower books, playing with color palettes, styling a few leftover blooms just for fun, or creating something with my hands that has nothing to do with business. Creativity doesn’t always have to be productive—it can simply be a way back to joy, curiosity, and play. That spark always leads me home.
A Few of My Favorite Books for When I Need That Garden Spark Again
When I’m feeling a little disconnected or burnt out, I often find that flipping through a good garden book helps reignite my inspiration and remind me why I love working with the land. Here are a few of my favorites I reach for again and again:
Floret’s A Year in Flowers , Erin Benzakein
From Seed to Bloom, Milli Proust
Designing with Dried Flowers, Hannah Rose Rivers Muller
The Tiny But Mighty Farm, Jill Ragan

Creating Without Pressure
When I Need to Feel Inspired Again
—or—I head into the kitchen and let my creativity flow through food, experimenting with herbal botanicals and edible flowers. It’s a grounding, sensory way to reconnect—with flavor, color, and beauty in the everyday.
Here are some of my favorite books surrounding food:
I love anything of Erin French’s — highly reccommend watching The Lost Kitchen on the Magnolia channel — The Lost Kitchen: Recipes and a Good Life Found in Freedom, Maine: A Cookbook
I love to play around with fermantation, this is a fun book I use: Wild Drinks: The New Old World of Small-Batch Brews, Ferments and Infusions and if you really want to dive into the world of fermentation than The Noma Guide to Fermentation is a must.
I absolutely love turning to Julia Child for timeless comfort, Joanna Gaines’s Magnolia Table recipes for cozy, feel-good meals, and Samin Nosrat’s Salt, Fat, Acid, Heat for inspired, intuitive cooking that always reawakens my love for the kitchen.
🌸 Looking Forward
If you’re also feeling the weight of burnout or the guilt of needing to slow down — you’re not alone. Building something meaningful takes energy, and it’s okay to pause, pivot, or reset when needed.
I’m still in the process of recovering. But I’m looking forward to the quiet moments — planting summer annual successions, watching the garden grow, catching fireflies with my son in the evenings, enjoying family time, reading more books and simply breathing. The beauty of seasonal work is that it teaches us to honor the rhythms — of nature, of work, and of our own bodies.
Here’s to slower mornings, intentional choices, and letting ourselves rest when we need to.
With gratitude and floral magic,
Alex 🌸