
Seed Starting, Motherhood, and Letting Go of Perfect
Motherhood has changed the way I start seeds — and honestly, the way I approach everything. In this season, seed trays sit on my dining room table, my toddler colors nearby, and perfection has taken a backseat to presence. Here’s what gardening and motherhood are teaching me about letting go, starting imperfectly, and trusting the process.
There’s a reel I published today that shows exactly what seed starting looks like in this season of my life: adapting, experimenting, and starting seeds with a baby in a diaper nearby.
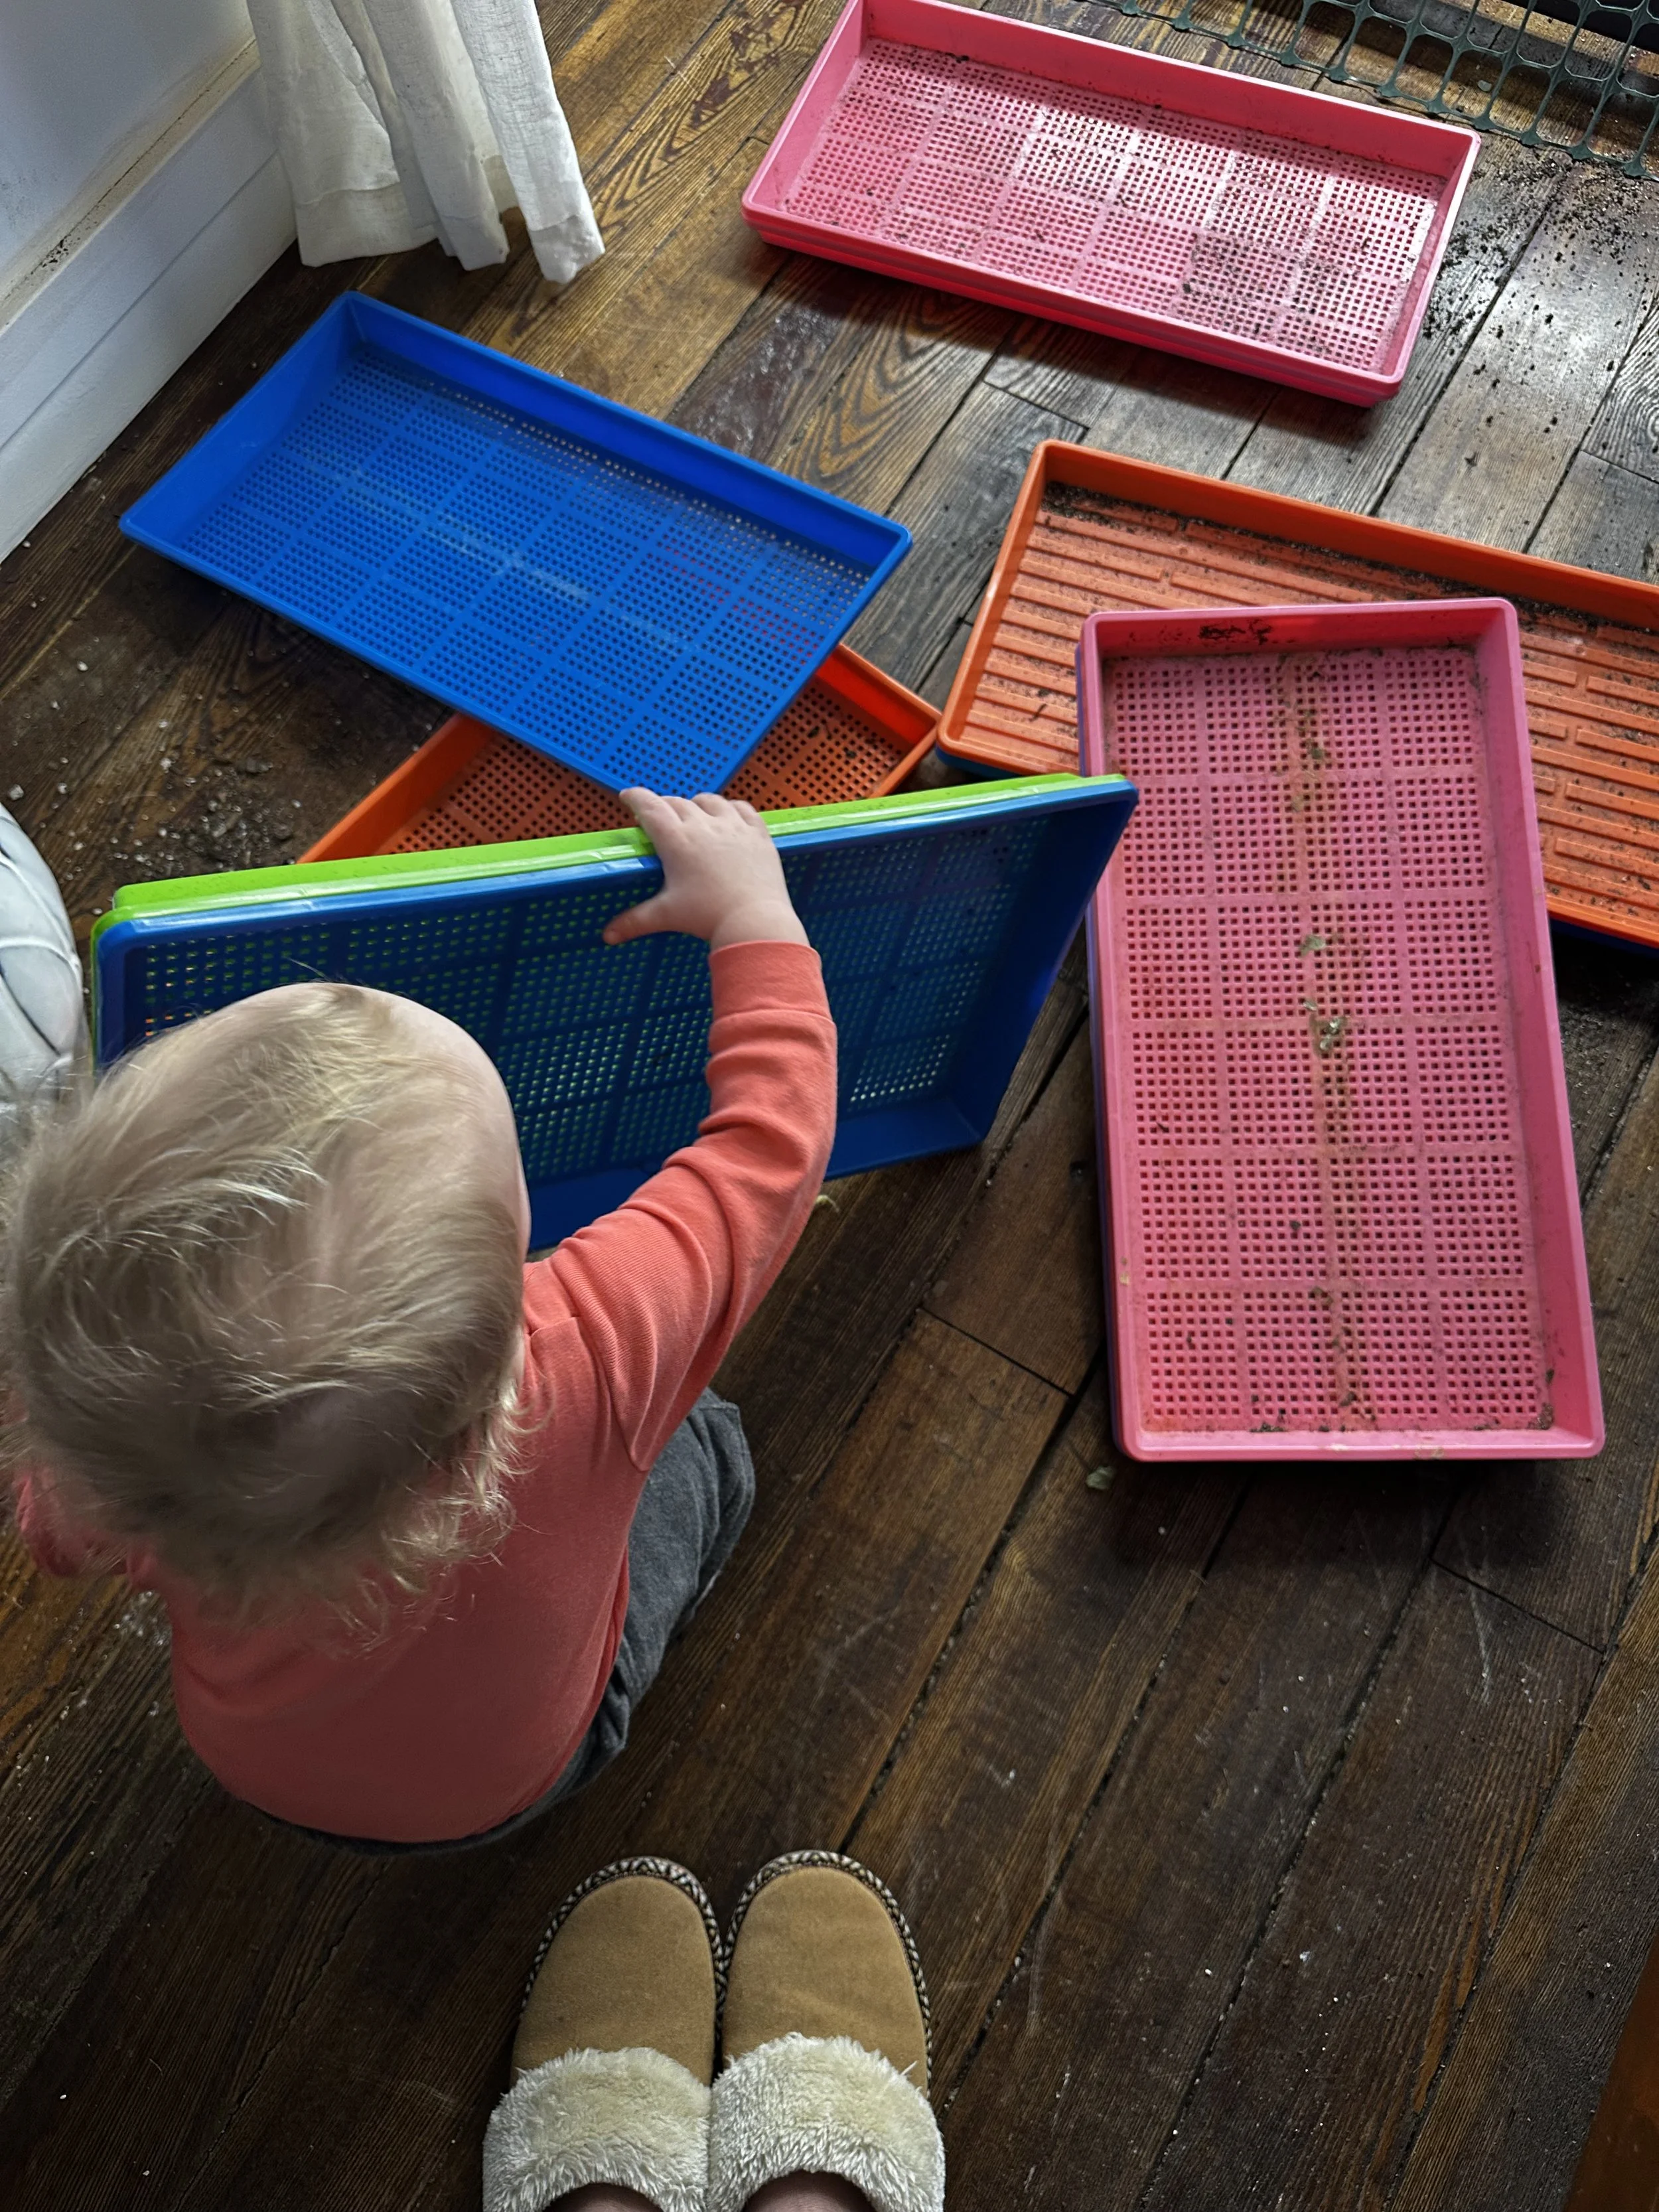
Prepping to wash seed trays, baby at my feet.
It captures not just how I’m starting seeds right now — but why it looks different.
Last year, I intentionally trialed a new seed-starting method. Not because what I was doing before was broken, but because I’m always learning, adjusting, and experimenting to find what works best — for my plants and for my life. Gardening, just like motherhood, has a way of teaching you that flexibility and curiosity matter more than rigid rules.
And if I’m being completely honest?
That reel is more real than anything I could have staged.

I’m starting seeds slower now. I’m doing it in pockets of time — during nap time, on my dining room table, with an old tote instead of a pristine workspace. At one point in the reel I say:
“You don’t need fancy things to start seeds.”
And I meant every word.
Motherhood has been — hands down — the hardest, most rewarding, most fulfilling transition of my life. It’s also the season where I’ve lost a lot of control… in a good way.
I don’t have nearly as much time as I used to. I can’t force productivity. And that constant need for things to be precise and perfect?
I’ve let a lot of that go — and the peace that’s come with it has been incredible.
If it gets done, it gets done.
If all I had the space and capacity for that day was a shower, snuggles, and coloring with my toddler? Then I am the true winner.
You Don’t Need Perfect — You Just Need to Start
I used to think I needed all the things.
The best supplies.
The perfect setup.
The ideal workspace.
Then you throw a kid in the mix… and you learn real quick what you can and can’t do with a baby on your hip.
You hear it all the time, but it’s true:
As an entrepreneur and a corporate employee, it’s never going to be perfect to start. You’ll never have all the ducks in a row.
So if you’re waiting for that moment?
You’ll wait forever.
Will you fail?
Yes. A thousand times over.
I’ve killed more seedlings than I can count.
But what matters most?
You don’t quit.
So with all of that in mind — let’s talk seed starting.
Seed Starting 101: From Real Life, Not Perfection
Have I invested in high-quality tools over the years? Yes.
Am I picky about what I use now? Also yes.
Am I still experimenting, testing, improving, and learning every single season? Absolutely.
But I didn’t start there.
I started with:
A bag of Pro-Mix from Menards
A vegetable steamer strainer to sift an entire 3-cubic-yard bag of soil
Solo cups, with holes drilled in the bottom by my husband
A whole lot of trial, error, and learning
You can start inexpensively.
You can start expensively.
That choice is yours.
The most important choice?
Just do it.
Growing your own garden — even just a veggie or two, or a small bed of flowers — is incredibly rewarding. And like any skill, there is some investment involved in learning how to start seeds indoors successfully.
Let’s break it down from start to finish.
1. Grow Lights (Lumens Matter)
Light is non-negotiable when starting seeds indoors.
Without enough light, seedlings stretch, weaken, and fall over.
What to look for:
Lumens: Aim for at least 2,000–5,000 lumens per shelf
Color temperature: Full spectrum or daylight (5000–6500K)
Distance: Lights should sit 1–3 inches above seedlings
Adjustability is key — your lights need to move with your plants as they grow.
➡️ I link the grow lights I use here.
2. Shelving or Racks
You don’t need a greenhouse. You don’t need fancy.
I’ve used:
Old shelving units
Garage racks
Dining room corners
What matters most:
Stability
Enough vertical space
The ability to raise and lower your lights
➡️ My current rack setup fits 3 Bootstrap Farmer trays per shelf, with 4 usable shelves, for a total of 12 trays per rack. We also have a couple on wheels which I love.
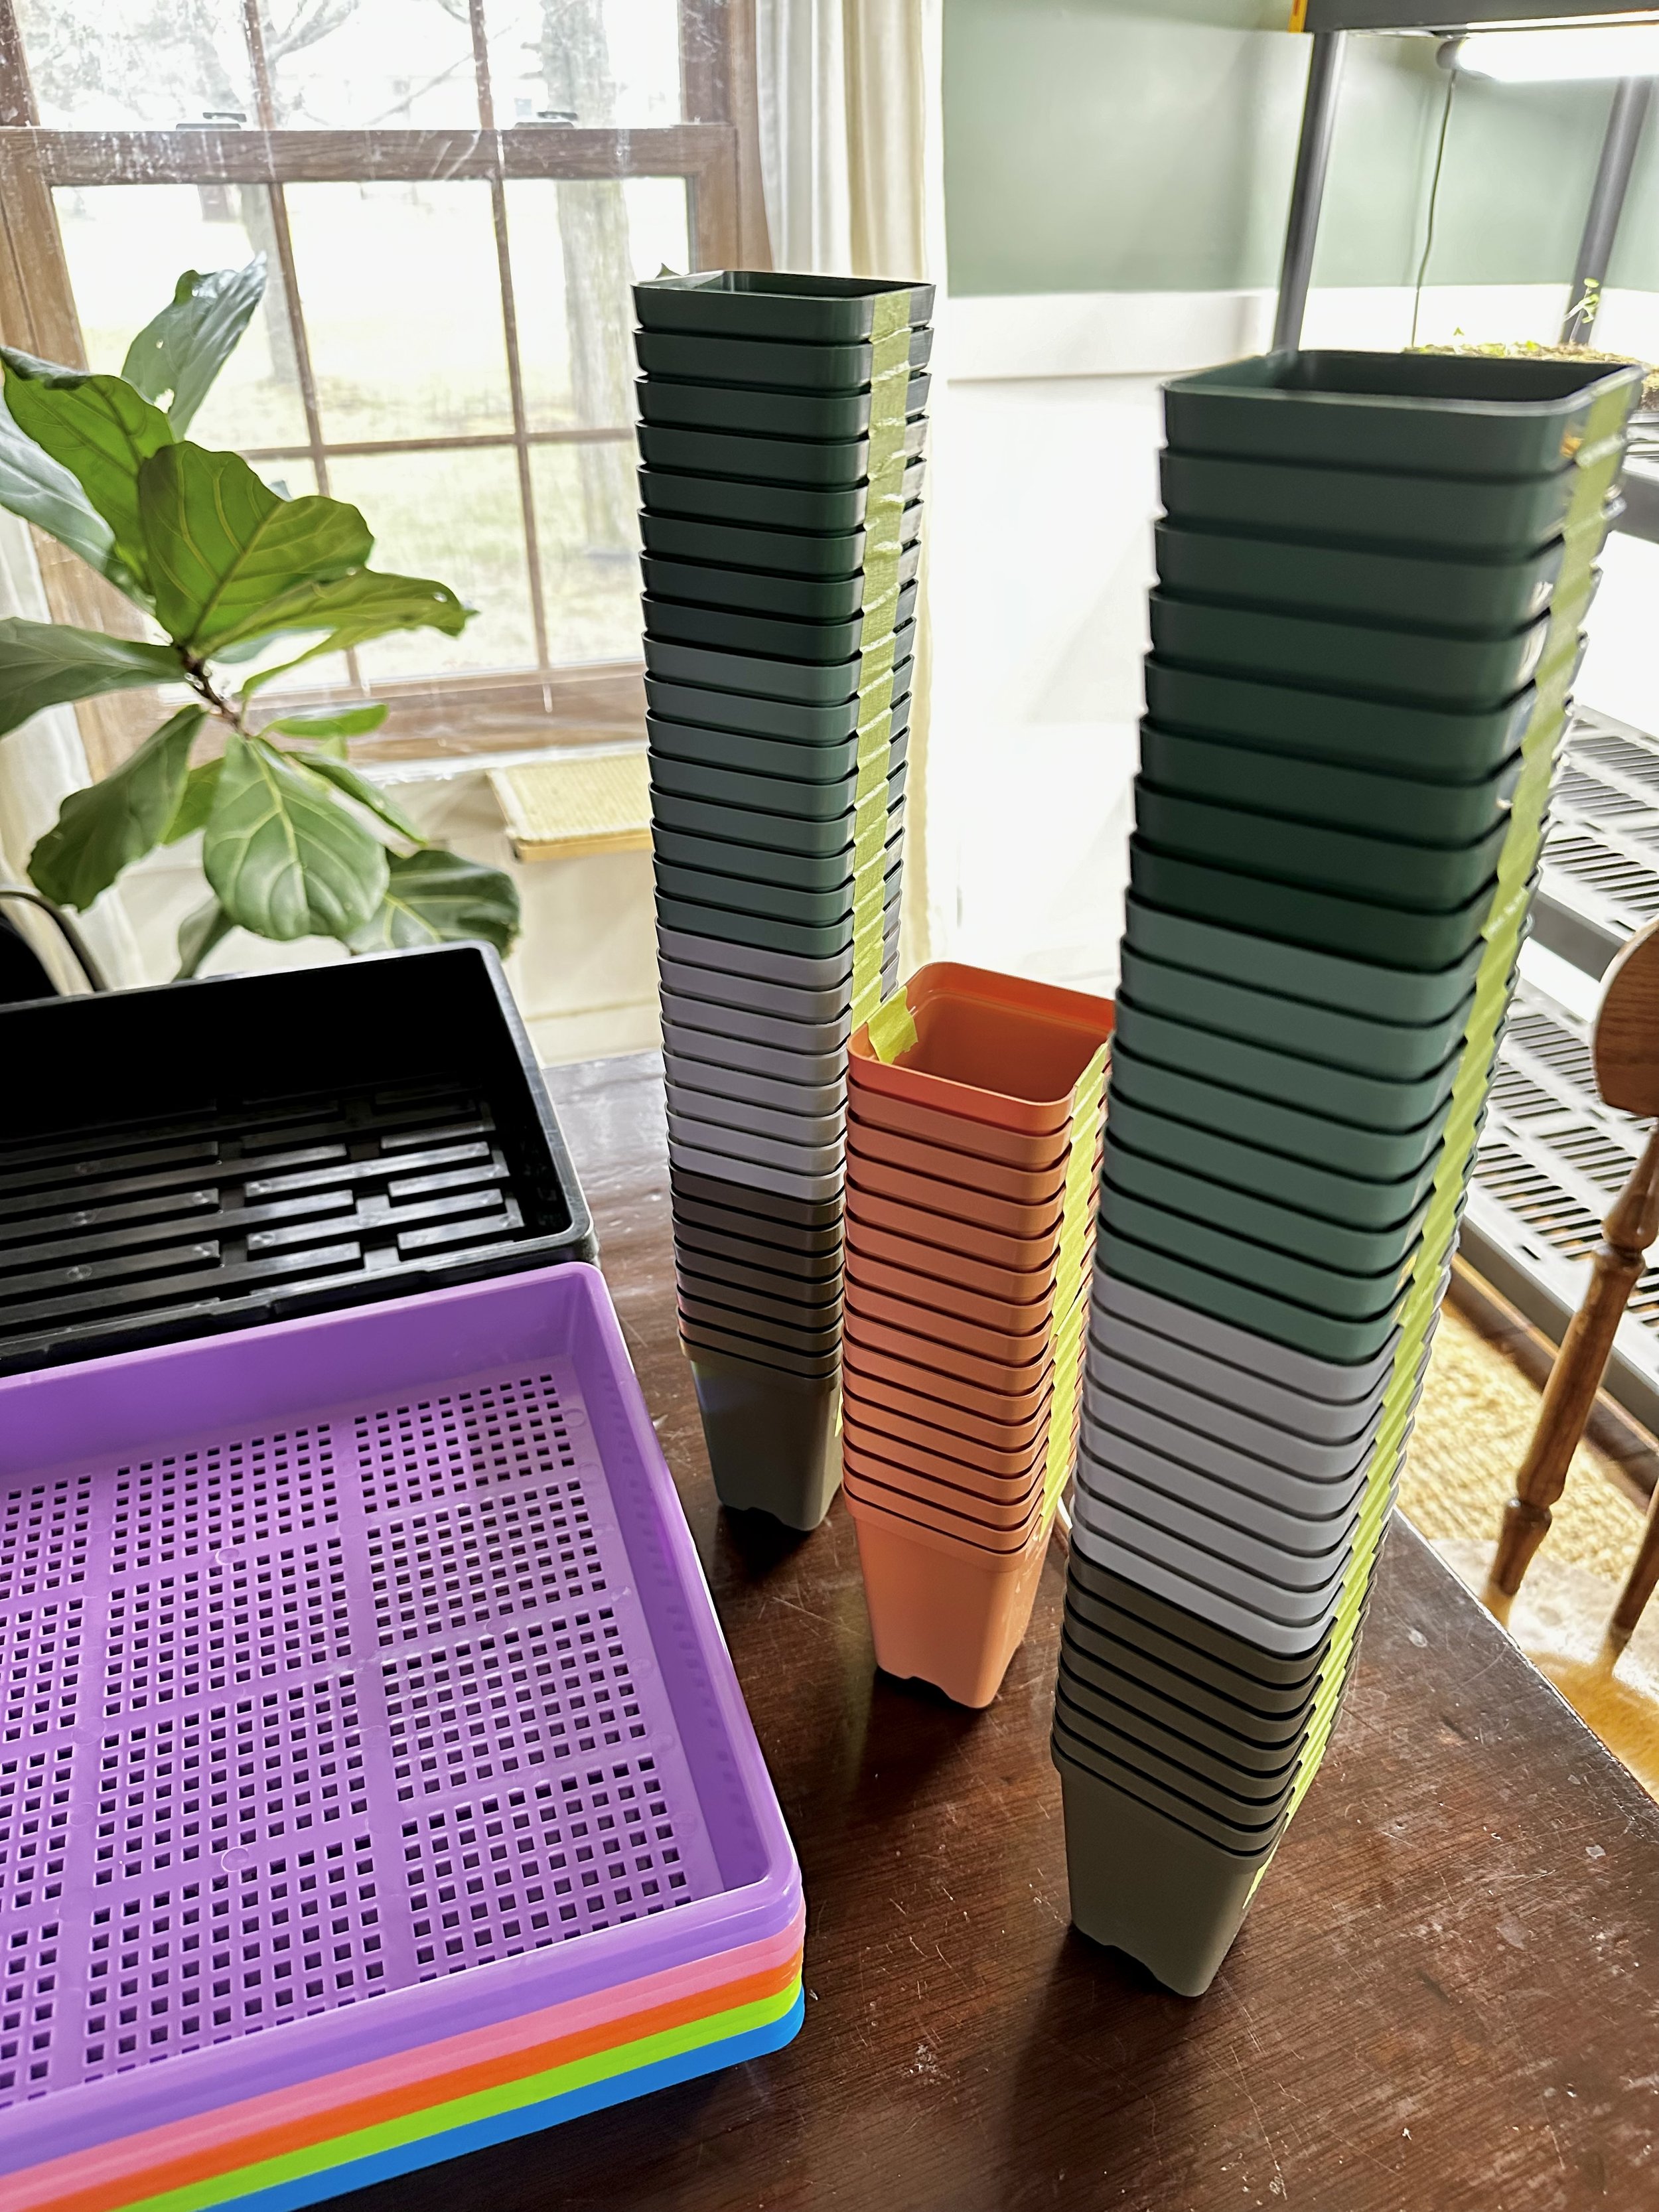
3. Containers: Cups, Trays, Soil Blocks & Air Prune Propagation Trays
There are a lot of container options out there — and yes, you can find cheaper trays on Amazon.
I’ve tried them.
For me, constantly replacing cracked or warped trays every single year became more frustrating (and more expensive in the long run) than helpful. Over time, I chose to start investing in what I’ve found to be the best trays on the market — products that hold up season after season and support healthy root development.
That’s how we landed on Bootstrap Farmer trays and containers. They’ve become the backbone of our seed-starting setup, and we use the heck out of them.
That said, you do not need everything at once. Start where you are, and build as you go.
How We Use Bootstrap Farmer Products
1020 Seed Starting Trays
These are the workhorses of our system. We use them for:Holding Air Prune Propagation Trays
Soil blocking
Catch trays for individual nursery pots
1020 Mesh Deep Trays (Soil Blocking)
When soil blocking, we pair the 1020 trays with their mesh deep trays to allow proper airflow and drainage.
Individual Nursery Pots
These are what we use for crops that need more root space early on:Tomatoes
Cucumbers
Peppers
And similar transplants
Cell Trays, Domes & Starter Pots
We use these for:Starting our own plugs
Pre-starting dahlia tubers
Crops that benefit from a more contained, protected start
Their products are 1000% worth the investment if you plan to start seeds year after year.
If you’re just trialing seed starting or want a budget-friendly way to begin, this Amazon starter kit is a great option:
👉 https://amzn.to/4q5Z2Ck
Other Container Methods I’ve Used
Solo cups
Traditional seed trays
Soil blocks
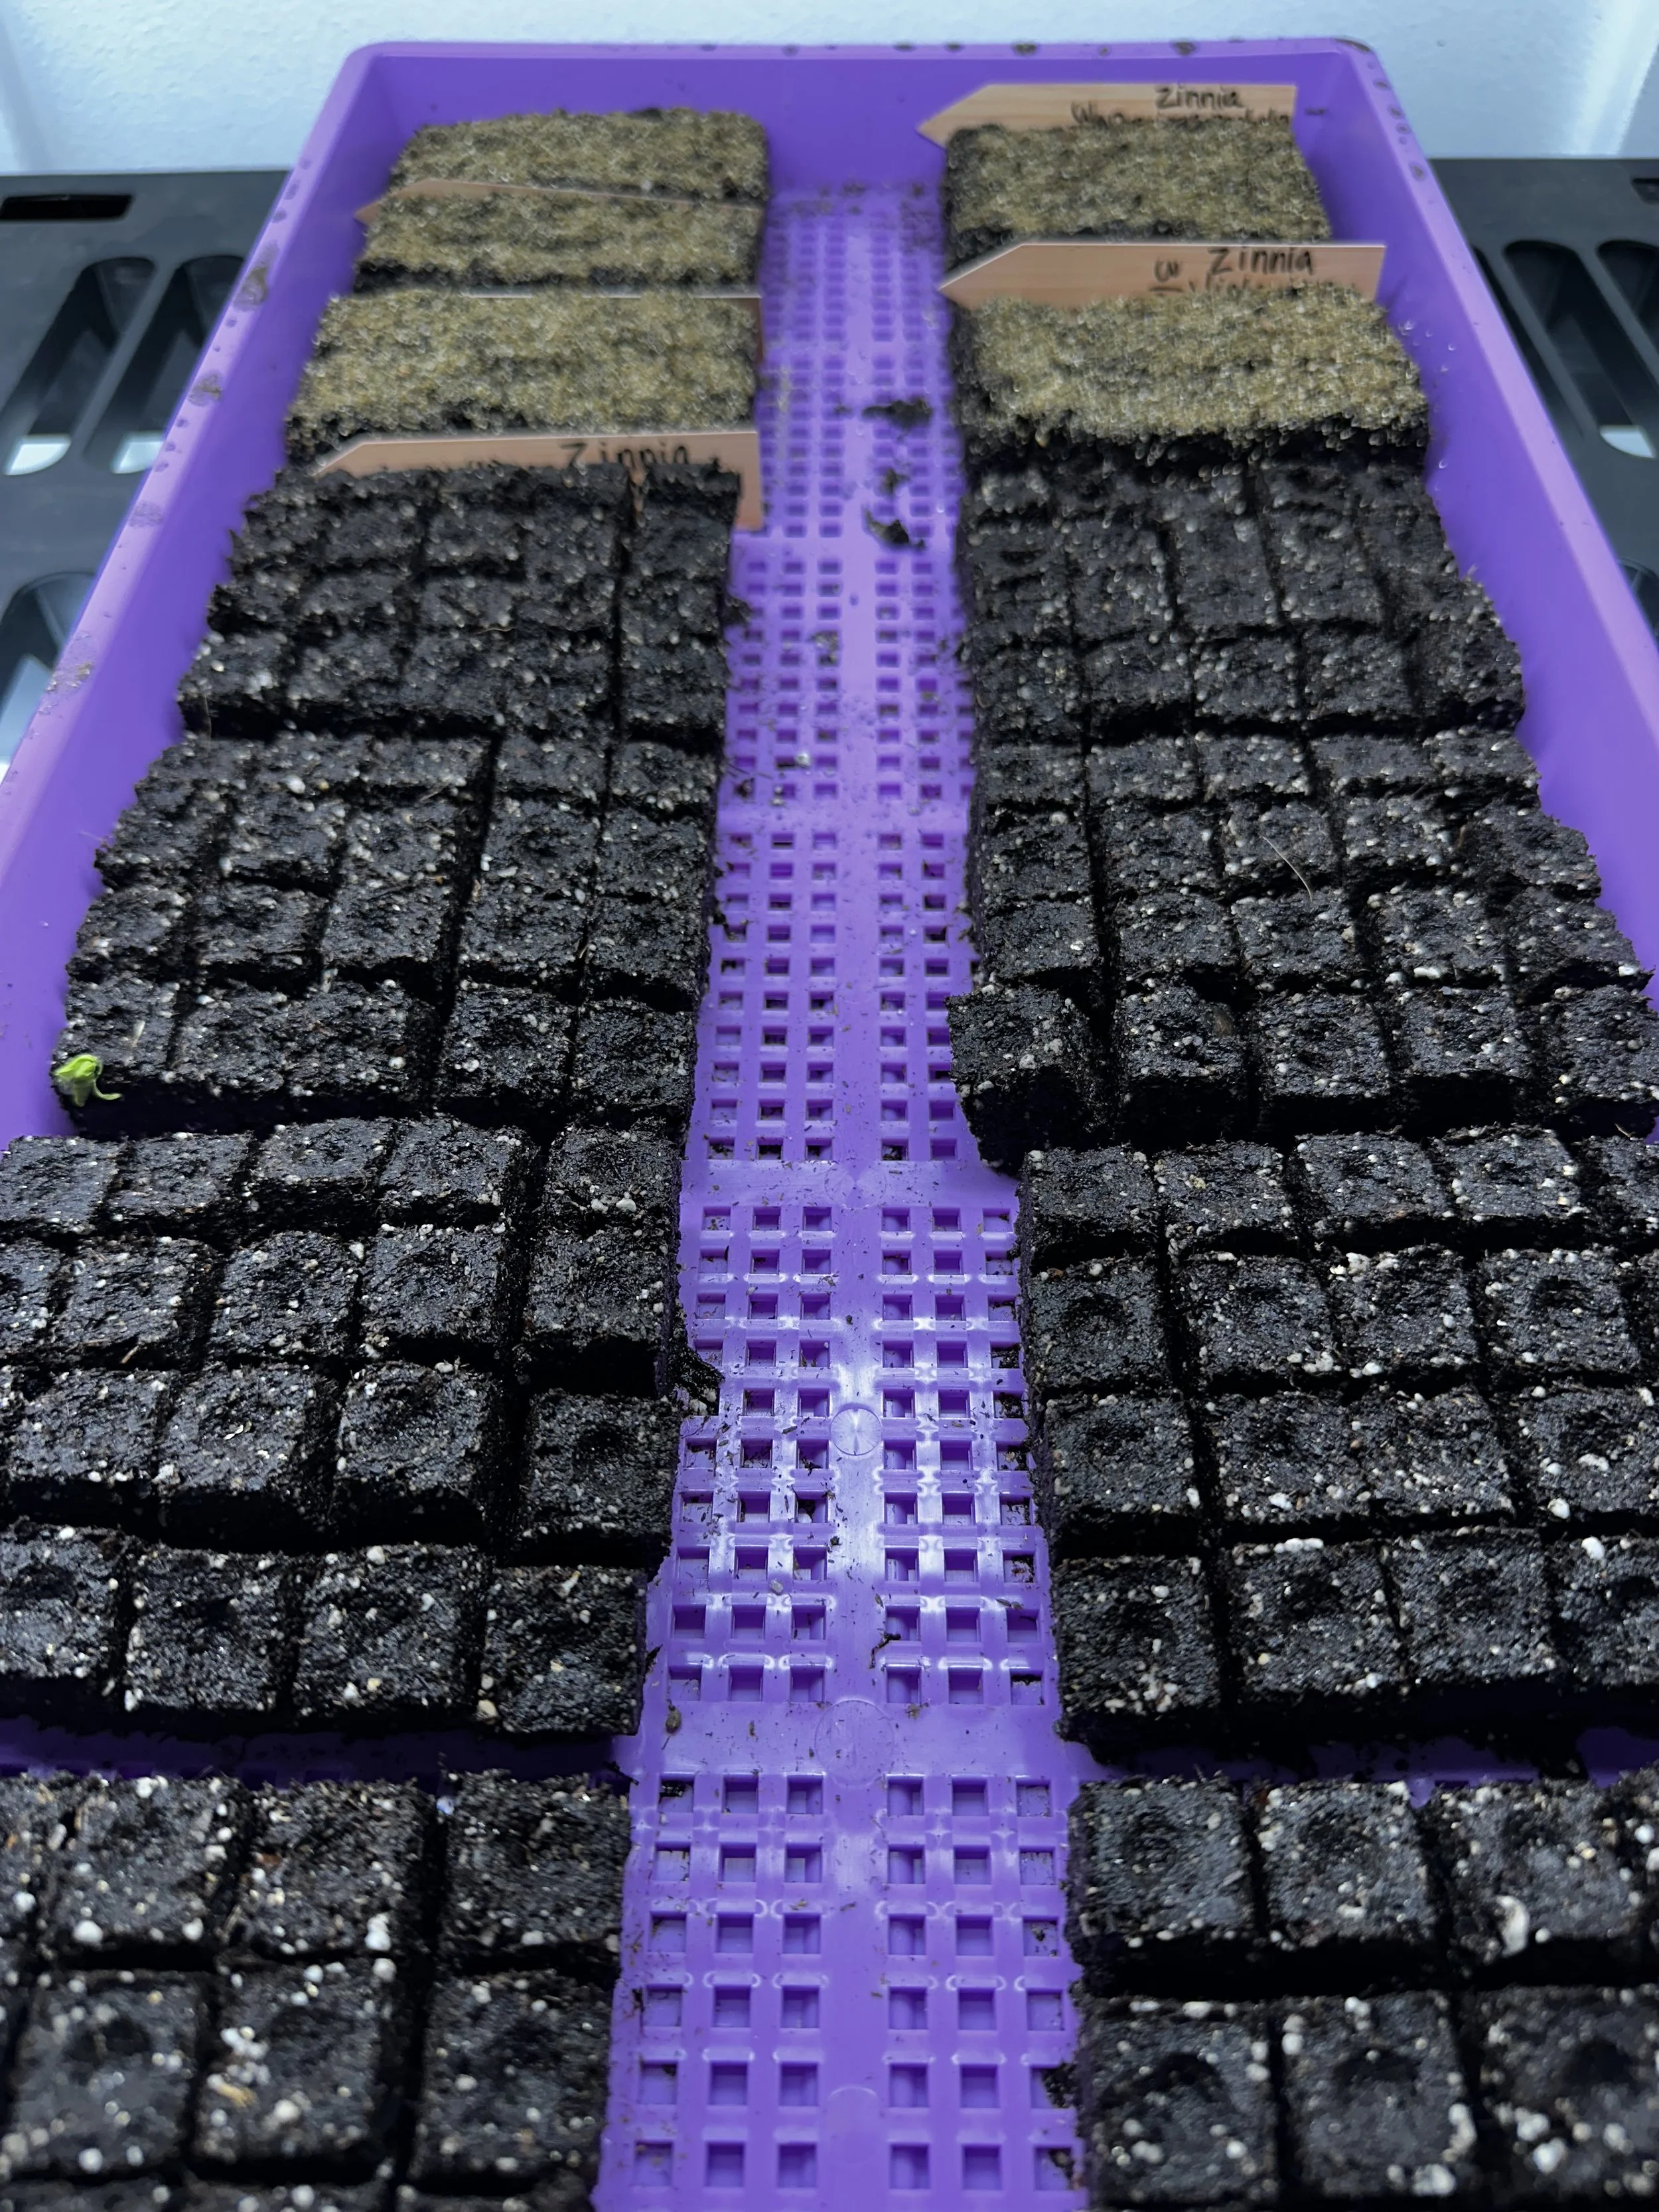
Air Prune Propagation Trays (a method I experimented with last year)
Each has its place — and every one of them can grow healthy plants.
A Quick Transparency Note
Just to be completely clear — I’m not affiliated with Bootstrap Farmer. I don’t get paid to recommend their products (though that would be pretty awesome someday).
I share them simply because we genuinely love their products and use them constantly in our seed-starting setup.
Soil Blocking (An Investment That’s Been Worth It)
Soil blocking is another method we use regularly, and it’s one that does require a bit more intention — both in learning and in tools.
Soil blocks eliminate plastic containers altogether by forming compact cubes of soil that encourage strong, air-pruned root systems. When done well, they transplant beautifully and reduce shock.
Over time, we’ve chosen to invest in Swiftblocker, and it’s been completely worth it. Their tools are thoughtfully designed, durable, and have made soil blocking far more efficient and consistent for us. As we continue to grow and refine our process, we’re slowly building our inventory with their products.
👉 Swiftblocker tools:
https://www.swiftblocker.com/shopswiftblocker
That said — this is another area where you absolutely don’t have to start with top-of-the-line tools.
When we first began soil blocking, we used much more basic options while learning the process:
A simple handheld soil blocker:
https://amzn.to/4pnzX4vAnd this larger multi-block option:
https://amzn.to/4jmoJfn
Those tools worked just fine for learning soil consistency, pressure, and technique.
Like most things in gardening, soil blocking can be done:
Inexpensively while you’re learning
Or with higher-quality tools once you know it’s a method you’ll stick with
Both approaches are valid — and both can grow healthy plants.
Soil blocking is one of those methods that rewards patience and practice — and like everything else in this season of life, I’ve learned to let it be imperfect while I learn.
Air Prune Propagation Trays (What I Experimented With)
Last year, I experimented with Air Prune Propagation Trays, and they’ve become a really valuable tool in my setup.
These trays work by allowing air to naturally prune roots. When roots reach the edges of the cell and hit air, they stop growing and branch out instead — creating a dense, healthy root system.
Why I Like Them:
Strong root development
Less transplant shock
Durable and reusable
More forgiving than soil blocking on busy days
I still love soil blocking — and I still use it.
But in this season of motherhood, air prune trays offer efficiency and consistency when I don’t have the margin for perfection.
➡️ I link my exact Bootstrap Farmer Air Prune Propagation Trays here.
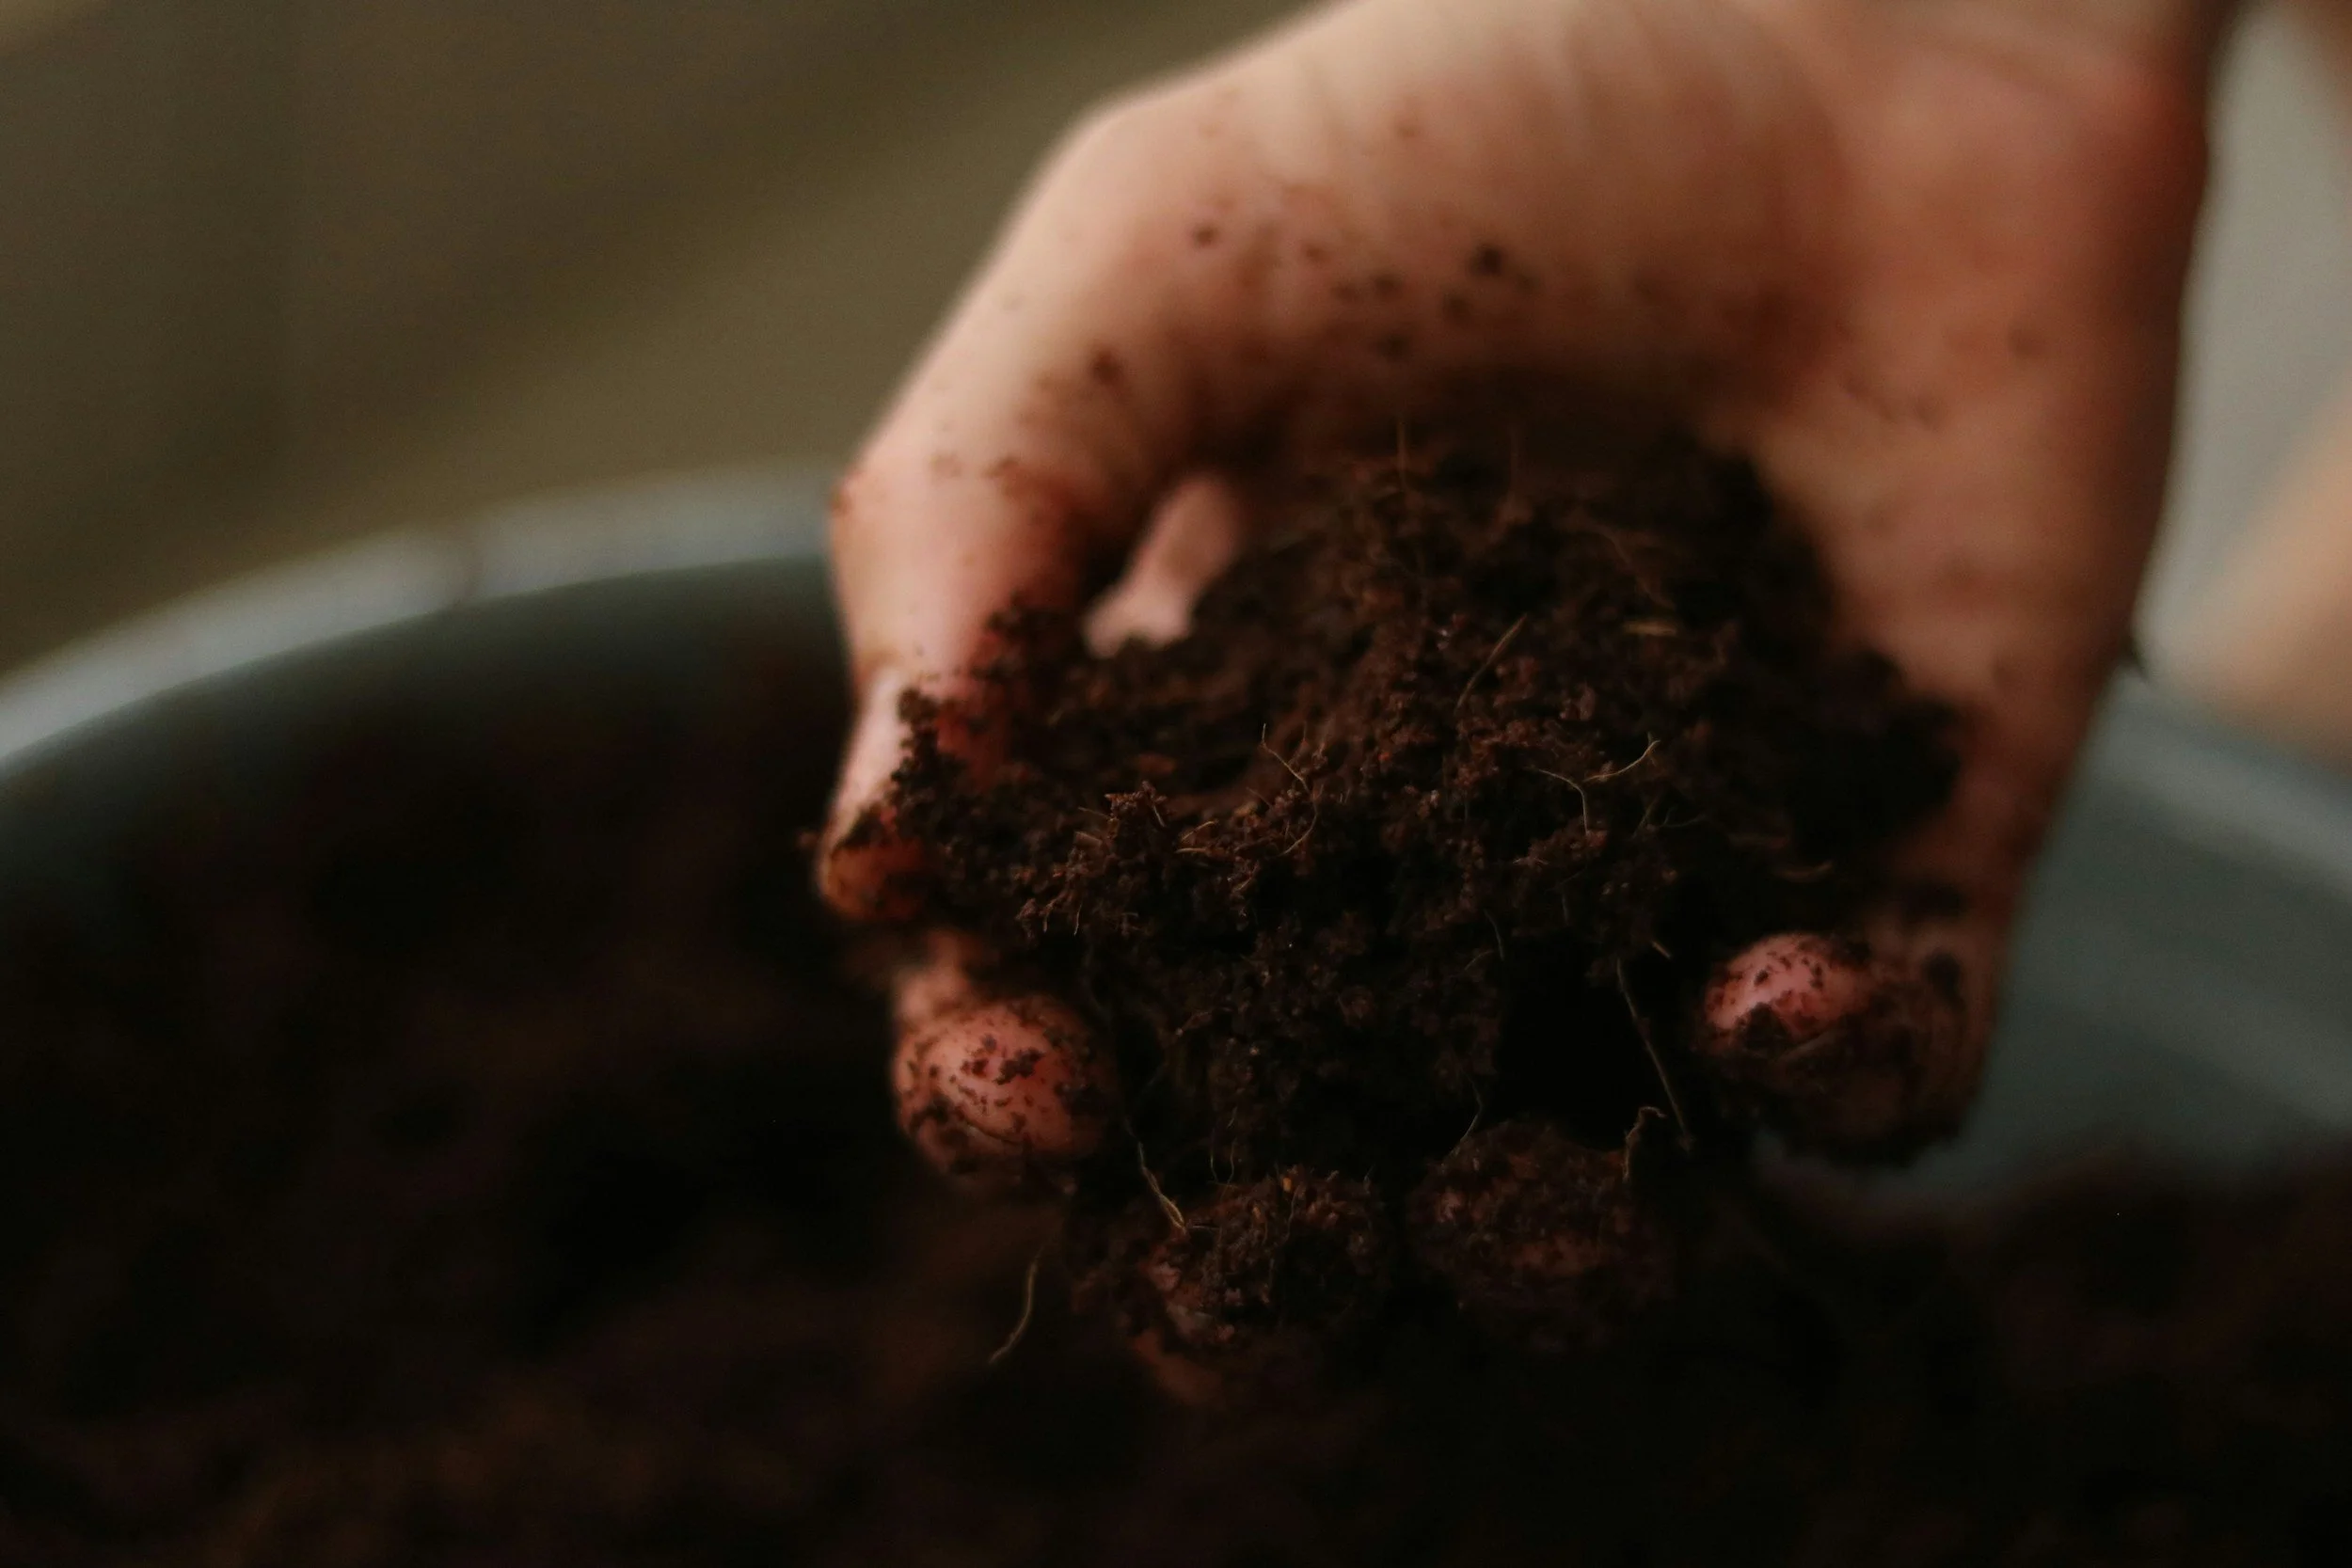
4. Soil: The Foundation of Everything
Soil is one place I no longer cut corners — because everything starts here.
When you’re starting seeds indoors, soil needs to be fine, light, and consistent so delicate seedlings can easily push through the surface. Heavy or chunky mixes can prevent germination, restrict root development, and make moisture harder to manage.
A good seed-starting mix should:
Hold moisture without becoming soggy
Allow airflow to roots
Be fine enough for tiny seedlings to emerge easily
My Go-To Seed Starting Mix
Morgan Composting — Dairy Doo Seed Starting Mix
Hands down the best seed-starting mix I’ve ever used.
It’s only available through Michigan suppliers — we purchase ours from Sunshine Products of Dansville, a local small business that carries Morgan Composting’s Dairy Doo line. The good news is, they do ship throughout the U.S.
This mix is consistently fine, well-balanced, and easy to work with whether you’re soil blocking, using trays, or starting seeds in individual pots.
How I Amend It
I also amend my seed-starting mix with:
Wool pellets from Wild Valley Farms (no affiliation)
This simple addition helps improve moisture retention and adds gentle, slow-release nutrients — especially helpful during early growth.
Why This Combination Works
Together, this mix creates:
Excellent moisture retention
Proper airflow for healthy roots
Balanced nutrition without overwhelming young seedlings
Soil Consistency Tip
No matter what mix you use, consistency matters.
Your soil should feel like a wrung-out sponge — moist enough to hold together, but not dripping wet. This is especially important for soil blocking, where moisture level can make or break the process.
➡️ Here is a great seed starting mix alternative. Or this one!
5. Planting & Watering
Bottom water whenever possible
Keep soil moist, not soaked
Use humidity domes only until germination
Remove domes as soon as seedlings emerge
Airflow is essential — stagnant air leads to disease.
The Watering Tool That Changed Everything for Me
This is one of those tools I didn’t realize I needed until I used it — and now I genuinely wouldn’t want to seed start without it.
I swear by an electric automatic spray mister, and it has saved me so much hassle over the years.
When you’re starting seeds — especially in soil blocks, air prune propagation trays, or shallow cells — gentle watering matters. A harsh stream of water can displace seeds, compact soil, or damage tiny seedlings.
This mister gives:
A consistent, fine mist
Even moisture without disturbing soil
One-handed operation (which matters when you’re juggling a baby)
It’s rechargeable, lightweight, and takes the guesswork out of hand watering. No pumping. No wrist fatigue. No accidentally blasting seedlings across the tray.
On busy days — which is most days in this season of life — this tool lets me water quickly, gently, and move on.
6. Heat Mats (Do You Need Them?)
Heat mats aren’t required for every seed — but for certain crops, they can make a huge difference.
Heat mats help maintain a consistent soil temperature, which speeds up germination and improves overall success rates, especially for heat-loving plants. They warm the soil, not the air, creating the ideal environment for seeds to sprout evenly.
I Recommend Heat Mats For:
Tomatoes
Peppers
Eggplant
Basil
Celosia (especially important for consistent germination)
Dahlias and other tubers
Cool-season crops like lettuce, spinach, and brassicas typically don’t need bottom heat and will germinate just fine without it.
How I Use Heat Mats
I place heat mats under trays only until seeds germinate
Once seedlings emerge, trays come off the heat
If possible, I use a thermostat to avoid overheating
Heat mats work best when paired with proper lighting and airflow
Used correctly, heat mats can dramatically reduce germination time and help create more uniform seedlings — which means less frustration and fewer do-overs.
Heat mats are one of those tools that aren’t essential for everything, but when you need them, they’re absolutely worth having.
➡️ I link the heat mats and heat mats with thermostat I use here.
7. Daily Maintenance
This doesn’t have to be complicated.
Each day:
Check moisture
Adjust lights
Observe growth
Some days you’ll do it perfectly.
Some days you’ll forget.
Plants are more resilient than we give them credit for.
8. Hardening Off
Before planting outdoors:
Start with 30–60 minutes outside
Gradually increase exposure
Protect from wind and harsh sun
Skipping this step often leads to setbacks — take the time.
9. Accessories That Make Life Easier
These aren’t required, but they help:
Light pulleys for easy adjustment
Timers (I also have a power strip one as well)
Fans for airflow
Labels (trust me on this one)
Final Thoughts
You don’t need the perfect setup.
You don’t need endless time.
You don’t need to get it right the first time.
You will fail.
You will learn.
You will grow.
And one day, you’ll look back at seeds started on a dining room table during nap time — and realize that was never a limitation.
It was the beginning 🌱
Thank you for being here!
Continuously growing,
Alex

Fall on the Farm: Beauty, Work, and the Countdown to Rest 🧡🍂
Fall has officially arrived on the farm, and while the garden is still bursting with blooms, the countdown to rest has already begun. From dahlias finally thriving to marigolds hitting their stride, September brings both abundance and busyness as we tuck the garden in for winter. Here’s a look at what’s blooming now, the long list of fall prep tasks, and some exciting updates for the season ahead.
As I sit here in my office writing this, rain is pouring outside the window—and the forecast shows more for the rest of the week. It feels fitting for these first days of fall: the sky heavy with clouds, the fields soaked, and the farm shifting into a new rhythm.
Fall is always a season of contrasts. The flowers are still bursting with color, yet the air carries a quiet reminder that the end is near. The garden is vibrant, but it’s also beginning its slow journey toward rest. I feel that in myself, too. After a whirlwind summer and a busy September wedding season, I’ve been intentionally trying to slow down—even amidst the chaos—to notice the beauty and honor the rhythm of the seasons.

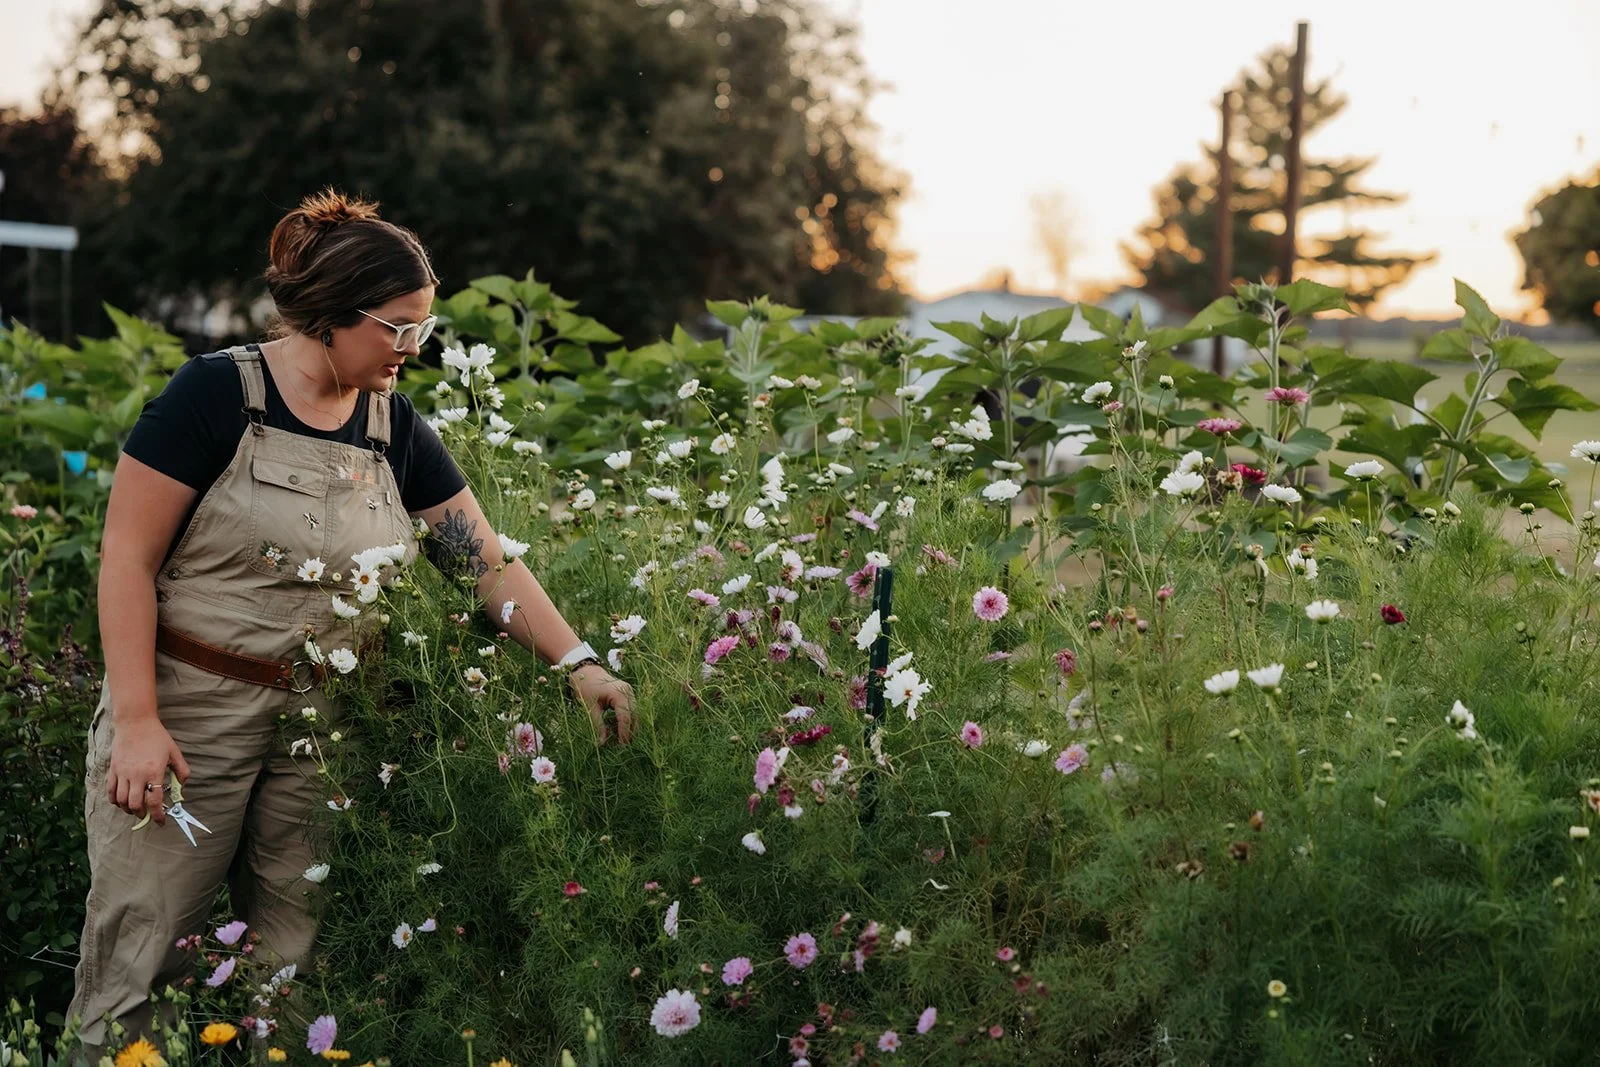
What’s Blooming Now
Even though fall marks the countdown to the end of the season, we’re still soaking up every last bloom. Our second flush of lisianthus is coming in beautifully, and after such a strange, difficult growing year, the dahlias are finally thriving. Don’t worry—we’re still squeezing in as many weeks of flowers as possible before frost arrives.
And it’s not just the lisianthus and dahlias—our fields are still colorful with:
Zinnias, though they’re finally starting to slow down after a long, generous run.
Marigolds, just now hitting their stride, glowing in classic golden tones.
Celosia, all velvety texture and saturated color.
Cosmos, still thriving and dancing in the breeze.
Sunflowers, standing tall and strong, always a crowd favorite.
Scabiosa, airy and delicate.
Hyacinth beans, climbing wild, dripping with jewel-toned pods.
Globe amaranthus (gomphrena), pumping out its cheerful, everlasting buttons.
Statice, with papery clusters perfect for fresh or dried designs.
…and others, each adding to the vibrant patchwork of fall.
It’s a mix that feels both abundant and fleeting—proof that even as the days shorten and the nights cool, the garden isn’t done giving just yet.
A monarch moment in the marigolds. Fall always reminds me that beauty lingers, even as the season shifts. 🍂🦋
The Work of Autumn
This is the season where the farm demands both gratitude and grit. There’s so much beauty still blooming, but fall is also when we begin the hard work of tucking the garden in for winter. Here’s just a portion of the work ahead:
Clear out all beds and rows of spent flowers
Amend soil with fertilizer
Clear the peony field from overgrowth
Prep land, lay plastic, and burn holes for peony planting (curious about peony planting? Check out this post)
Plant 100 new peony roots this year
Plant cool-season hardy annuals (my favorite resource: Cool Flowers book — absolutely priceless)
Pre-sprout half of our ranunculus corms to overwinter
Install low tunnels for protection
Plant around 3,300 tulips for spring
Release nematodes + beneficial insects from Nature’s Good Guys
Exciting news!! We have an affiliate link for you — receive 20% off your order with the code BEDESBLOOMS or click this link here: https://www.naturesgoodguys.com/BEDESBLOOMS
Catalog dahlias, relabel and take notes (a few losses to rot this year were especially hard)
After first frost: dig and store all dahlia tuber clumps
And beyond that list: weed one last time, mulch perennials, cut back selectively, drain hoses, clean and oil tools, sanitize trays, compost what we can, test soil pH, and tuck away seeds with notes for next year.
It’s no wonder fall feels like both an ending and a beginning. The work is heavy, but the hope for spring is already taking root.
Why Rest Matters
The seasons teach me so much about rhythm and renewal. Just as the soil needs a reset, and many flowers thrive only because of the cool, quiet months ahead, I find myself needing that rest, too. Farming is a constant cycle of tending, tearing out, and tucking in. There’s no true pause, but there is a deepening—a reminder that rest is part of growth.
This week feels especially meaningful. Tomorrow, my husband and I will celebrate our third wedding anniversary. Just like the farm, love and life have their seasons of growth, change, and rest. Both require tending, patience, and faith to flourish.
What’s Ahead
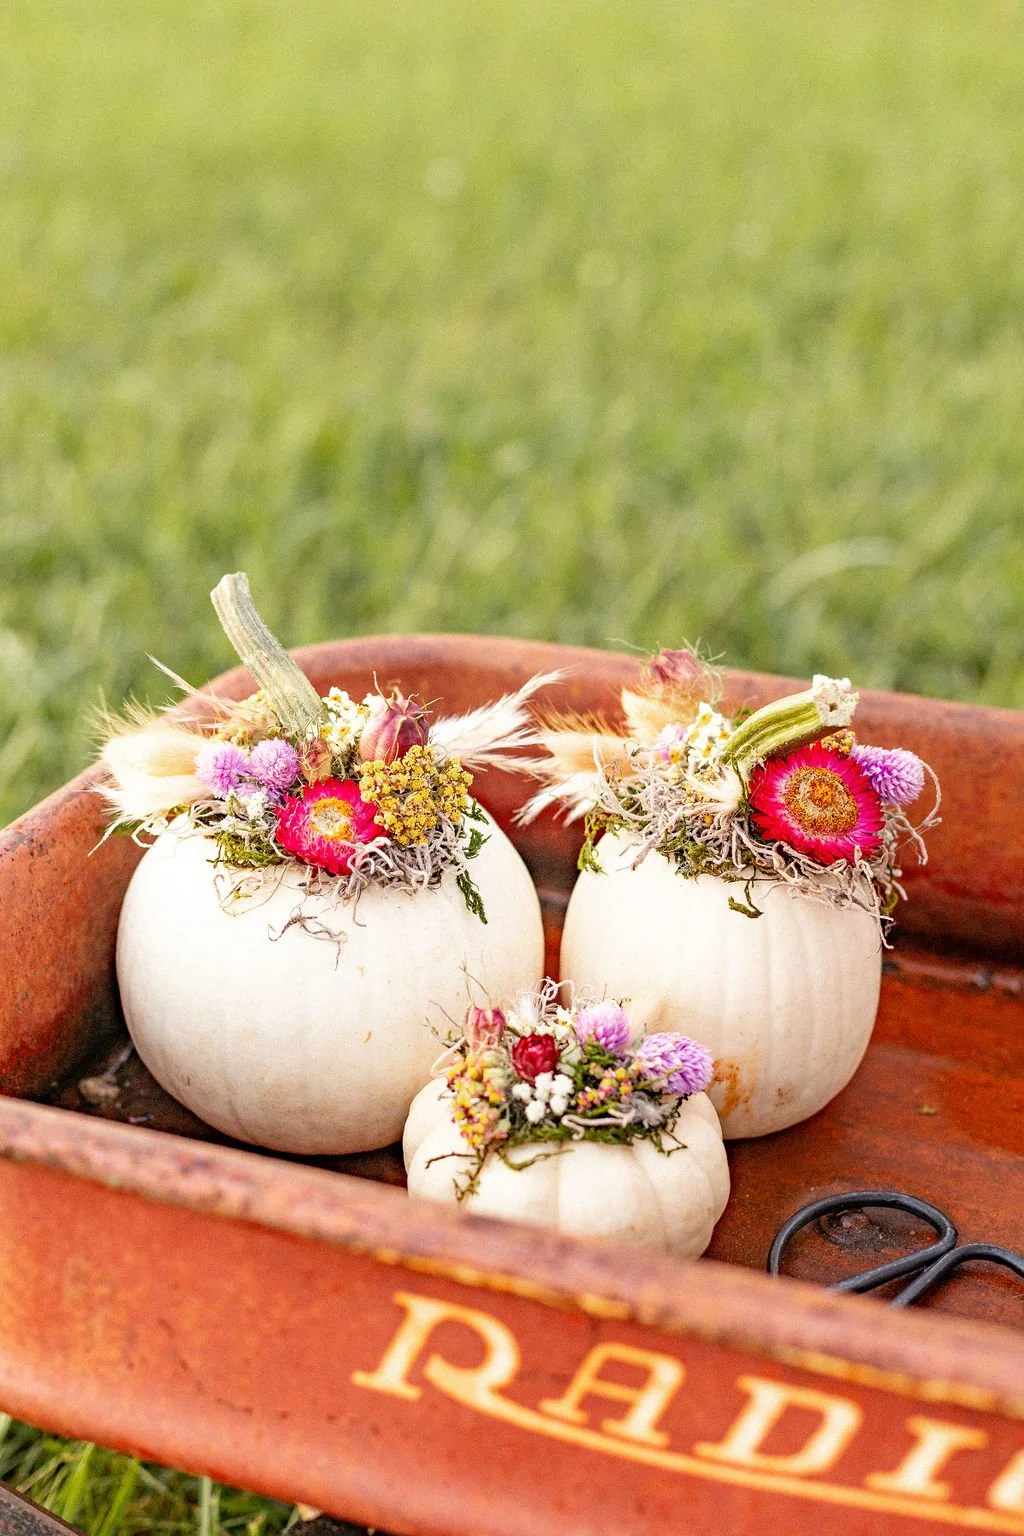
Dried Floral Pumpkins: Now Open for Pre-Order
They’re back! Our dried floral pumpkins are now open for pre-order. Each one is handcrafted with our own dried blooms, designed to bring fall’s beauty indoors and last through the season. These go quickly every year, so don’t wait if you’d like one for your home or as a gift.
—> Check them out here: Fall Floral Pumpkins
2026 CSA Subscriptions: Early Access for Subscribers
We’re also opening 2026 CSA subscriptions to our newsletter subscribers first—before they’re released publicly on Black Friday. This will be our only discount of the year, and spots are limited to maintain the utmost quality.
If you’re new here and wondering, what’s a CSA? It stands for Community Supported Agriculture—a model that connects you directly to your local farmer. By purchasing a CSA share, you’re essentially reserving a season’s worth of flowers up front, which provides us with the resources to plant, grow, and harvest with confidence. In return, you receive a curated bouquet every week during your subscription. It’s one of the best ways to support small farms like ours while ensuring you get the freshest, most local blooms possible.
Learn more about our flower subscriptions here.
Closing Thoughts
As we lean into fall, my heart is grateful—for the flowers, for the hard work ahead, for the love that steadies me, and for every person who continues to support this little farm dream. Fall is more than just an ending; it’s an invitation: to embrace the work, savor the beauty, and trust the rhythm of the seasons.
As we lean into fall, my heart is grateful—for the flowers, for the hard work ahead, for the love that steadies me, and for every person who continues to support this little farm dream. Fall is more than just an ending; it’s an invitation: to embrace the work, savor the beauty, and trust the rhythm of the seasons.
I am also looking forward to the “shorter” days and slower rhythm (even though the behind-the-scenes to-do list is soooo long, with some amazing things on the horizon). I’m hoping to complete a handful of puzzles, create a new vision board for 2026, read more books than I listen to, and sip more cups of tea that I actually have time to enjoy.
What do you look forward to most in the colder months? I’m never quite ready for the cold or the snow—but I welcome the rest.
With love and gratitude,
Alex 🌸
P.S. If you’d like to follow along with daily farm life, behind-the-scenes stories, and fresh flower updates, come join us on Instagram and Facebook. Better yet, sign up for our newsletter for even more inside tea! We’d love to have you there. xo